The Result History screen provides a complete record of all past results and their respective dates for specific subjects. You will be able to access this screen from the Training Plan & Results screen > Results History icon.
This screen is divided into two sections:
Enrolment Profile Tile
The Enrolment Profile Tile provides an overview of basic details related to an enrolment. This tile displays various icons that are associated with enrolment information, however, it is important to note that these icons are read-only, meaning that it is not possible to make any changes to enrolment details through this screen.
Result History Listing Grid
The grid displays a comprehensive list of past records for the subject’s results. Each column in the grid provides specific information about the corresponding result record.
Subject Code – This refers to the subject code linked to the enrolment.
Subject Name – This refers to the subject name linked to the enrolment.
Pre. Score – column displays the score obtained by the student in the previous attempt.
Pre. Result – This column shows the result obtained by the student in the previous attempt.
Pre. Result Date – It displays the date when the previous attempt was made.
Date Changed – It shows the date when any changes were made to the result record.
User Changed – This column displays the name of the user who made changes to the result record.
Notes – This column shows any additional notes added to the result record.
Attempt – This column indicates the attempt number for the result record.
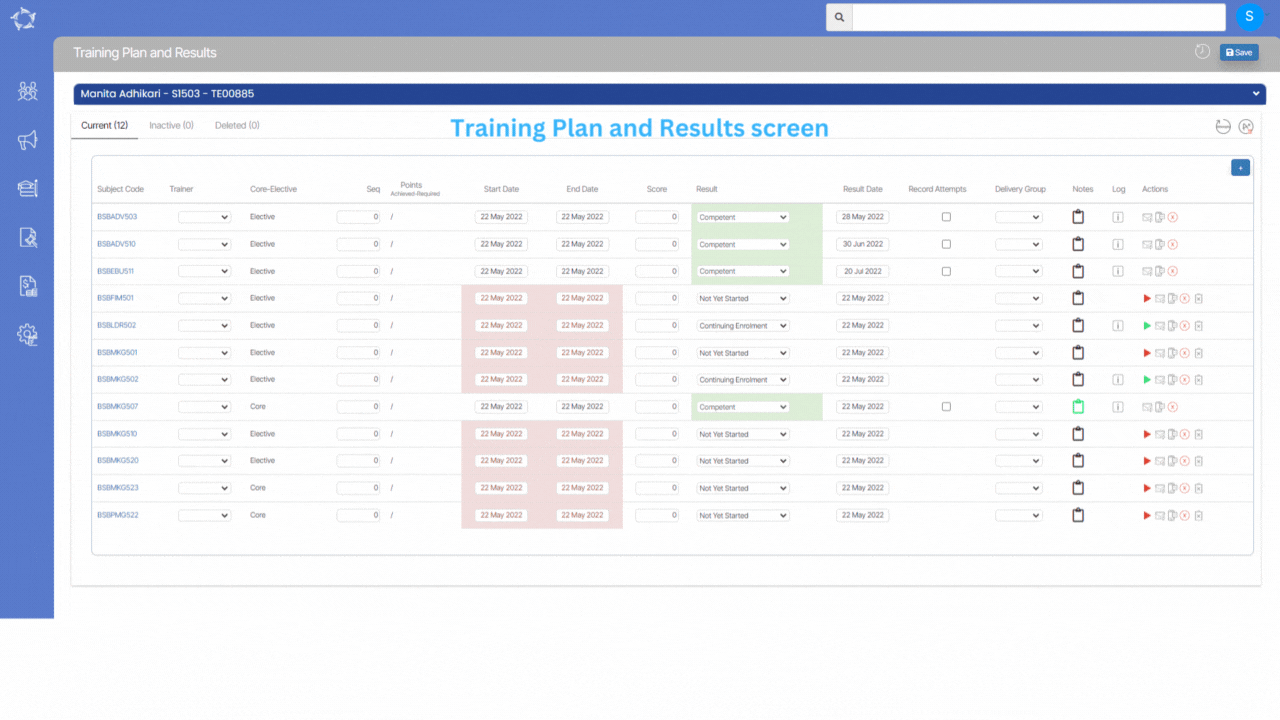
A new feature has been introduced on the Training Plan and Results Screen, which involves colour coding for both Results and Subject dates. Please select the below links to know more about the new rules.
Results Colour Coding
The results colour coding has been implemented to make it easier for users to differentiate between different types of updated results. This will display different colours for each updated result, allowing users to quickly identify the type of result without having to read through each one individually.
This is a new check on the Training Plan and result screen, if the start date and end date of a subject have already passed, but the result is still updated for it, the subject dates will be displayed in red/pink colour. This will help you quickly identify subjects that may require attention.
A student contact details report contains information about the contact details of a group of students and enrolments. By running this report, you can gain access to past, current, and future contact information for the students, which can be useful for various purposes. Additionally, having access to this report can help you plan for the future and make informed decisions regarding the student’s education.
To know more about the Filter and columns and their explanations, please select the below links.
The student contact log report contains filters that can be used to refine the data displayed in the report. The below table will give you an explanation of the filters for this report.
General Tab Filters
Explanations
Print
This label has two radio buttons: Report Start/End Date – By selecting this option, you can generate a report based on the selected start and end dates. Enrolment Start/End date – By selecting this option, you can generate a report based on the enrolment’s start and end dates.
Report Start and End dates
Once you have selected one of the radio buttons, you can choose the start and end dates for your report by selecting the calendar icon. Please note – these fields are mandatory and you cannot process further without selecting them.
Student Name
To generate a report for a specific student enrolment, you can search and select the student by entering their student number or name in the designated field.
Campus
If you need to generate a report for multiple campuses, you can do so by selecting the relevant campuses from the dropdown menu. Once you have selected the desired campuses, the report will be generated based on the selected start and end dates and will include data for all the selected campuses.
Program
You can search and select the program by entering its program code or name in the designated field.
User Name
Select the user name from the dropdown.
Log Type
This is a user code and based on the User Code created in TEAMS, you can select the desired log type from the dropdown.
Show Email Log
If you want to include email logs in your report, you can do so by selecting the corresponding tick box.
Show Mail Merge Log
If you want to include Mail Merge logs in your report, you can do so by selecting the corresponding tick box.
Show SMS Log
If you want to include SMS logs in your report, you can do so by selecting the corresponding tick box.
Viewable In SRC
Only Show Enrolment Logs
If you want to generate a report that only includes enrolment logs, you can do so by selecting the corresponding tick box. This will ensure that only enrolment logs are included in the generated report.
Include Enrolments
Once you have selected the Only Show Enrolment Logs tick box, you can choose from a range of enrolment options from the dropdown menu. The available options may include All, Current, Finished, and To Start, among others.
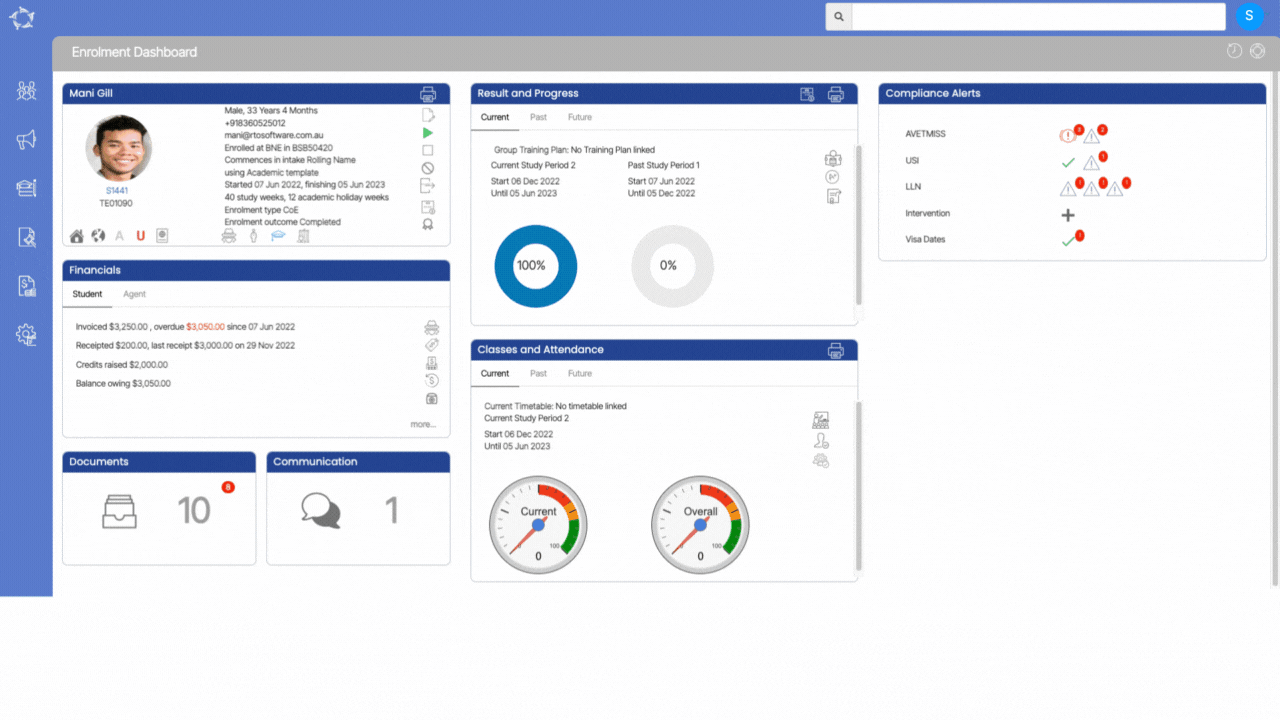
Enrolment Dashboard > Result and Progress Tile > Print Icon
The enrolment standard training plan report serves as a comprehensive document that offers students a concise yet comprehensive understanding of the training program. Its primary objective is to provide a clear outline of the program’s structure and anticipated outcomes, benefiting both trainees and training administrators in monitoring progress and facilitating effective training delivery. This report encompasses essential details, including the training mode, specific unit start and end dates, allocated hours, and outcome status, ensuring transparency and facilitating efficient coordination. The unit starts and end dates specifically define the duration of each module or unit within the training, enabling students to plan and manage their learning journey effectively.
Please select the desired template from the dropdown menu and select the Generate button. Once successfully generated, you can easily download the template in either PDF or DOC format.
IMPORTANT – To receive further guidance on customising the report templates according to your requirements, we recommend referring to the instructional post titled Report Templates. This post provides step-by-step instructions on modifying the templates to match your desired format and content.
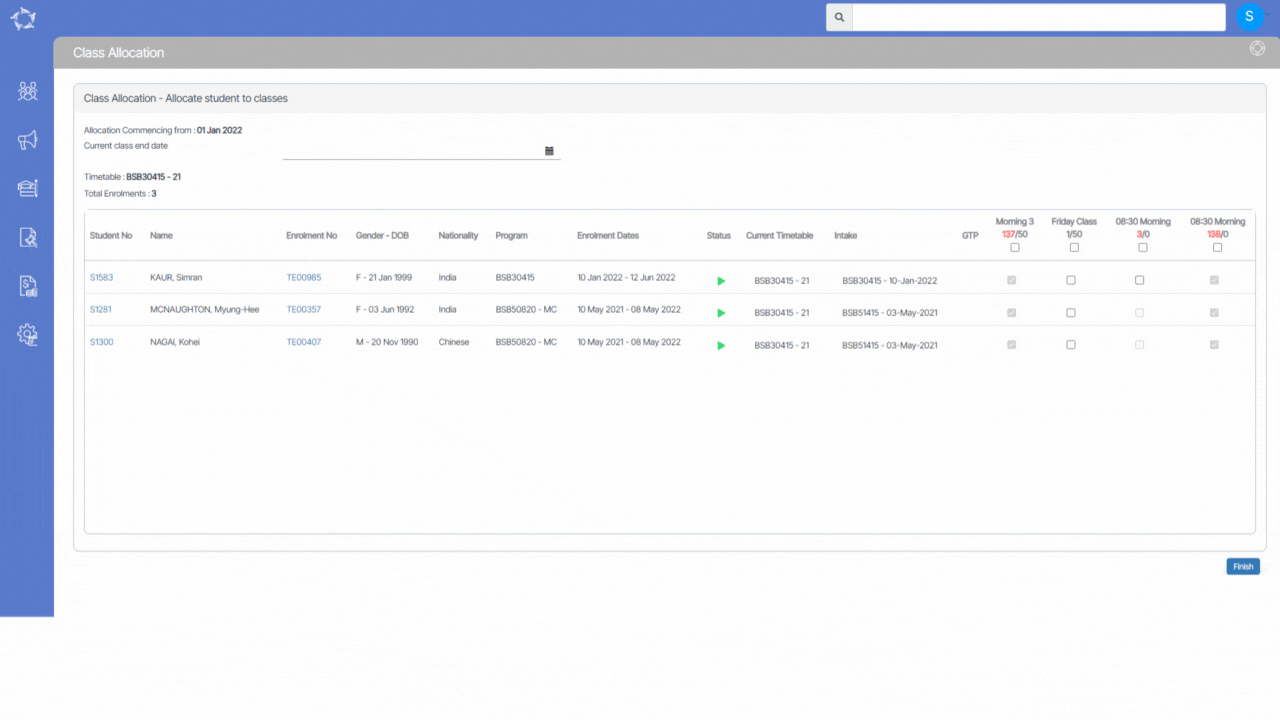
Main Dashboard > Student Management > Class Allocation
IMPORTANT – We believe that staying informed about the latest developments in our software is vital for optimising your experience and maximising the benefits of using our system. To view the latest updates and modifications on the Bulk Class Allocation Step 2, we kindly request you to navigate to the History icon showing on the Bulk Class Allocation Step 1. By selecting this icon, you will gain access to a detailed log of all the recent changes made to the software.
The Bulk Class Allocation Step 2 screen is where you can see all the student’s enrolments and the classes that are linked to the timetable you picked in the Bulk Class Allocation Step 1. This screen will show you all the information you need to allocate the students to their classes.
Allocating classes to a student is an easy task. All you need to do is locate the checkbox located under the ‘Classes’ column that matches the name of the student you want to allocate the classes. Simply select the checkbox to allocate the classes to that particular student.
Note: If you find that you are unable to select a tickbox, the system will provide you with a tooltip explaining why you are unable to do so. One possible reason could be that the subjects are linked to the classes but not the enrolments. The tooltip will help you understand the issue and guide you on how to resolve it, so you can allocate classes to the student successfully.
IMPORTANT – If you are using this screen to move students from one timetable or class to another, you will need to pay attention to the date field. This field allows you to specify the date when you want the student to start attending the new class or timetable. Ensure that you enter the correct date to avoid any confusion or errors in the student’s schedule. This will ensure that the student’s enrolment details are updated accurately and in a timely manner.
Before selecting the Finish button, it’s a good idea to double-check all the information you have entered to avoid any errors. Once you have completed all the necessary steps, you can allocate the enrolments to the classes by selecting the Finish button. This will finalise the allocation process and ensure that the students are correctly assigned to their respective classes.
Main Dashboard > Student Management > Class Allocation
IMPORTANT – We believe that staying informed about the latest developments in our software is vital for optimising your experience and maximising the benefits of using our system. To view the latest updates and modifications on the Bulk Class Allocation Step 1 and Step 2, we kindly request you to navigate to the History icon showing above. By selecting this icon, you will gain access to a detailed log of all the recent changes made to the software.
This screen provides a convenient way to allocate classes to students’ enrolments in bulk, which can save time and simplify the process of managing student schedules. The screen is divided into two sections where you can apply filters to make the allocation process more efficient.
Section 1
Start Date of Class Allocation – The “Start Date of Class Allocation” is mandatory and refers to the date when students will begin their studies in the classes that are being allocated. This could be the first day of the term or semester when classes are scheduled to commence. For instance, if the academic term begins on March 1st, then this would be the appropriate start date for class allocation.
Timetable code or name – This field is mandatory and requires you to select the timetable that contains the classes you want to allocate to students. It’s important to ensure that the correct timetable is selected to avoid any confusion or errors when allocating classes to students. By choosing the appropriate timetable, students can be assigned to the correct classes and attend them at the scheduled times.
Section 2
In this section, you select the filters for the system to use, to search and find the relevant student enrolments you wish to allocate to classes.
Campus – Selecting the correct campus is important to ensure that classes are allocated to the appropriate location. For example, if you have multiple campuses, you would need to select the correct campus where the classes are scheduled to take place.
Search & Allocate based on – There are three radio buttons for this field.
Programs – When you select this option, the system will display three different fields: “Search Programs,” “Intakes,” and “Group Training Plans.” These fields allow you to filter classes based on the specific program, intake, or group training plan that students are enrolled in. By updating the information in these fields as required, you can allocate classes to the appropriate students and ensure that they are enrolled in the correct program, intake, or training plan.
Subjects – When you select this option, the system will display a field where you can search for Subjects. This option can be helpful if you need to allocate classes for a particular subject.
Unit of Studies – When you select this option, the system will display a field where you can search units of studies. This option can be helpful if you need to allocate classes for a particular unit.
Enrolments to Include – This is a dropdown menu that allows you to select between two options: “Current” and “To Start Enrolments.” Selecting Current will filter the search results to display classes that are currently ongoing or in progress and selecting To Start Enrolments will filter the search results to display classes that have not yet started but are scheduled to start in the future.
Enrolment Type – The enrolment type dropdown menu typically includes options such as “CoE” (Confirmation of Enrolment), “Non-CoE” (Non-Confirmation of Enrolment), “VSL” (VET Student Loan), and other relevant enrolment types.
Once you have selected the relevant filters, you can select the Next button to proceed to the next screen. The system may take some time to process the selected filters and load the results.


 showing on the