Visa/CoE Information – Student Dashboard

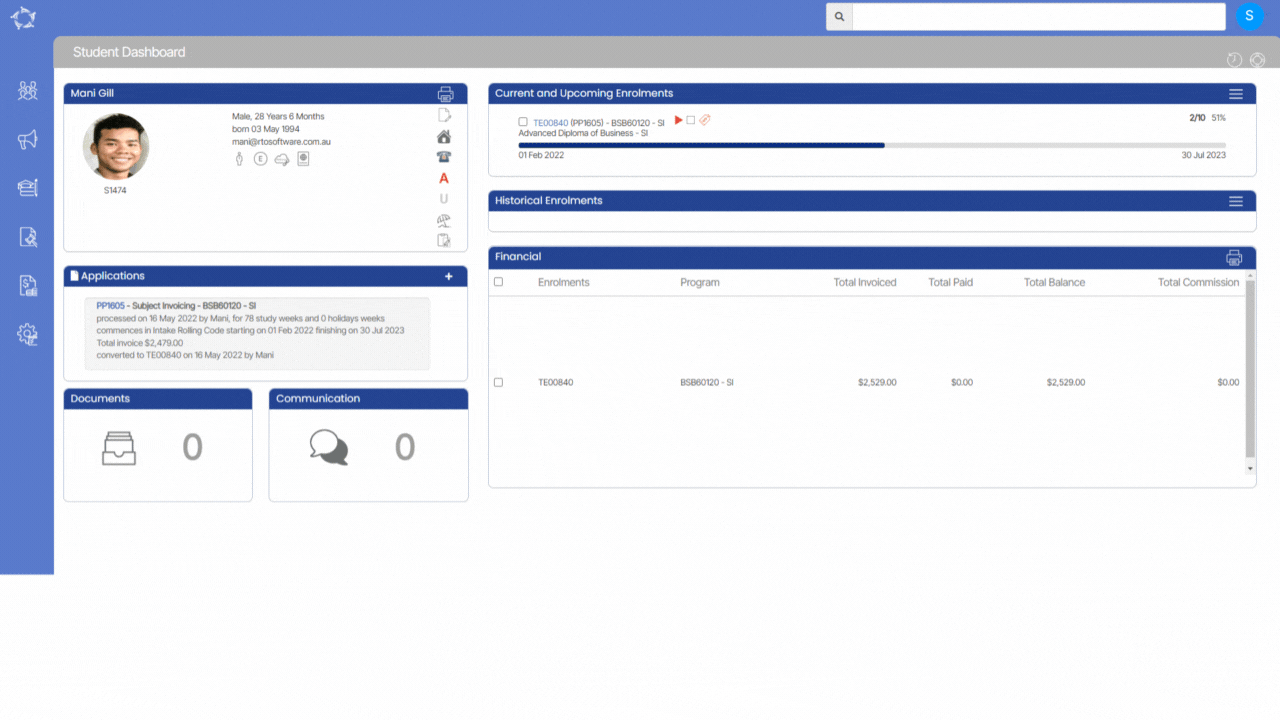
Student Dashboard > Student Profile Tile > Visa and/or CoE Information Icon

history of changes

This screen will allow you to add/edit Visa/CoE details from the student dashboard. Student Dashboard is the only location to make changes to the student’s Visa/CoE details.

Below are the steps to add the Visa/CoE details of the Student

  • When you select the icon on the Student Dashboard, it will take you to the edit Visa/CoE details screen where you can select the button to add the Visa/CoE details of the student.
  • Upon selecting the add button, a popup window will open where you can add the visa/coe information for the student and enrolment.
  • Once you select the Add button, it will appear in the grid.

Visa Information – Application Dashboard

Application Dashboard > Application Profile Tile > Visa Information Icon

history of changes


This screen provides a comprehensive view of the visa details for an applicant, which are updated at the applicant level. However, please note that you will not have the ability to add or edit any visa details directly from the Application Dashboard.

To access the visa information, simply select the visa icon on the Application Dashboard. This action will redirect you to the view visa details screen, where you can review all the relevant visa information associated with the application. This feature ensures easy access and visibility of visa details while maintaining the necessary restrictions on editing and adding new information directly from the Application Dashboard.

Visa/CoE Details Changes

We have made some new changes to the Visa/CoE details screen in TEAMS and these changes are reflected in the screens listed below.

Applicant and Application Dashboards – Visa Details

You will only be able to add/edit visa details at the Applicant level. At the Application level, we have changed this to be read only information. However, you won’t be able to make any changes to the visa details at the application level as the details will be read only.

Student and Enrolment Dashboards – Visa/CoE Details

We have also added three new columns on the student dashboard visa screen. Such as

CoE Start Date
CoE End Date
Enrolment Start Date
Enrolment End Date

Also, you will now be able to add both Visa and CoE information for a student from Student Dashboard and this will be the only location where you can add/edit information for the student/enrolment. However, the Visa/CoE details will reflect as read only.

 Starters Tile – Rules

The system uses the following rules to give you the counts in this Starters Tile.

Rules
1. Look for any enrolment that has an enrolment start date within the calendar date option selected.
2. Do not count any enrolment that has been flagged as cancelled. This means you should see the word Cancelled in red against the enrolment NOT that the Enrolment Outcome is set to Cancelled only.
3. Look at programs set to inactive and see if any enrolment in the program has an enrolment start date within the calendar date option and if yes count them and display them.

SMS Count

SMS count alert will show you the number of SMSs that have been used by a client. The number on the right side is the total count of SMSs which have been allocated for a month and the number on the left side is the count of SMSs that have been used by the client in a month.

Important : 5 is the count of SMSs that is used by Client. 600 is the total count of SMSs.

Continuing Tile

Dashboard > Continuing Tile

history of changes

IMPORTANT – We believe that staying informed about the latest developments in our software is vital for optimising your experience and maximising the benefits of using our system. To view the latest updates and modifications on the Continuing Tile and Continuing Listing Screen, we kindly request you to navigate to the History icon history of changes showing above in the top right of the breadcrumbs and to see rules for the continuing Tile, please select the Rules icon . By selecting these icons, you will gain access to a detailed log of all the recent changes and rules made to the screens.

Overview

This tile allows you to view the list of continuing students for each program within the selected date range. Continuing Students are those students for whom the enrolment has been started but not finished yet. Also, the selected date range should fall within the enrolment start date and end date.

IMPORTANTThis tile will display the inactive programs too if those inactive programs have data to display. Cancelled enrolments are not included in the count.

How to use

Each program has its own count of students. Each count is a hyperlink that will take you to the Continuing Listing Screen for that specific program.

Also on the bottom end of this tile, a total count of all programs will be displayed which is again a hyperlink that shows you the records of all continuing students for all the programs being displayed on the tile for the selected date range. There we are showing a CSV icon to download CSV file for all the programs and counts being displayed in this tile.

Select here to learn about the Calendar option

New Applicant

This screen allows you to add a New Applicant to your RTO with their basic details. This screen has different tabs where the system will allow you to add the details accordingly.

Note: The Overseas tab will only be visible if you select the Overseas/Applicant radio button while adding the applicant’s details and the same as you need to select the AVETMISS tick box to see the AVETMISS tab.

Tabs Description
DetailsThis tab will allow you to add basic information for the applicant. Some fields are very basic and self-explanatory, for other important fields in this tab you can read more here.
Address This tab will allow you to add the applicant’s Australian address information. From Local and Mailing addresses to the specific AVETMISS address format for VET students. It is important to note that for a VET student, you should enter the AVETMISS address first then you can select the copy tick box to copy the address to the local and/or mailing address fields. The system cannot copy from the local/mailing address fields to the AVETMISS address fields. For more information on Addresses click here.
Next of Ki This tab will allow you to add information for the student’s Next of Kin. For more information click here.
Overseas You will only be able to add the information under this tab if the applicant is set as an overseas student. To do this you need to select the radio button for Overseas Applicant that is under the field heading of Local/Overseas. When you do this, you also need to then update the student’s Onshore/Offshore Status by selecting a radio button to identify if the student/applicant is Onshore or Offshore. For more information click here.
AVETMISS You need to select the AVETMISS tick box on the details tab to make the AVETMISS tab visible. When you do this, you will be able to add the AVETMISS details for the Applicant.
FEE HELP You can add Fee HELP information for the applicant in this tab.

Bulk Results – changes to filters and grid columns

We have made some changes under the Bulk Result screen and now the options available under the Programs, Timetable, and Intake fields will be dependent upon the Campus selected.

For Example – if you have selected a particular Campus under the Campus field, then the Program field will only display the programs that are linked to that selected campus and the same as it will load the Intake and Timetable.

Bulk Result Screen > Column related changes under Grid

There are some changes that have been made to the grid column headings in the bulk result screen.

  • The ‘Student No’ column has been renamed to ‘Stud No’.
  • The ‘Enrolment No’ column has been renamed to ‘Enrol No’
  • The ‘Intake’ column will now be renamed as ‘Intake/Dates’ and it will reflect dates as well.
  • New column, ‘Subject Start Date’ and ‘Subject End Date’ has been added under the grid
  • The ‘Group Training Plan’ and ‘Score’ columns have been removed.

New Application – Subjects Delivery Dates

This screen will show you the Program details along with the subjects and their delivery dates. The system will show the subject dates according to the option selected for the Populate subject dates using the New Application – Choose Programs screen.

Note – DO NOT close your browser while you are walking through the steps of this process, as you will loose what you have entered. When you select the NEXT button in each step of this process the system does not save what you have done to the database. It allows you to go back in the process to change what you have selected, however, it is not until the final step where you select the FINISH button that the system will fully save everything to the database for you.

Once you select the Drag down button, the system will expand the screen and you will be able to see the subjects linked to the program.