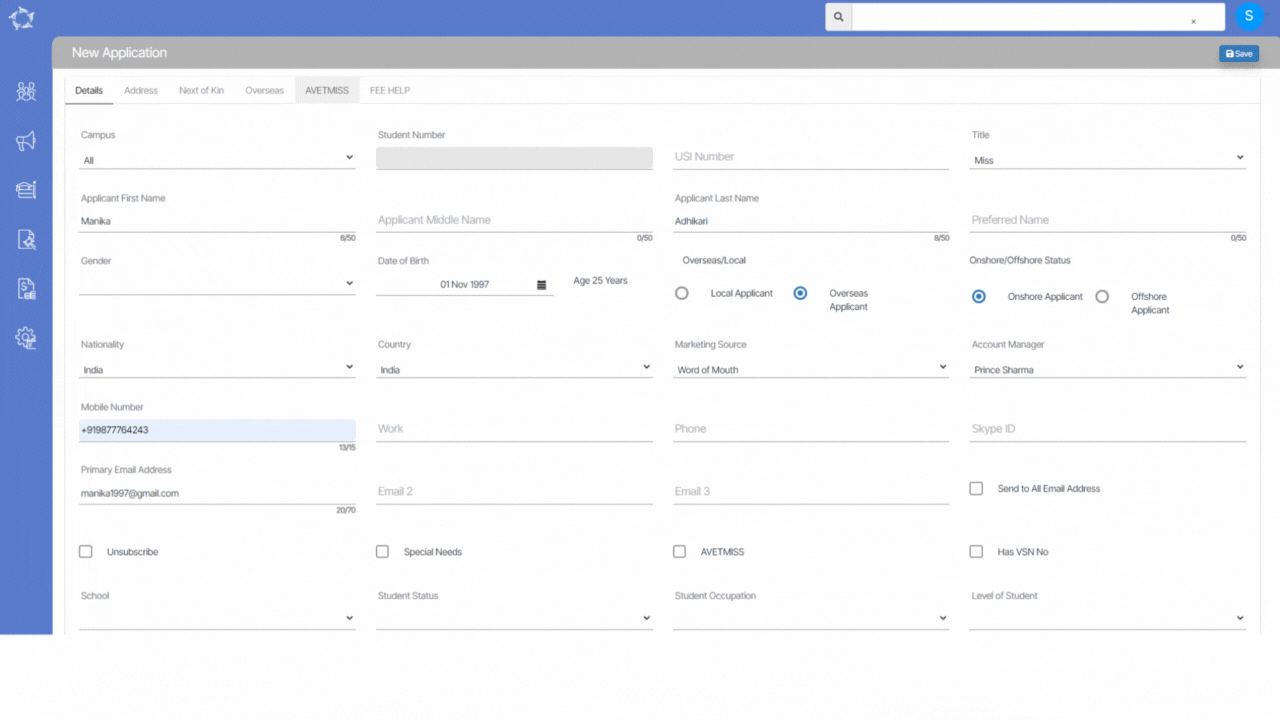
Note – Once the applicant is converted to a student then you won’t be able to add/edit any details at the applicant level. However, you can do the changes from the edit student screen.
This icon will display the name of the account manager. If you want to change the account manager then you can change it by clicking on the icon itself. This will open a popup window where you can enter the first two letters of the account manager and it will display all the account managers starting with those letters. Select the appropriate account manager and select the update button.
Note: You cannot edit or change the Account Manager once the applicant is converted to a student. However, you can make changes from the Student Dashboard.
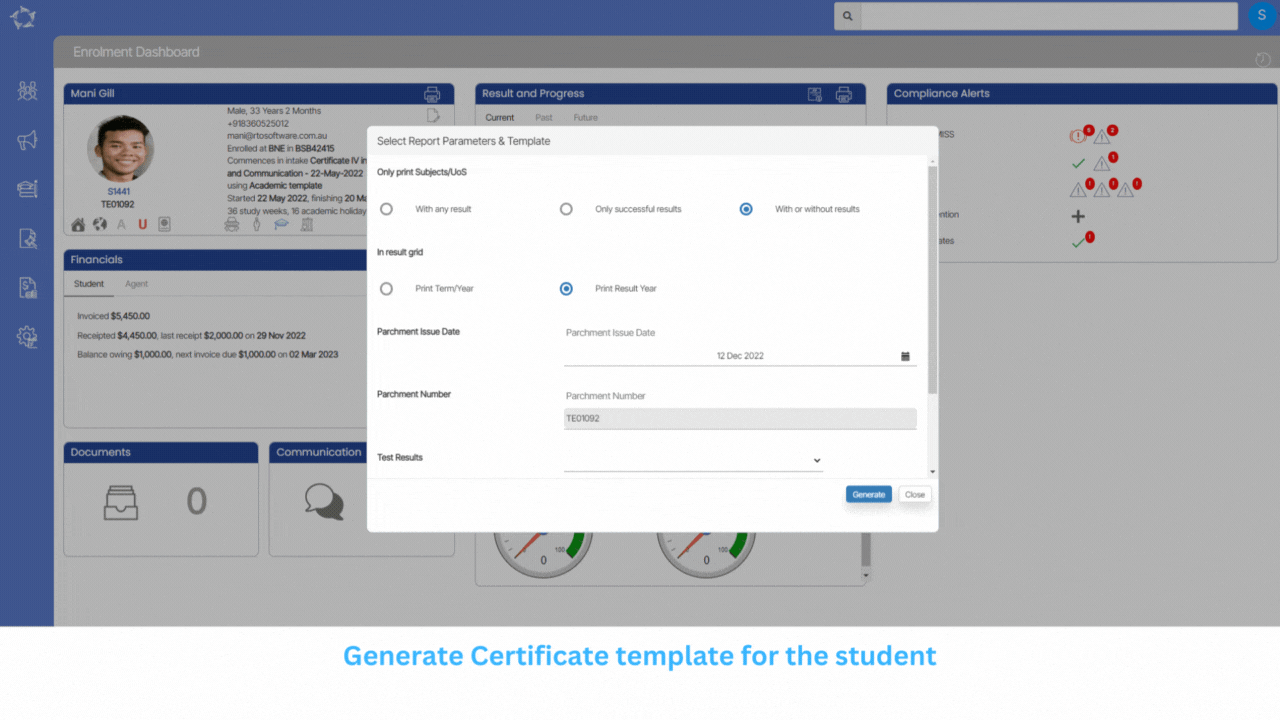
We have made some changes to Report Dashboard in the system. When you generate an offer letter or certificate for a specific student/Applicant, the system will show the student’s information such as Student Number, Enrolment Number and Application Number and if you generate certificates or offers in bulk then you will be able to see the number of applications and enrolments.
Also, for CSV reports such as Starters, Finishers, you will be able to see the parameters (Start Date, End Date and Campus) on the report dashboard.
While creating an application, you can apply for holidays at the Applicant level from the Applicant Dashboard > Holiday icon. To do this, you need to follow the below steps:
Select the Holiday button on the Applicant Holiday Screen
In the popup box, update the holidays with the Start and End dates and Holidays Types
Below is the explanation of the tick boxes in the popup window:
Apply holidays to this application- If you select this tick then the added holidays will get linked to the application.
Extend Application dates – If you select this tick box, the application end date will get extended as per the selected date range for the holidays. If the application start date is 08/05/2022 and the end date is 06/08/2023 and you have applied the holiday dates for 3 weeks, then the application end date will extend to 27/08/2023 as 3 weeks will get added to the application.
Extend application subject dates? – When you select this tick box, the Application’s subject dates will get extended automatically.
When all the above steps are done then you will see the applied holidays on the holiday screen, also if you want to edit or delete the holidays then you can select the edit icon or delete icon.
IMPORTANT – Once the application is converted to a student then you won’t be able to add/edit any details at the applicant level. However, you can make the changes from the Edit student screen.
NOTE – Once the holidays are applied to the Applicant, then the holiday’s icon will change to red color
Also, the Holiday type is a dropdown and if you want any holiday type to be set up on your TEAMS site then you to go to the User codes screen.
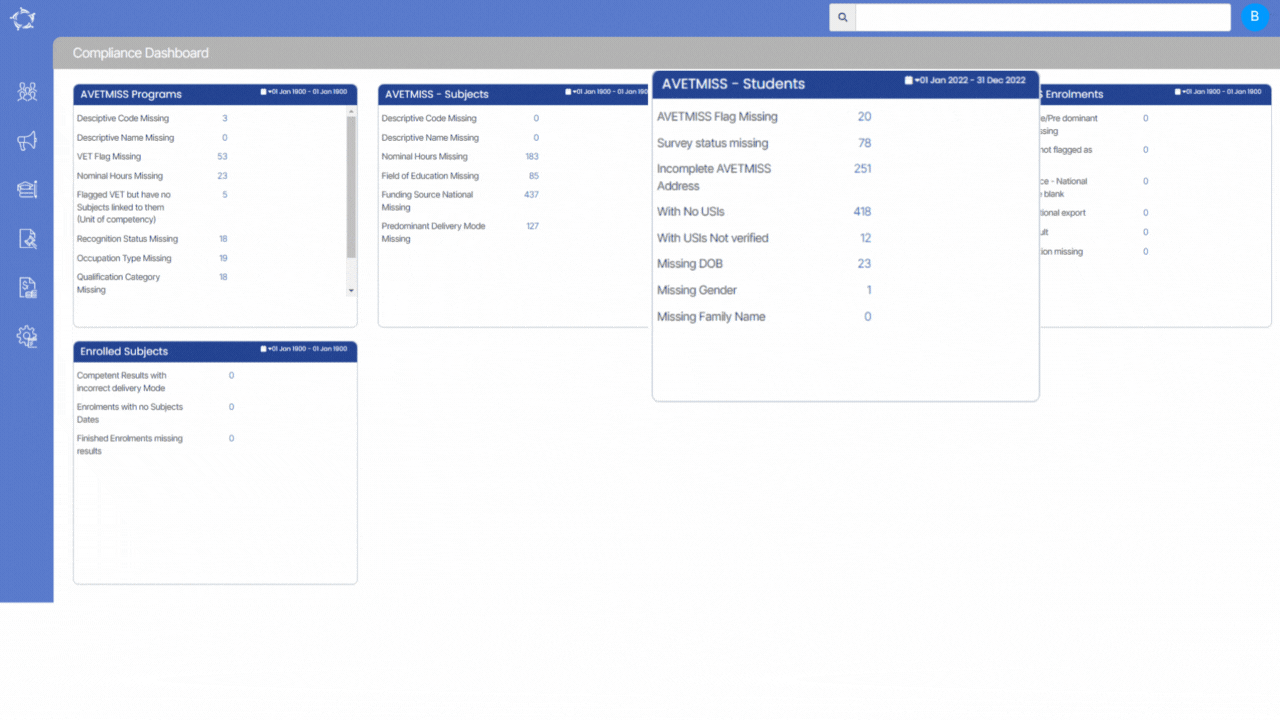
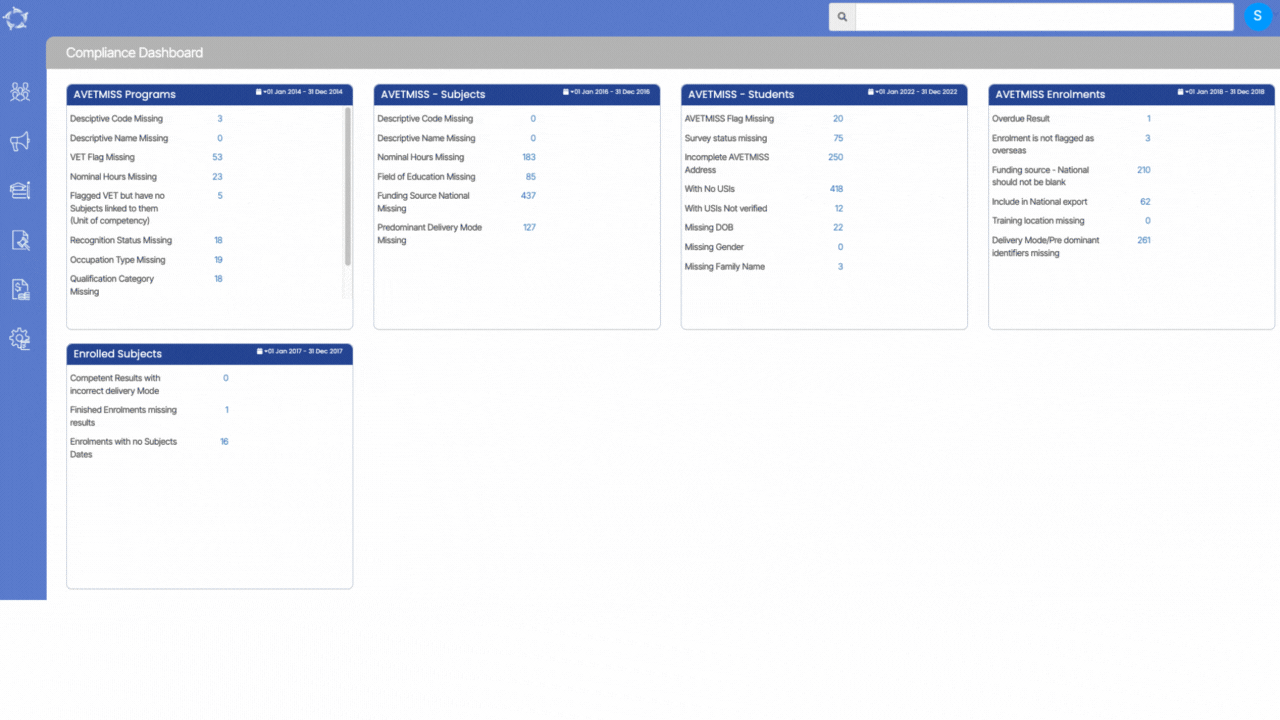
Compliance Dashboard > AVETMISS Students Tile > WIth USIs Not Verified
The AVETMISS Students Tile will show you the count of students as a link With USIs Not Verified. To verify the USIs, you need to follow the below steps:
Select This Calendar year from the Calendar icon.
Select the hyperlink next to the WIth USIs Not Verified.
You will be taken to the Students – USIs Not Verified listing screen.
Select the student number hyperlink under the Student No column.
Update the Student’s USI number and select the Save button.
Note: When you have verified the USI number on the Compliance Dashboard, you need to refresh the screen to see the updated count of the With USIs Not Verified.
The AVETMISS Student Tile will show you the MissingGender of the students in the system. To update the missing GENDER, you need to follow the below steps:
Select This Calendar year from the Calendar icon
Select the hyperlink next to the Missing Gender.
You will be taken to the Student-Missing Gender Listing Screen.
Select the student number link to update the Missing Gender.
Note: When you have updated the Gender of the students then on the Compliance Dashboard, you need to refresh the screen to the count of the Missing Gender students.
Compliance Dashboard > AVETMISS – Students Tile > Missing Family Name
The AVETMISS Student Tile will show you the Missing Family Name of the students in the system. To update the missing Family Name, you need to follow the below steps:
Select This Calendar year from the Calendar icon.
Select the hyperlink next to the Missing Family Name.
You will be taken to the Student-Missing Family Name Listing Screen.
Select the student number link to update the Family Name.
Note: When you have updated the DOB of the students then on the Compliance Dashboard, you need to refresh the screen to the count of the Missing DOB students.
Your campus and training location information is exported into the NAT00010 and NAT0020. In this step you need to review that the information is correct for the calendar year that you are doing your student data submission for.
For example: when you first started using TEAMS you would have had one or many campuses setup and we would have setup and linked to each campus a training location. Where it was identified that you only needed one training location per campus we would have also set that as the default training location so it always updates against each enrolment that you linked to a specific campus. However, if you had to have multiple training locations per campus then it was up to your staff to select the correct training location at the proposal or enrolment. Now in the calendar year that you are submitting data for your circumstances may have changed that you have introduced a new campus and/or new training location and have not considered that this impacts your submissions.
Important: even though this setup and data you are reviewing is related to the NAT00010 and NAT0020 the training location in the NAT00020 also shows in the NAT00120 which is the NAT file with the biggest load of data in it. So, if you do not have a training location linked to an enrolment, for every subject for that enrolment listed in the NAT00120, you will have the same error. This means if an enrolment has 10 subjects listed against it in the NAT00120 without a training location, you will see that error 10 times in your error list. Now repeat this for each enrolment that you haven’t linked the training location to and it can add up to hundreds if not thousands of rows of errors.
Compliance Dashboard > AVETMISS – Students Tile > Missing DOB
The AVETMISS Student Tile will show you the Missing DOB of the students in the system. To update the missing DOB, you need to follow the below steps:
Select This Calendar year from the Calendar icon
Select the hyperlink next to the Missing DOB.
You will be taken to the Student-Missing DOB Listing Screen.
Select the student number link to update the DOB.
On the Edit Student Screen, Update the Date of Birth of the student and Save.
Note: When you have updated the DOB of the students then on the Compliance Dashboard, you need to refresh the screen to the count of the Missing DOB students.
Compliance Dashboard > AVETMISS Students Tile > WIth No USIs
The AVETMISS Student Tile will show you the count of students with no USI updated in the system by the With No USIs hyperlink. To update the USIs, you need to follow the below steps:
Select This Calendar year from the Calendar icon.
Select the hyperlink next to the WIth No USIs.
You will be taken to the Students – With No USIs listing screen.
Select the student number hyperlink under the Student No column.
Update the student’s USI number and select the Save button.
Note: When you have updated the student’s USI number then on the Compliance Dashboard, you need to refresh the screen to see the updated count of the WIth No USIs.