Bulk Results Screen

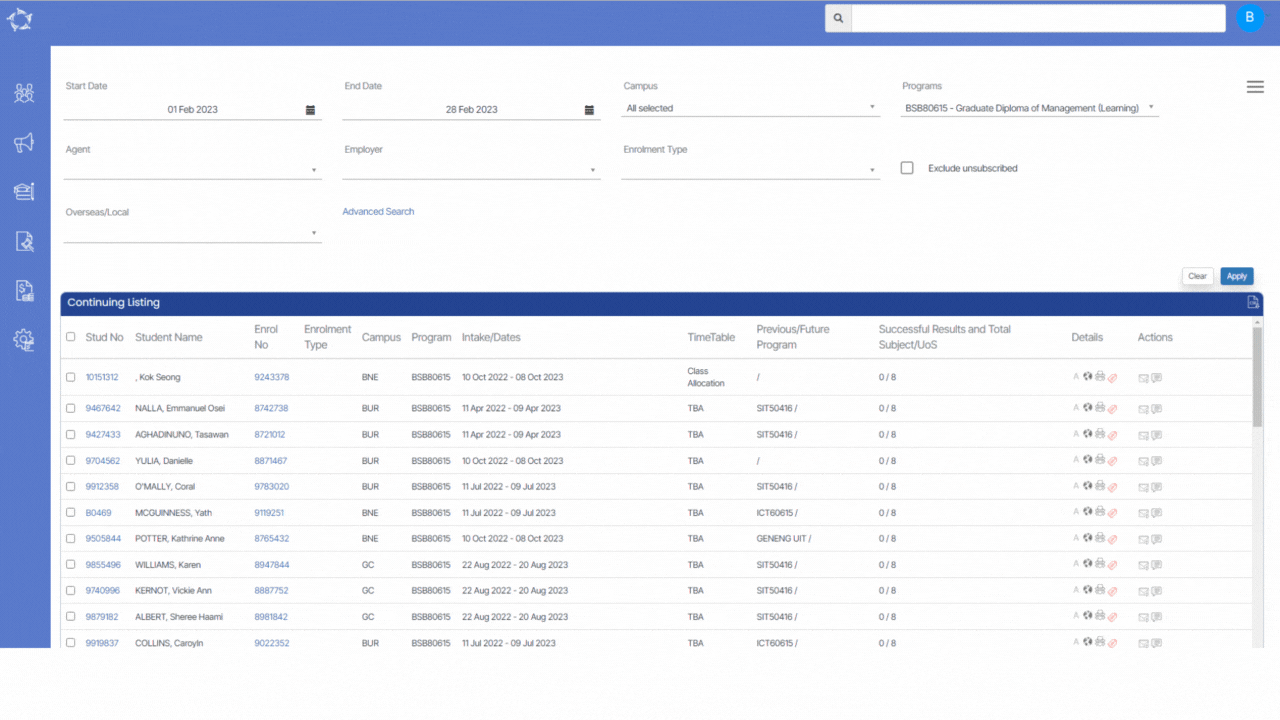
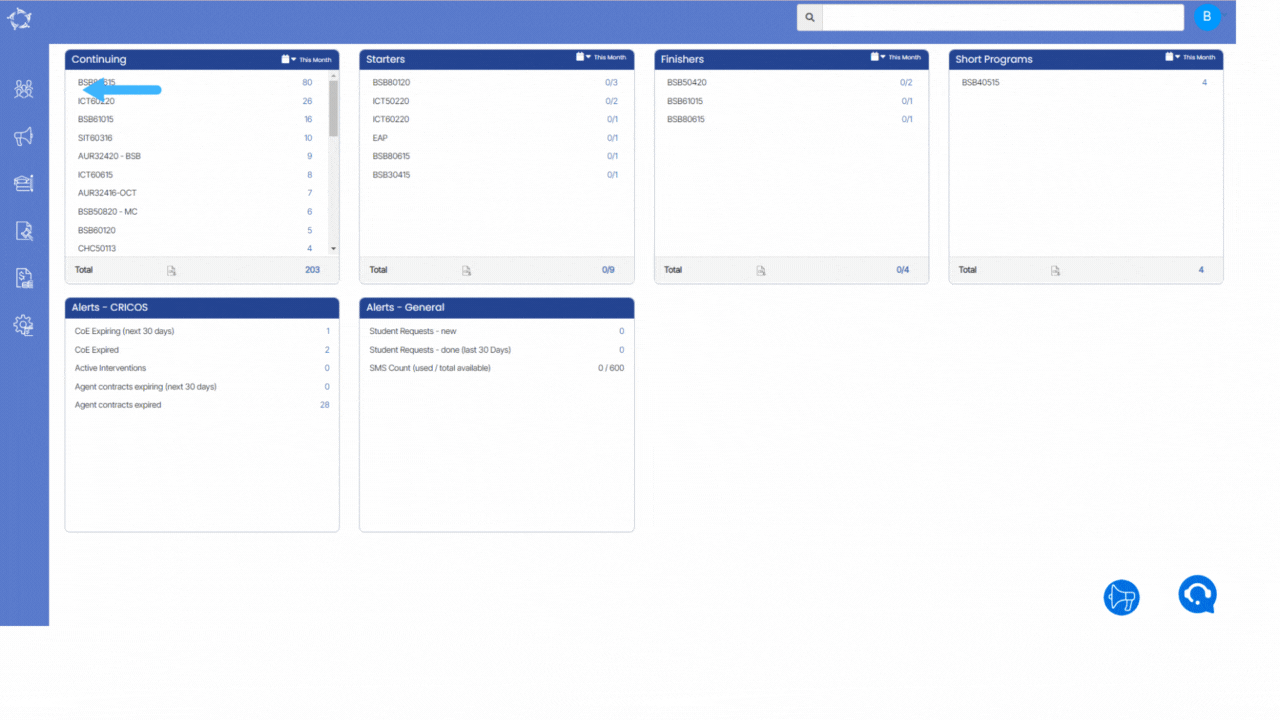
Main Dashboard > Student Management > Results

On the Results screen, you can bulk mark results for any subjects or units of study that are linked to enrolments. This means that instead of marking each result individually, you can mark them all at once. It’s a handy feature that can save you a lot of time and effort.

Steps to use this screen

  • To select whether you want to mark results for subjects or units of studies, you can select the radio buttons provided. These buttons are typically located on the Results screen, and they allow you to choose between marking results for individual subjects or for entire units of study. Simply select the button that corresponds to your preferred option, and you’ll be able to proceed with marking results for the relevant subjects or units of study.
  • Select the Campus and Program from the drop-down as these are mandatory fields. These fields are often mandatory, meaning that you cannot proceed until you have selected an option from each of them.
  • To select a date range for enrolments, you will typically need to specify both a start date and an end date. This is often a mandatory field, meaning that you cannot proceed until you have provided this information. Once you have selected your preferred date range, the system will show you all enrolments that fall within that time period. This is a useful feature that can help you quickly and easily locate the information you need.
  • To select a timetable and classes, you will typically need to choose these from the drop-down menus provided. This will allow you to specify the specific timetable and classes that you are interested in. It’s important to choose the correct timetable and classes, as this will ensure that you are viewing the correct information and that your queries or requests can be processed accurately.
  • If you select the “Show Only Current Student” tick box, the system will only display enrolments that are currently active or current in the system.
  • The “Subject/UoS” field will typically display a list of all the subjects or units of study that are linked to the program you have selected. This will allow you to mark the results for each subject individually, one by one. By selecting the relevant subject from the list, you can then proceed to mark the results for that subject specifically.
  • In addition to selecting the campus, program, date range, timetable, and classes, you may also have the option to choose the intake and group training plan from the drop-down menus. The intake typically refers to the specific period of time during which a group of students commence their studies

Note: It’s important to note that if you do not select all of the mandatory fields, including Campus, Program, Enrolments between, and Subjects/UoS, the system will not display any records of enrolments. This is because these fields are required to filter and display the relevant data, and the system needs all of this information to be able to generate the results you are looking for. Make sure that you have selected all of the necessary fields before attempting to access or view enrolment records, to avoid any errors or issues.

  • After you have selected all the desired filters and fields, you will need to select the “Show Records” button to load all the enrolments that match your selected filters. This will typically generate a list of enrolment records that meet your selected criteria, allowing you to review and manage the data as needed. The “Show Records” button is an important final step in the process, as it triggers the system to retrieve and display the relevant data for you.
  • Once you have generated the list of enrolment records that match your selected filters, you will need to select the relevant enrolments by selecting the tick boxes next to them. After selecting the enrolments you want to update, you can then choose the desired Result/Outcome from the drop-down menu and specify the Result date. You may also have the option to add any relevant notes or comments using the Notes icon or field. Once you have made all the necessary changes and updates, you can then select the “Save” button to store the updated data in the system.

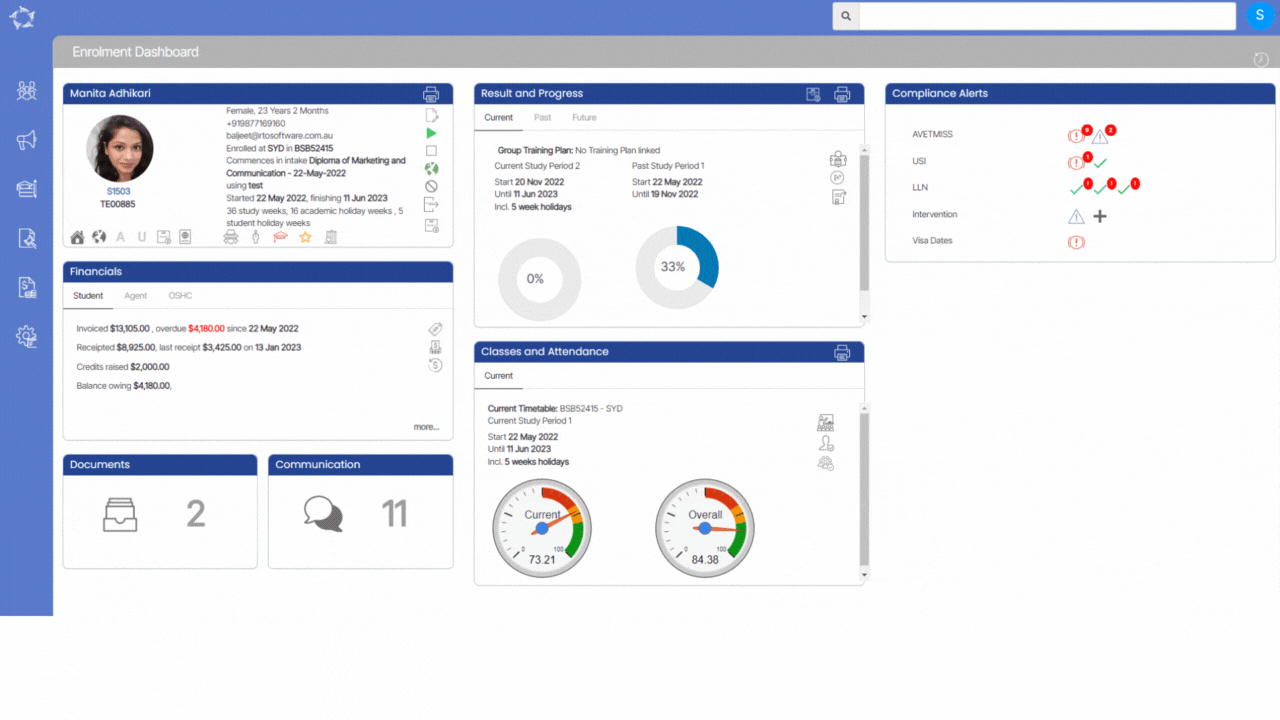
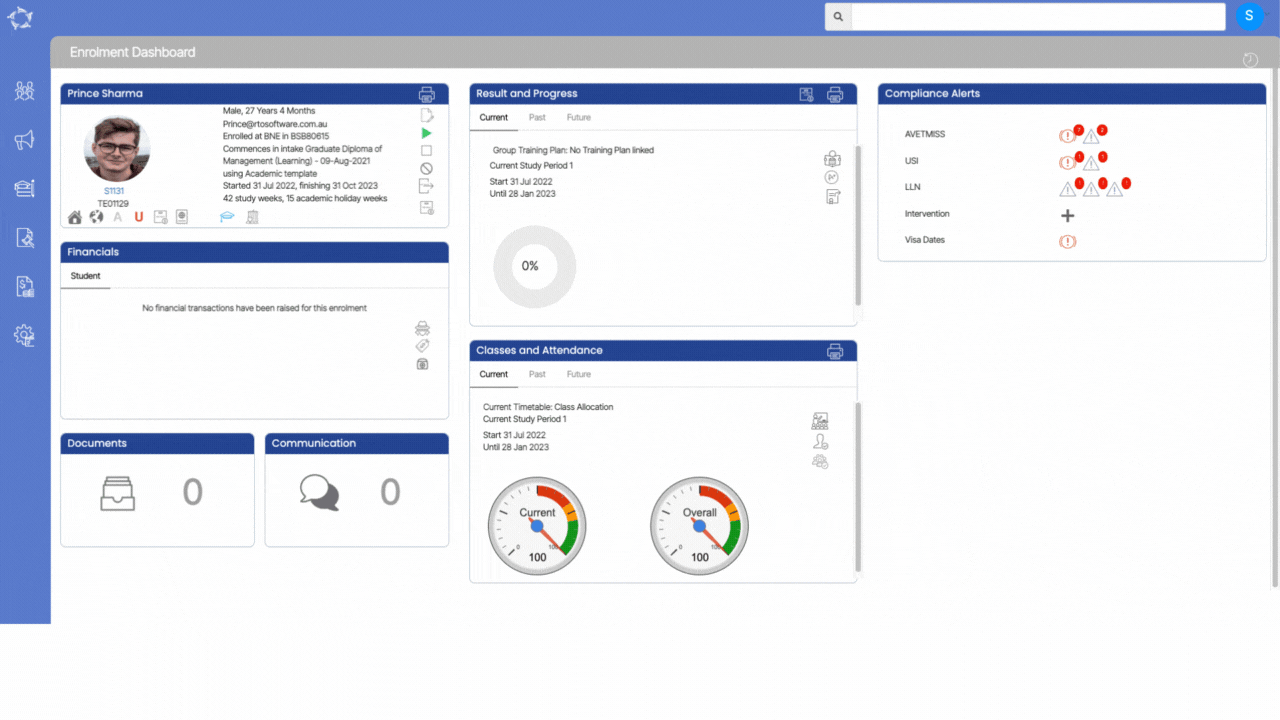
After you have selected all of the relevant parameters and fields, and updated the enrolment records as needed, the system will refresh the screen and update the results in the Enrolments grid. Additionally, the updated results should also be reflected in the Enrolment Dashboard > Training Plan and Results.

Agent Pending payment – Business Rules

Before using the pending payment welcome screen or processing any pending payments, there are several important business rules that you should follow to ensure accuracy and efficiency. These include:

Sr No.Rules
1If you are not seeing the pending payment welcome screen and instead are seeing the Commission payment screen, it could be because the system setting is not enabled for your site. The pending payment welcome screen is a feature that displays pending payment batches that have not been paid or approved yet.
2To enable this feature, you will need to contact support to turn on the system setting for your site. Once the setting is turned on, you should be able to access the pending payment welcome screen and view all pending payment batches that require processing or approval.
3The pending payment welcome screen is a system feature that displays all pending payment batches that have not yet been paid or approved. Once a payment batch has been marked as paid or approved, it will no longer appear on the pending payment welcome screen.

Generate Bulk Invoice

When you have many students with overdue invoices or need to raise fees for a class of students, it can be time-consuming to do so one by one from the Enrolment Dashboard. Instead, you can use bulk invoicing options available in TEAMS. To raise invoices in bulk, you typically need to select the relevant listing screens Continuing Listing Screen, Starters Listing Screen, Finishers Listing Screen, Short Program Listing Screen etc displaying the students.

Choose the group of students for whom you want to raise invoices, and create the invoices or fees with the necessary details such as amount, due date, and any other relevant information. Review and confirm the invoices or fees before submitting them, and the system should generate and send them automatically to the selected students.

Here are some general steps you can follow to generate invoices in bulk:

IMPORTANT – When generating invoices in bulk, it’s important to note that you can complete steps 3 and 4 in any order. However, it’s crucial to remember not to select the “SAVE” button until you have completed both steps. In step 3, you will need to select the fees you want to include in the invoice, while in step 4, you will need to enter invoice information such as the date and any discounts or adjustments. Once you have entered all the relevant fees and invoice details, be sure to select the “SAVE” button at the top of the screen to save the invoice.

Step 1 – Navigate to the Continuing, Starters, or Finishers listing screen and select the tick box next to the student numbers for the students you want to generate invoices.

Step 2 – Select the “Burger Menu” (typically three stacked lines) in the top right-hand corner of the screen. From the dropdown menu that appears, select “Generate Bulk Invoices

Step 3 – When generating bulk invoices, you will need to select the fees you wish to include in each invoice. The process for selecting fees is similar to that of creating individual invoices from the Enrolment Dashboard. To select fees, go to the Fee Selection section and choose the Fee Type from the list. The system will then refresh the dropdown list for Fee Name, and you can select the relevant fee for the invoice. If necessary, you can adjust the amount or add a discount before adding the fee to the Fee Items section. It’s essential to select the “+Add” button to ensure the fee is added to the invoice. Once you have selected all necessary fees, you can proceed to review the invoice details and generate the invoices in bulk.

Step 4 – After selecting the fees for the invoices in the Fee Items tile, you can proceed to the Invoice Summary section. Here, you will see the total amount that will be invoiced, which includes any applicable discounts or adjustments. For example, you might see a total of fees that have been selected along with a discount of 10%. You will also need to select the invoice date, which will be used as the due date for the invoice. Once you have entered all of the necessary information, be sure to select the “SAVE” button located in the top right corner of the screen. This will ensure that the invoice is saved and linked to the selected enrolments.

Step 5 – To view invoices for a particular student, you can go to the Enrolment Dashboard and select the Financials tile. From there, select the Student tab and then select the “more…” option next in the bottom right corner of the screen. This will take you to the Student Financial detail screen to view a list of all the invoices associated with the selected enrolment. You can then review each invoice to see details such as the fees included, the invoice date, and the amount due.

Student Dashboard – Edit Enrolment/s Dates

Student Dashboard > Burger Menu > Edit Enrolment/s Dates

This screen allows you to modify the intake date for a student’s enrolment, even after their application has been processed and they have become a student. This can be helpful in cases where the student needs to defer their enrollment due to a visa delay or personal reasons. To simplify the process and save time, you can now modify the intake dates for multiple enrolments of the same student at once.

IMPORTANT – When using this screen, ensure that all necessary changes to enrolment dates are made before marking the enrolment as started. If changes need to be made after the enrollment has been marked as started, you may need to contact our support team for assistance.

The below steps will explain to you how you can change the intake date:

  • To utilise this option, you need to select the specific enrolments for which you want to modify the intake dates.
  • Select the Burger menu icon on the Current and Upcoming enrolments where you manage student enrolment information. The Burger menu icon typically looks like three horizontal lines stacked on top of each other.
  • Look for the option titled “Edit Enrolment/s Dates” and select it.
  • The screen will then take you to the Edit Enrolment/s Dates screen where you can modify the intake dates for one or more enrolments.
  • By default, the system will show the section for 1st enrolment and you can expand other enrolment sections by selecting the expand (+) button.
  • To enrol the student in a new intake, you must select the desired intake from a dropdown menu. Once an intake is selected, the system will automatically populate other fields such as the start date, study weeks, holiday weeks, and end date.

IMPORTANT – When changing the intake for enrolment, it may be necessary to update various dates associated with that enrolment, including invoice dates, invoice due dates, and subject dates.
To make this process easier and more efficient, the system appears to have a checkbox labeled “Update subject dates“. By selecting this checkbox, the system will automatically update the relevant dates associated with the enrolment to match the new intake. It is recommended that users always check this box to avoid the need for manual updates on a case-by-case basis.

Once all the above steps are done, select the save button, the system should update the enrolment dates as per the changes you have made. It is recommended that you double-check all dates and information to ensure that everything is correct before proceeding.

Enrolment Dashboard Reports

Different reports are available on different tiles under the Enrolment Dashboard. You can see these reports under the print icon

Reports on Student profile tile:

Each report listed below is a link to a post where you can understand the report and its parameters and view an example of the report.

Reports on result and progress tile:

Each report listed below is a link to a post where you can understand the report and its parameters and view an example of the report.

Reports on classes and attendance tile:

Each report listed below is a link to a post where you can understand the report and its parameters and view an example of the report.

Applicant Dashboard – Edit Application/s dates

Applicant Dashboard > Applications Tile > Burger Menu

This screen allows you to modify the intake date for an applicant’s application at the applicant level when the application is not converted. This can be helpful in cases where the student needs to defer their application due to a visa delay or personal reasons. To simplify the process and save time, you can now modify the intake dates for multiple applications of the same applicant at once.

Note: When using this screen, ensure that all necessary changes to application dates are made before converting the application. If changes need to be made after the application is converted then you can make the changes from the Student Dashboard – Edit Enrolment/s Dates screen.

The below steps will explain to you how you can change the intake date:

  • To utilise this option, you need to select the specific application number for which you want to modify the intake dates.
  • Select the Burger menu icon on the Applications Tile where you manage the applicant’s application information. The Burger menu icon typically looks like three horizontal lines stacked on top of each other.
  • Look for the option titled “Edit Application/s Dates” and select.
  • The screen will then take you to the Edit Application/s Dates screen where you can modify the intake dates for one or more applications.
  • By default, the system will show the section for 1st application and you can expand other application sections by selecting the expand (+) button.
  • To enrol the applicant in a new intake, you must select the desired intake from a dropdown menu. Once an intake is selected, the system will automatically populate other fields such as the start date, study weeks, holiday weeks, and end date.

IMPORTANT – When changing the intake for an application, it may be necessary to update various dates associated with that application, including invoice dates, invoice due dates, and subject dates.

To make this process easier and more efficient, the system appears to have a checkbox labeled “Update subject dates and Generate New Invoices“. By selecting this checkbox, the system will automatically update the relevant dates and new invoices associated with the application to match the new intake. It is recommended that users always check this box to avoid the need for manual updates on a case-by-case basis.

Once all the above steps are done, select the save button, and the system should update the application dates as per the changes you have made. It is recommended that you double-check all dates and information to ensure that everything is correct before proceeding.

Student Results Listing Report Filters

Dashboard > Student Management > Student Results Listing

The Students Results Listing report filters screen has General tab and Advanced tab. The below table will show you filters with their explanation.

General FiltersExplanations
Report based onThis field has three radio buttons (Result Dates, Enrolment Dates, Result Entry Dates).
Upon selecting any of these radio button the system will print the report for you accordingly.
Report Start DateBased on the radio buttons selection and when you select the start date the system will print the results within the start date selected.
Report End DateBased on the radio buttons selection and when you select the end date the system will print the results within the end date selected.
Enrolment No.This is magic search field and you select the specific enrolments to generate the report
Campus NameSelect the campus from the dropdown.
SubjectsThis is a magic search field and you cam search multiple subjects in this filed.
TimetableYou can select the timetables
ClassesYou can select the time of class from this button.
EmployerThis is magic search field and you select the specific employer to generate the report
Print modules based onThis field has four radio buttons(All, With Results, With Unsuccessful results, With no Results). You can only select one radio at once to run the report
Show Inactive Subjects and UoSSelect this tick box to show inactive subjects and UoS in the report
Print Attempt RecordsSelect this tick box to Print Attempt Records in the report
Include Enrolments You can select (All, Not Yet Started, current or Finished) and based on the enrolment status selected, it will show in the report
Group byPlease see TEAMS Basics
Sort byPlease see TEAMS Basics
Asc and DescPlease see TEAMS Basics
AdvancedExplanations
Show Enrolment Type ofThis field has three radio buttons(Active, Inactive, both) from which you can select one option and the system will print them accordingly
Enrolment TypeThis is a user code in TEAMS and based on the user code created for enrolment type, you can select it from the dropdown

Students Results Listing Report Data Columns

Report ColumnsExplanations
Student No.Student Number
Enrolment No.Enrolment Number
Student NameThis column will show student’s first name, middle name and last name
AddressThere are three columns (Address Line1, Address Line 2 and Address Line 3) and it will show you the student’s address here
SuburbSuburb updated on the on the Student’s address screen
StateAVETMISS Export – State Format
Post CodePost code updated on the on the Student’s address screen
Campusit will show you campuses name if you have selected multiple campuses on the filters screen
ProgramProgram Name
Enrolment typeThis is a user code in TEAMS and based on the User Code created, you can select the enrolment type.
EmployerEmployer name
TimetableIt will show you timetables name selected on the filters screen
Start DateStart Date of the enrolment
End DateEnd Date of the enrolment
Date of birthDate of Birth of the student
Residential Post dateCurrent residential post code of the student
Total SubjectsTotal number of subjects linked to the enroments
Date of Certificate IssuedThis will show you the certificates issued date
Date statement of AttainmentThis will you the date of the statement of attainment issued
Enrolment StatusEnrolment Status (Started, not started, finished, cancelled)
Enrolment Outcomeenrolment outcome updated on the Edit Enrolment Details screen
Trainer NameTrainer name
Unit of studyIt will show you unit code (Unit of study means subject that a student undertakes as a part of a course of study)
Subject CodeSubject Code Field shows you the Unique Code of Subject.
Subject NameSubject Name field shows you the particular name of Subject.
Scheduled HoursHours scheduled for the subject
ScoreScore
ResultThis will show you final result of the subjects
Result DateFinal result date
Subject Start DateSubject Start Date
Subject End DateSubject End Date
PointsPoints Achieved
Fee for ServiceIt will show you Yes if the enrolment is FFS and No if its not
Entry DateProcessed date
Attempt No.
Attempt

Student Result Listing Report

Dashboard > Student Management >Student Results Listings

history of changes

This report allows you to print the results of the subjects linked to the enrolments including the Subjects dates and result dates. There are number of filters which will allow you to print the report accordingly.

Student Result Listing Report Filters

Student Result Listing Report Data Columns

Attendance Listing Screen

Enrolment Dashboard > Classes and Attendance Tile > Attendance Icon

This screen will allow you to mark the attendance for enrolment. You can also send an email and SMS to the student’s enrolment and also view the list of marked attendance.

The screen will show you different tiles as explained below:

This tile will show you the basic details of the enrolment and all the icons in this tile are read-only. Please note – This screen will not allow you to make any changes in the profile tile

This tile will show you the current study period of enrolment with start and end dates, duration in weeks, total sessions, and marked attendance. It will also show you the current and overall attendance percentage.

This tile will show you a drop-down where by default the current study period will be selected and if you mark the attendance for the past classes then you can choose the study period as per your requirements. Also, you can send an email and SMS to the student from this tile. You need to select the study period to mark the attendance for the student.

This tile will allow you to mark the attendance for enrolment with the selected class date and class name as shown below.

FieldsExplanations
Class DateSelect the class date from the calendar icon
Class NameWhen you select the class date then the system will show you all the Classes that are linked to the enrolment within that date range.
Absent HoursThese are the absent hours that are attended by the student.
Absent MinutesThese are the absent minutes that are attended by the student.
Attended HoursWhen the absent hours or absent is selected, the system will calculate the total attended hours and will show it as a read-only field.
Attended MinutesWhen the absent hours or absent is selected, the system will calculate the total attended minutes and will show it as a read-only field.
ApprovedIf the student’s sick leave is approved then select the approved tick box.
SickThis tick box is selected, when the student has applied for sick leave.
NotesYou can also add notes.