This is the tag we use to approve any post (old and being edited etc) through revisions. Once the majority of all existing/old posts have gone through our edit process and have this tag, we will then bulk remove it from them.
This screen will show you the Program details along with the subjects and their delivery dates. The system will show the subject dates according to the option selected for the Populate subject dates using the New Application – Choose Programs screen.
Note –DO NOT close your browser while you are walking through the steps of this process, as you will loose what you have entered. When you select the NEXT button in each step of this process the system does not save what you have done to the database. It allows you to go back in the process to change what you have selected, however, it is not until the final step where you select the FINISH button that the system will fully save everything to the database for you.
Once you select the Drag down button, the system will expand the screen and you will be able to see the subjects linked to the program.
We have made some changes to allow more flexibility to the Agent commission invoice section of the new application process. Changes we have done include:
selecting or unselecting to pay commission on a specific fee that you are raising against the applicant/student’s invoice/s
selecting or unselecting whether the system should calculate GST on the agent’s individual commission invoices and
raising an agent bonus invoice that will then link to the application
The above options show different steps of the new application process. You can find them as follows:
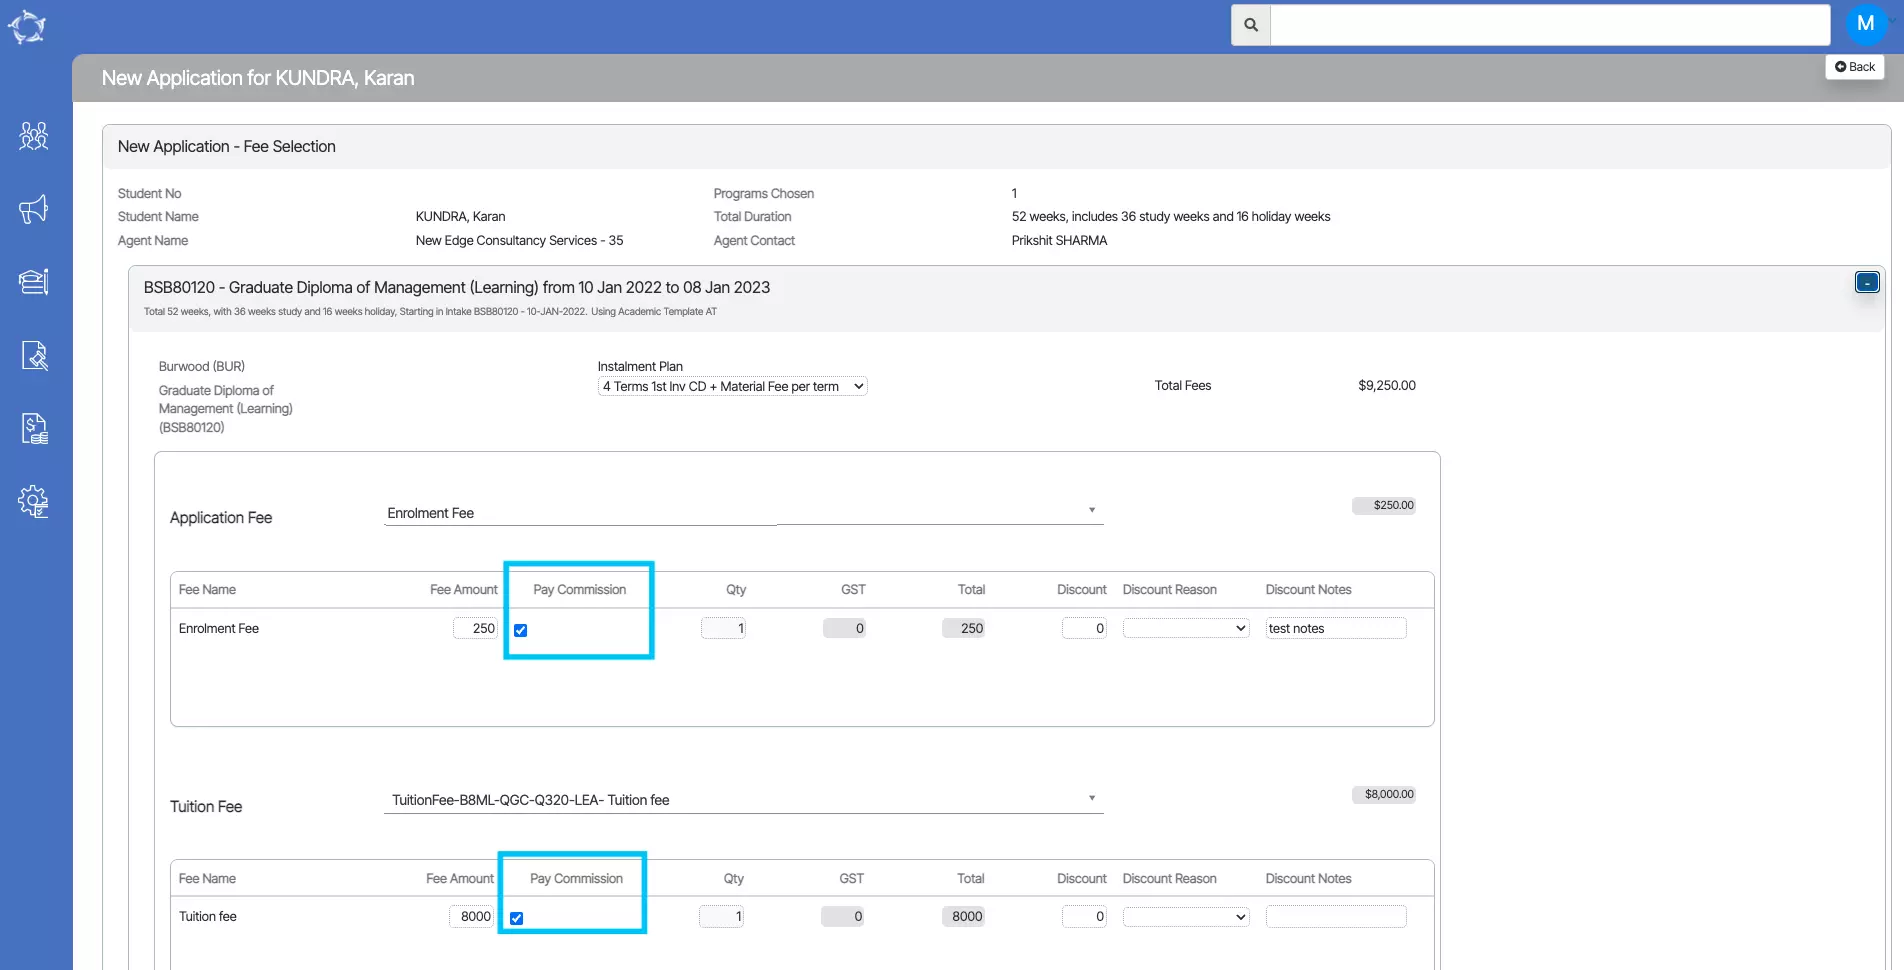
Selecting or unselecting to pay commission on a specific fee that you are raising against the applicant/student’s invoice/s
In the Agent details screen, there is a tick box for Pay Commission. Whether this is selected or not, when an agent is linked to an application, you will have the option to either select or unselect the Pay Commission tick box against a student’s fee that you are raising for the application. If you select it, then the system will calculate the commission on that fee and if you unselect it will NOT calculate the commission for the agent for that fee.
This option is available in the New Application > Fee Selection step as below:
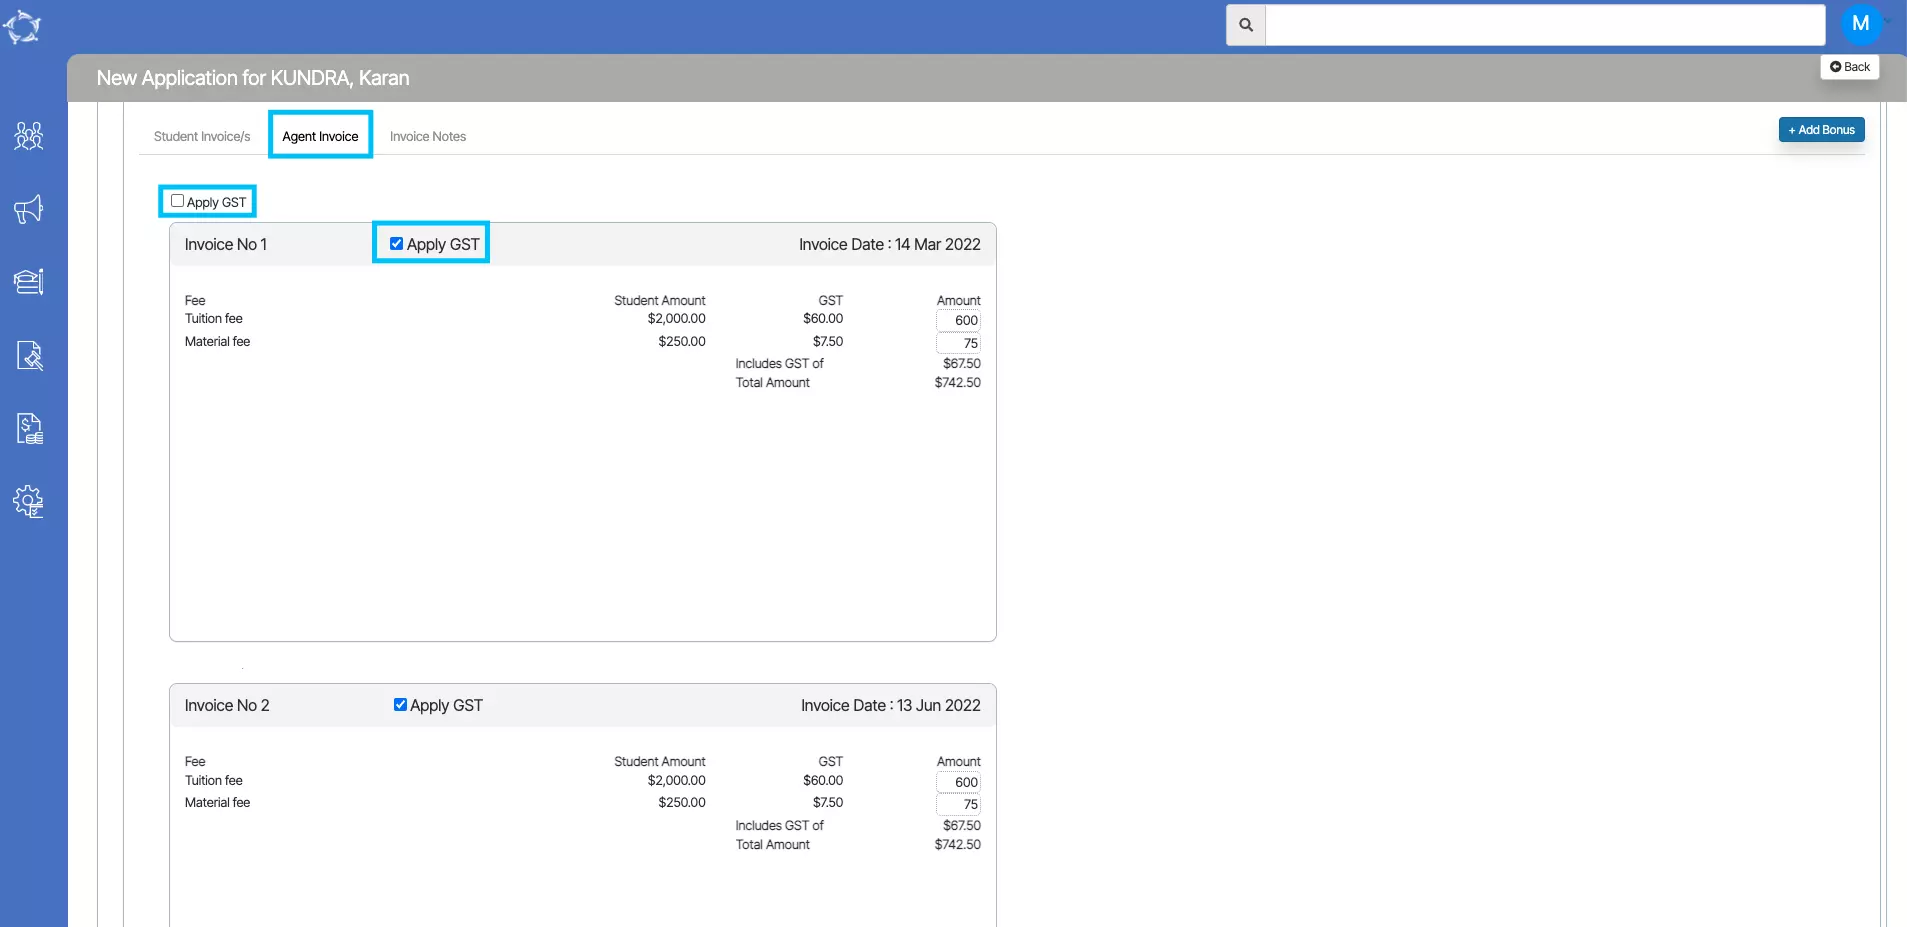
Selecting or unselecting whether the system should calculate GST on the agent’s individual commission invoices
In the Agent details screen, there is a tick box for Apply GST. Whether this is selected or not, when an agent is linked to an application, you will have the option to either select or unselect the Apply GST tick box against all or individual agent commission invoices that the system will raise for you.
This option is available in the New Application > Invoice Preview steps on the Agent Invoice tab as below:
Raising an agent bonus invoice that will then link to the application
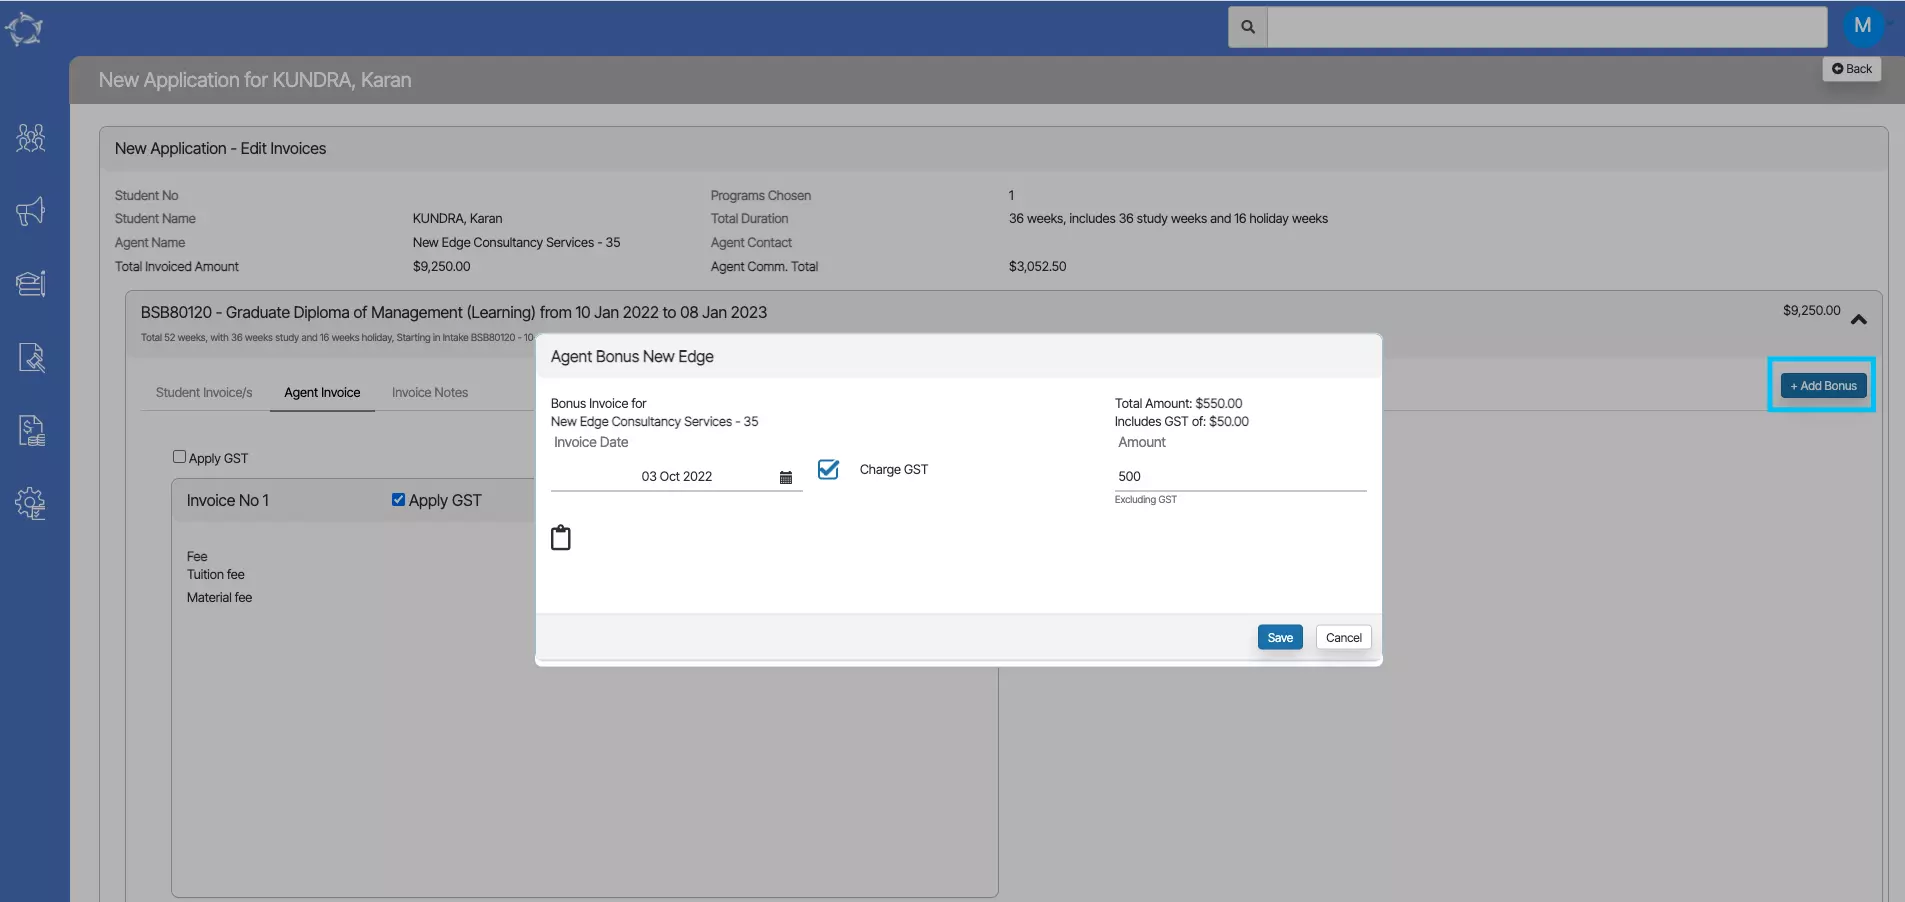
If you wanted to raise an agent Bonus Invoice you would do this from the Agent Dashboard > Profile Tile > Bonus Invoice icon. However, we have introduced this option in the New Application > Invoice Preview steps on the Agent Invoice tab as shown below.
IMPORTANT: there is a difference between raising an agent bonus invoice from the Agent Dashboard to raising it in the new application process. From the Agent Dashboard you DO NOT have to link the bonus invoice to one or many enrolments, however from the new application process, the system will automatically link it to the application program that you link the bonus invoice to.
This option is available in the New Application > Invoice Preview steps on the Agent Invoice tab > +Add Bonus button is shown below.
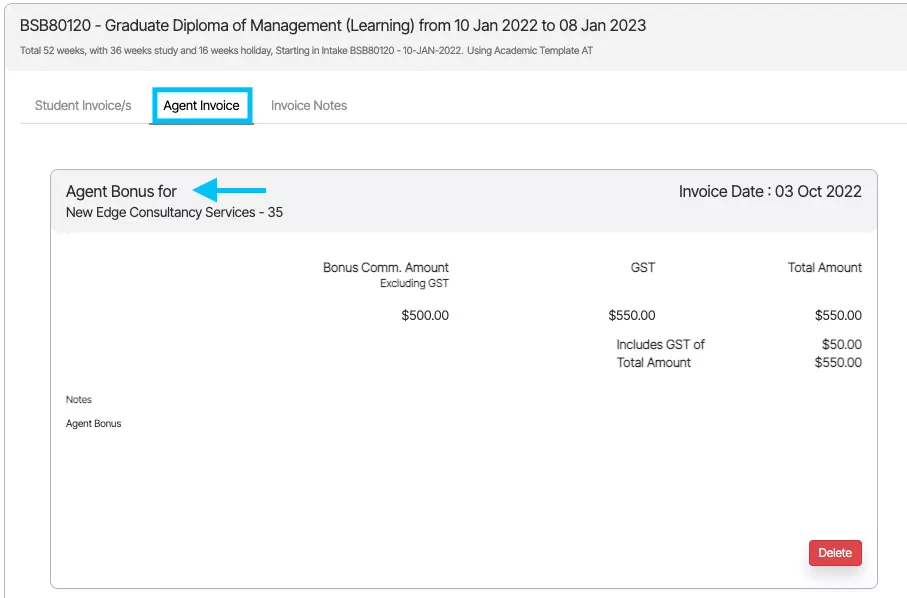
Once you have added the Bonus, the screen will refresh and you will be able to see the Agent Bonus invoice for the agent.
Note – You can delete and recreate the agent bonus from the same screen.
The user’s account will get locked if they have repeatedly added the incorrect password while logging in.
You can unlock the user’s account from the user entry screen (Main Dashboard > System Admin > User) and once you are on the user welcome screen, you need to search for the user by his/her name and then select the Apply button.
The screen will refresh and will show you the user name in the grid and from there you can select the edit button to unlock the user’s account.
Once you select the Edit button, you will lead to the user entry screen where you can see the ‘Account Locked’ check box is selected. You need to Unselect this check box.
IMPORTANT: If the user’s email address and a mobile number have not been updated on the user entry screen, then the system will not allow you to unlock the user’s account and you will not be able to save the screen. It is important to update the email address and mobile number of the user.
Agent Bonus is an amount that you wish to raise as an invoice and pay to the agent that is not a part of an agent commission invoice that the system has automatically raised when a student’s invoice was raised for an enrolment.
When you select the Bonus Invoice icon from the Agent Profile section, a popup screen will show, where you can create a bonus invoice for the agent.
Note – Most of the fields in the popup are self-explanatory and you can add the relevant information where needed.
If you want to link the Bonus Invoice to one or many enrolments from this screen, then you need to select the tick box for Link Bonus Invoice with Enrolments.
When you select this tick box, it will show you a search field where you can enter a student’s name and it will show you a list of any enrolments that the agent is linked to where the student name matches. Select an entry and it will be added to the invoice. You will need to search for each individual student’s name and enrolment to add them to the bonus invoice.
Continuing on from our initial changes to the login screen back in August, we have made further improvements to this screen and the login process.
The main improvement we have done is where you enter the wrong password and how many attempts it will allow you to do this and what the system will do in each attempt scenario.
How many times can you enter your password incorrectly before you are locked out completely?
You are entitled to six (6) attempts before the system will lock you completely. However, based on a certain number of attempts the system will sequence lockouts as follows:
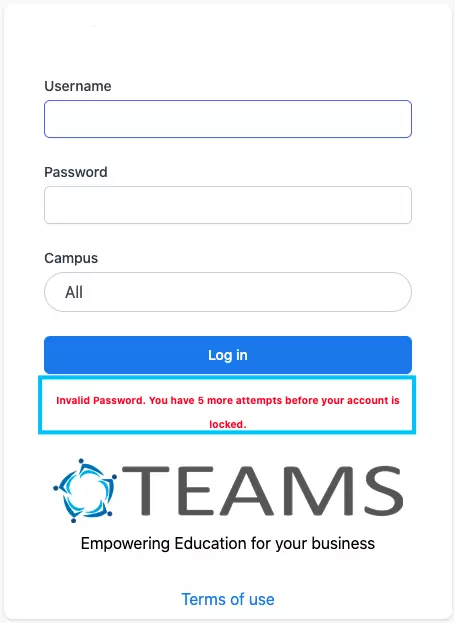
Attempt 1 – when you enter the wrong password for the first time, the system will show you an Invalid Password. You have 5 more attempts left before your account is locked as shown in the screenshot below.
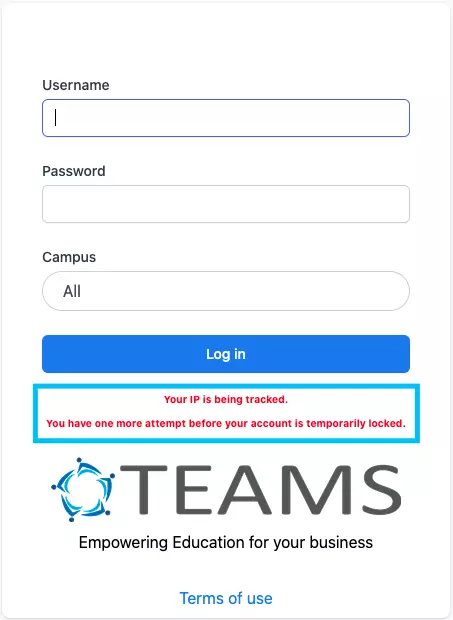
Attempt 2 – when you enter the wrong password for the second time, the system will warn you with the following message Your IP is being tracked. You have one more attempt before your account is temporarily locked.
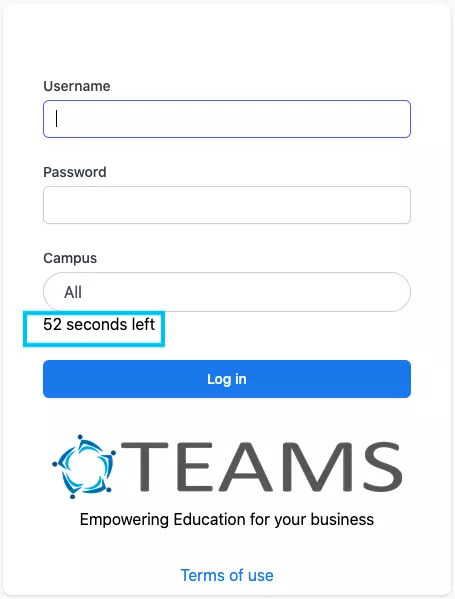
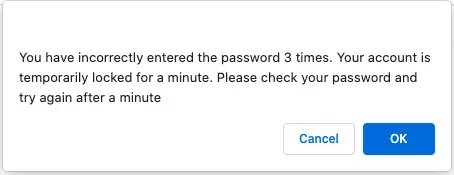
Attempt 3 – when you enter the wrong password for the third time, your account will be locked for 1 minute and the system will show you a countdown timer on the login screen as below. After the 1 minute is completed, the system will allow you to re-enter the password.
Note – the process of the attempt for three (3) attempts continues for attempts 4 and 5.
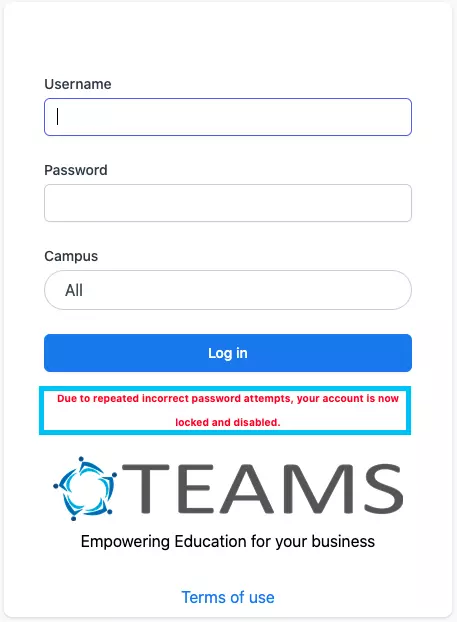
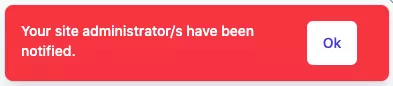
IMPORTANT – as you can see in the screenshots below, when you have entered the incorrect password for the sixth time, you will see the messages saying Due to repeated incorrect password attempts, your account is now locked and disabled. You will also see a popup on the screen saying Your site administrator/s has been notified.
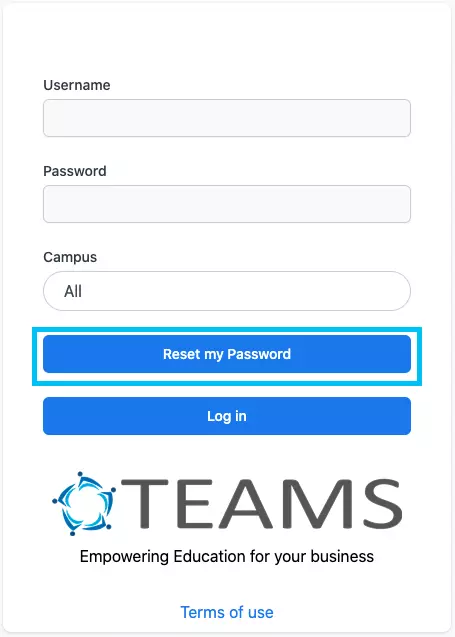
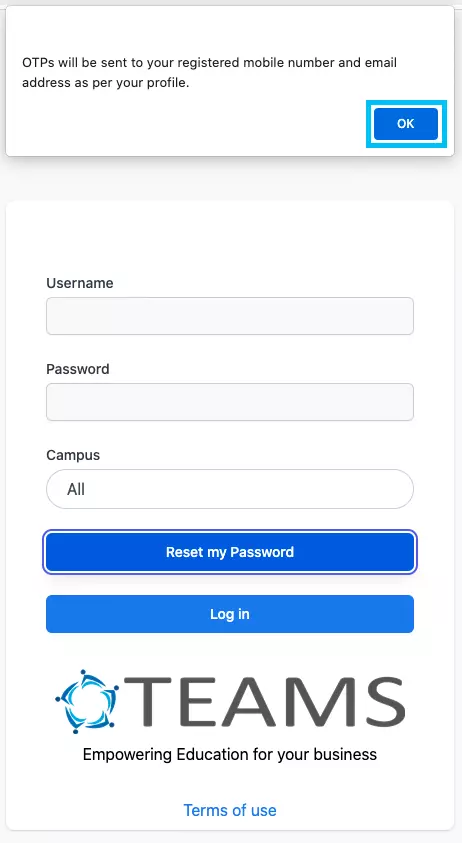
When you select the OK button in the message above regarding your site administrator/s being notified, the system will then prompt you to reset your password as shown below.
Important – for you to be able to reset your password, your user account in the system must already have your email address and mobile phone number set against them. If it doesn’t then the system will not allow you to reset your password. You need to then speak to your manager to get this resolved and updated so you can come back and reset your password.
If your user has been set up in the system with your email address and mobile number, then you will be able to proceed with resetting your password. If none or one of the pieces of information is missing you will see one of the following messages below:
Where you have no mobile number: You do not have a valid mobile/email on file for your account.
Where you have no email or mobile number: Please contact your site Administrator/s.
Where you have no email address: Please ask them to update your email/phone number so that you can reset your password and access the system.
What happens when you have an email and mobile set for your account?
The system will show you a new button for Reset my password as below. When you select it you will see a popup message on top of the screen saying OTPs will be sent to your registered mobile number and email address as per your profile.
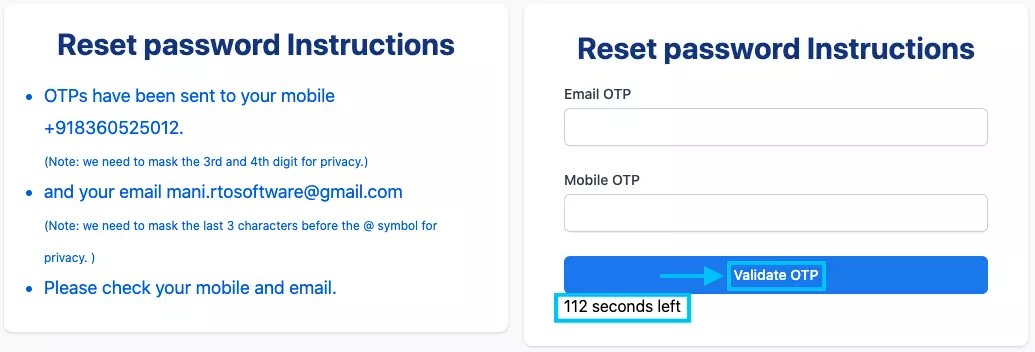
Important:For the below reset password process you have a timer of 120 seconds. When you receive the OPTs enter them into the relevant fields on the Reset password Instructions popup and select the Validate OTP button.
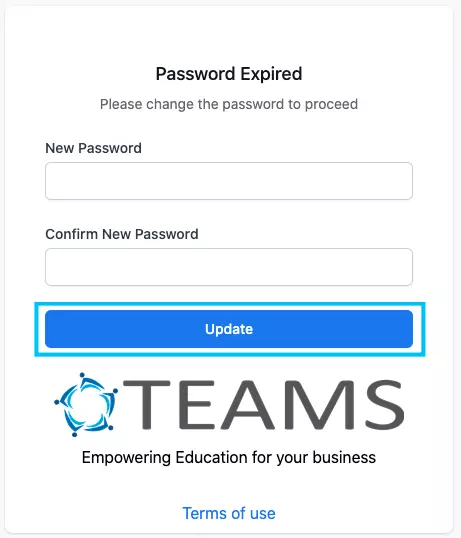
Once you validate the OTPs, You need to update your New Password and then Confirm the new Password in the fields. When you have updated, you will be taken back to the login page to access the system.
We have made some visual changes from the third step (New Application – Subject Delivery Dates) of the application process to the finishing application process.
We have made some changes in the transitioning enrolment process and now when you transit any enrolment, the system will show you the letter T at the end of the enrolment number which will indicate that the enrolment is a transitioned enrolment.
IMPORTANT – Generally, the enrolment number is the Parchment number unless you are using any other number as a parchment number. So the new Parchment number after the transition will have postfix T.
Rules – From the Compliance perspective, you cannot issue a certificate for two different competencies with the same parchment number. To ensure the same, the enrolment number and parchment number are changed after the transition.


 from the