This screen will show you all the fields being displayed in the student web form. If you are using any student webforms on your site, then the icon will show you the summary of all the fields that are selected in the webform on the Applicant and Student profile tiles
SMS count alert will show you the number of SMSs that have been used by a client. The number on the right side is the total count of SMSs which have been allocated for a month and the number on the left side is the count of SMSs that have been used by the client in a month.
Important : 5 is the count of SMSs that is used by Client. 600 is the total count of SMSs.
IMPORTANT – We believe that staying informed about the latest developments in our software is vital for optimising your experience and maximising the benefits of using our system. To view the latest updates and modifications on the Continuing Tile and Continuing Listing Screen, we kindly request you to navigate to the History icon showing above in the top right of the breadcrumbs and to see rules for the continuing Tile, please select the Rules icon . By selecting these icons, you will gain access to a detailed log of all the recent changes and rules made to the screens.
Overview
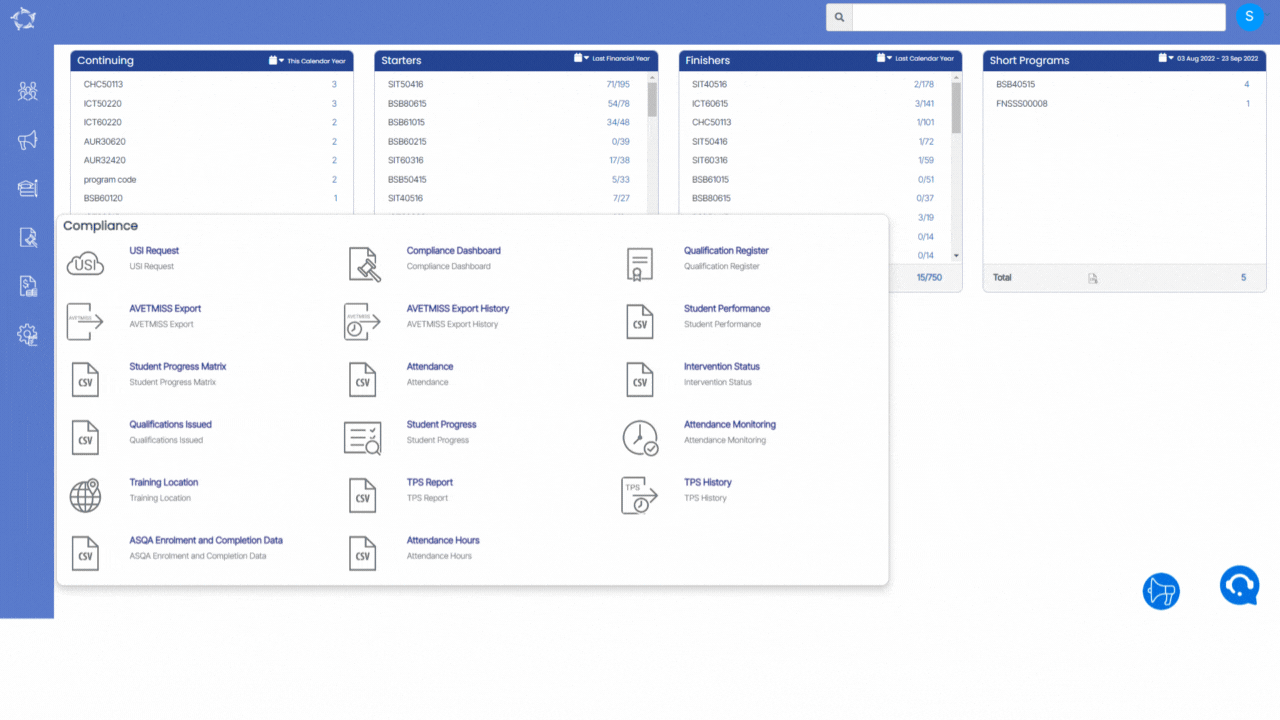
This tile allows you to view the list of continuing students for each program within the selected date range. Continuing Students are those students for whom the enrolment has been started but not finished yet. Also, the selected date range should fall within the enrolment start date and end date.
IMPORTANT: This tile will display the inactive programs too if those inactive programs have data to display. Cancelled enrolments are not included in the count.
How to use
Each program has its own count of students. Each count is a hyperlink that will take you to the Continuing Listing Screen for that specific program.
Also on the bottom end of this tile, a total count of all programs will be displayed which is again a hyperlink that shows you the records of all continuing students for all the programs being displayed on the tile for the selected date range. There we are showing a CSV icon to download CSV file for all the programs and counts being displayed in this tile.
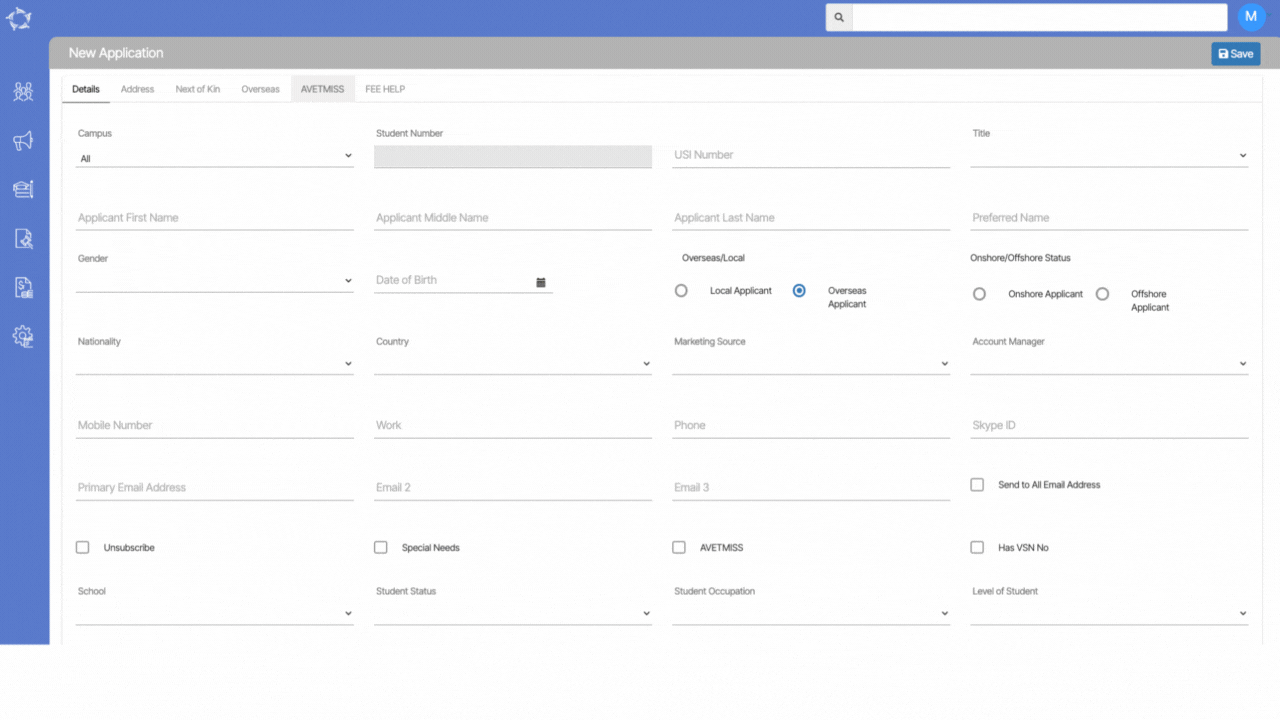
This screen allows you to add a New Applicant to your RTO with their basic details. This screen has different tabs where the system will allow you to add the details accordingly.
Note: The Overseas tab will only be visible if you select the Overseas/Applicant radio button while adding the applicant’s details and the same as you need to select the AVETMISS tick box to see the AVETMISS tab.
Tabs
Description
Details
This tab will allow you to add basic information for the applicant. Some fields are very basic and self-explanatory, for other important fields in this tab you can read more here.
Address
This tab will allow you to add the applicant’s Australian address information. From Local and Mailing addresses to the specific AVETMISS address format for VET students. It is important to note that for a VET student, you should enter the AVETMISS address first then you can select the copy tick box to copy the address to the local and/or mailing address fields. The system cannot copy from the local/mailing address fields to the AVETMISS address fields. For more information on Addresses click here.
Next of Ki
This tab will allow you to add information for the student’s Next of Kin. For more information click here.
Overseas
You will only be able to add the information under this tab if the applicant is set as an overseas student. To do this you need to select the radio button for Overseas Applicant that is under the field heading of Local/Overseas. When you do this, you also need to then update the student’s Onshore/Offshore Status by selecting a radio button to identify if the student/applicant is Onshore or Offshore. For more information click here.
AVETMISS
You need to select the AVETMISS tick box on the details tab to make the AVETMISS tab visible. When you do this, you will be able to add the AVETMISS details for the Applicant.
FEE HELP
You can add Fee HELP information for the applicant in this tab.
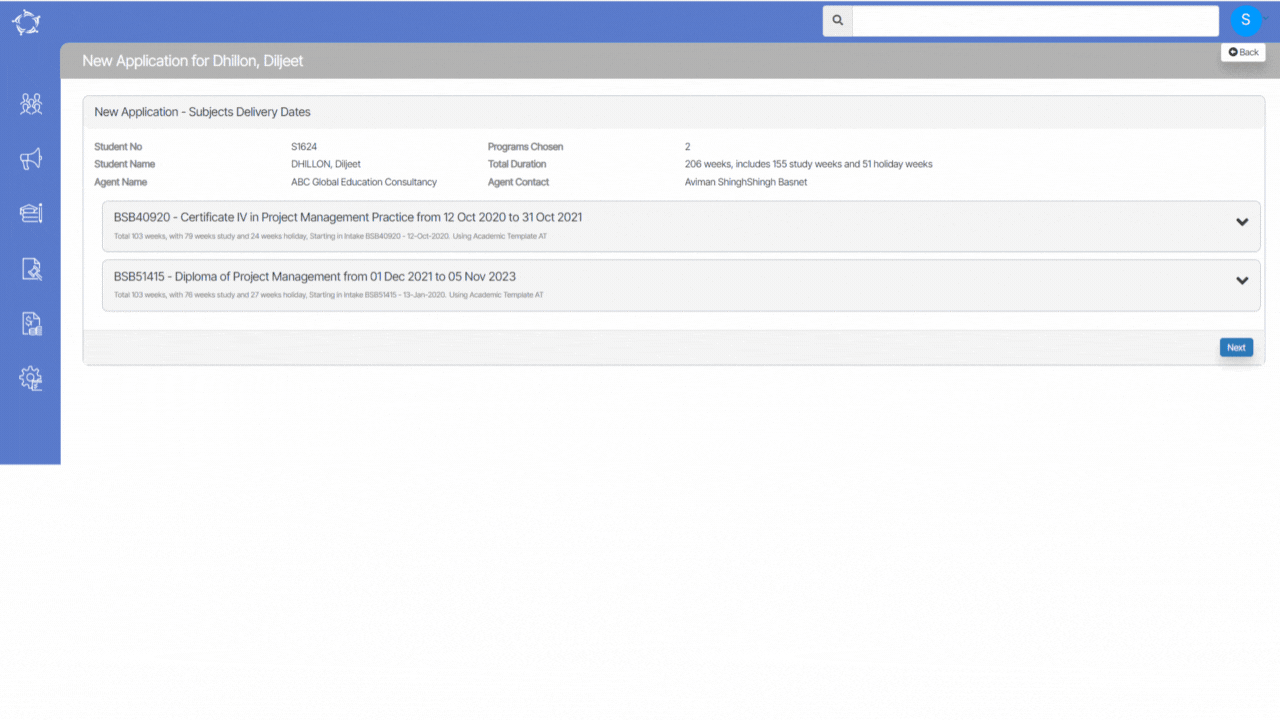
This screen will show you the Program details along with the subjects and their delivery dates. The system will show the subject dates according to the option selected for the Populate subject dates using the New Application – Choose Programs screen.
Note –DO NOT close your browser while you are walking through the steps of this process, as you will loose what you have entered. When you select the NEXT button in each step of this process the system does not save what you have done to the database. It allows you to go back in the process to change what you have selected, however, it is not until the final step where you select the FINISH button that the system will fully save everything to the database for you.
Once you select the Drag down button, the system will expand the screen and you will be able to see the subjects linked to the program.
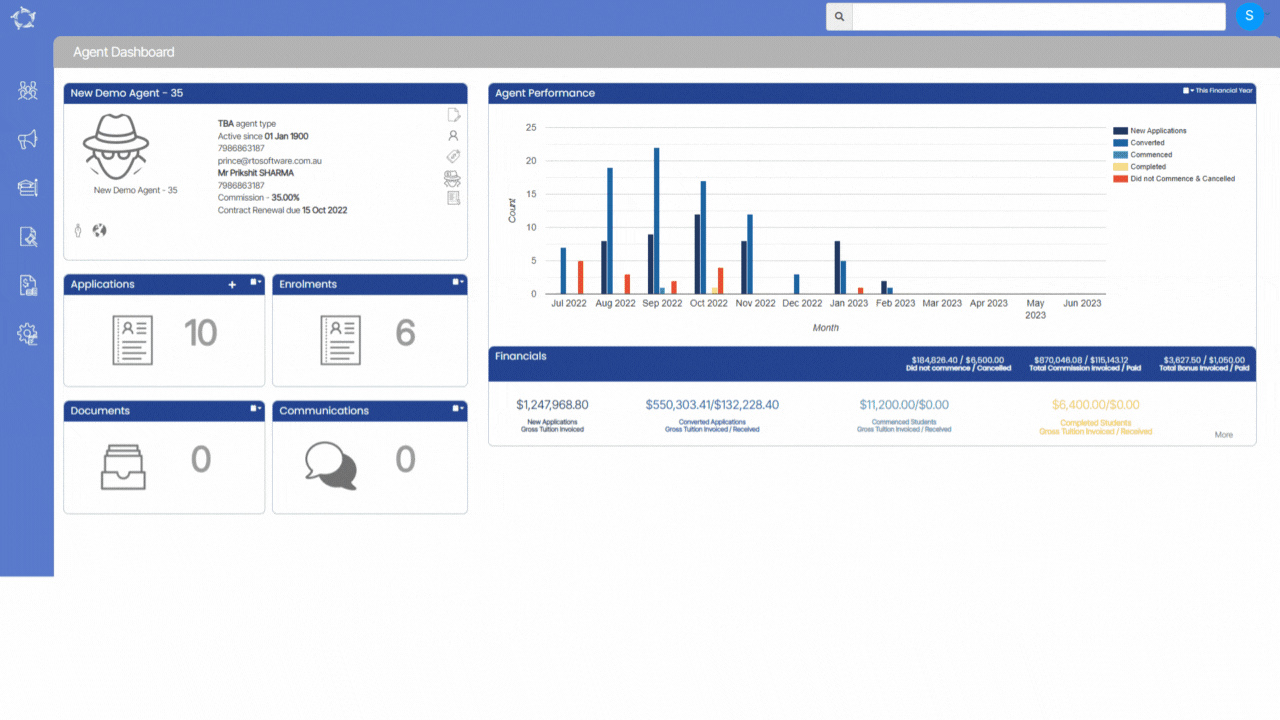
Agent Bonus is an amount that you wish to raise as an invoice and pay to the agent that is not a part of an agent commission invoice that the system has automatically raised when a student’s invoice was raised for an enrolment.
When you select the Bonus Invoice icon from the Agent Profile section, a popup screen will show, where you can create a bonus invoice for the agent.
Note – Most of the fields in the popup are self-explanatory and you can add the relevant information where needed.
If you want to link the Bonus Invoice to one or many enrolments from this screen, then you need to select the tick box for Link Bonus Invoice with Enrolments.
When you select this tick box, it will show you a search field where you can enter a student’s name and it will show you a list of any enrolments that the agent is linked to where the student name matches. Select an entry and it will be added to the invoice. You will need to search for each individual student’s name and enrolment to add them to the bonus invoice.
AVETMISS Export is the process of extracting AVETMISS data from TEAMS in a format that can be submitted to the relevant State Training Authority (STA) or the National Centre for Vocational Education Research (NCVER) in Australia.
AVETMISS Export involves selecting and extracting the required data fields and formatting them according to the AVETMISS data standard. This process ensures that the AVETMISS data is accurate, complete, and consistent with the data standards, which is essential for meeting the mandatory reporting requirements for your college.
When you are on the AVETMISS Export screen, you can choose between two export options which are State or National.
State – State level AVETMISS submission refers to the process of submitting AVETMISS data to the relevant State Training Authority (STA) in each Australian state.
National – National level AVETMISS submission, on the other hand, refers to the process of submitting AVETMISS data to the National Centre for Vocational Education Research (NCVER), which is the national agency responsible for collecting, managing, and analysing VET data in Australia.
Please choose your preferred option on the screen and then select the Next button. This will allow you to proceed to the next step in the process.
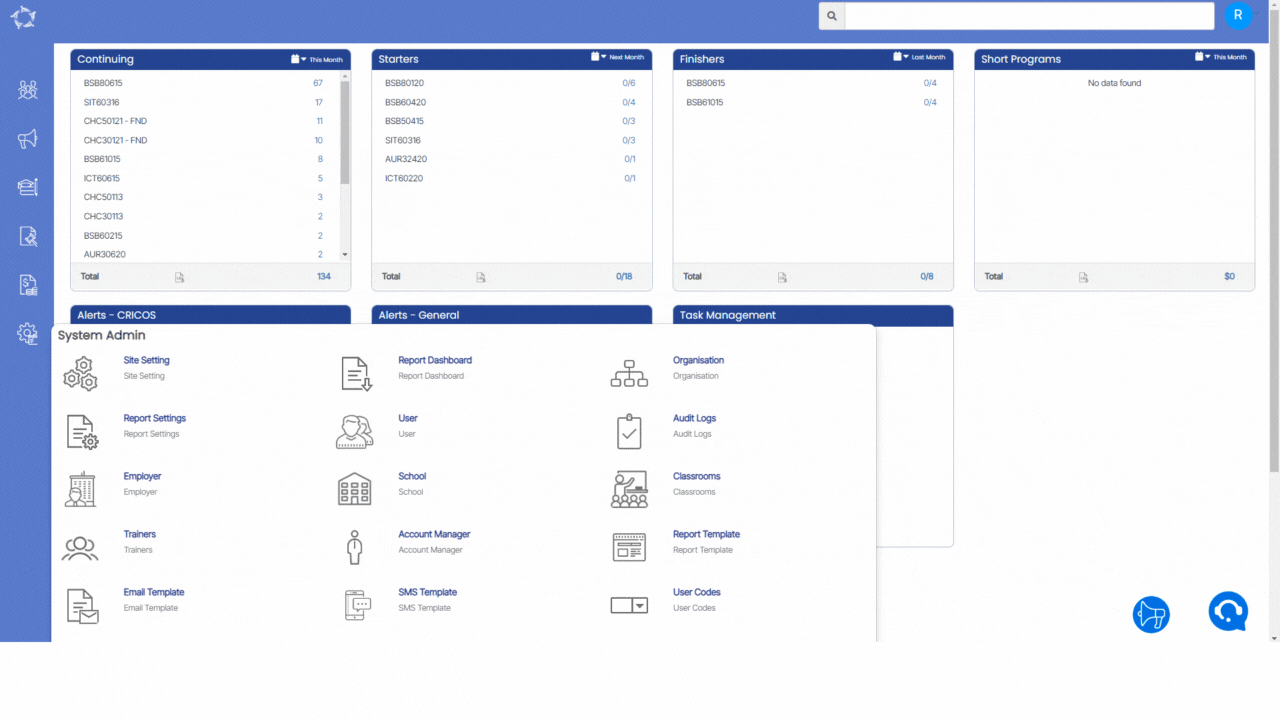
Main Dashboard > System Admin menu >Report Template
The Report Template screen in TEAMS offers users a valuable tool for generating various types of reports with ease. It serves as a comprehensive guide that enables the customisation of report formats, including essential documents such as offer letters, academic documents, invoices, receipts, and letters of warning. By providing a structured framework, the Report Template screen ensures that information is organised logically and presented in a clear and consistent manner across different reports.
This feature streamlines the report creation process, saving time and effort while maintaining professional standards. Whether it’s crafting official communication or documenting financial transactions, TEAMS’ Report Template screen empowers you to generate high-quality reports efficiently.
Select the below links, which will help you to understand the process of Report Template in TEAMS
Many of the dropdown menus you see contain a selection of User Codes in the system. These User Codes are only visible within the dropdown if you have personally generated them. By creating user codes for specific objects or groups, you can find the available options in the dropdown to meet your specific needs.
The user Code Welcome screen offers a comprehensive overview of user codes in the system. It allows you to efficiently manage and track user codes, add new ones, search for specific codes using the code Type dropdown, and perform necessary actions like editing or deleting codes directly from the grid.
For example, below are some user codes that outline the type of dropdowns in TEAMS
Gender – the options in the dropdown are standardised (hard coded) and you can’t add to them.
Marketing Source – the options in this dropdown you can customise using this screen.
Account Manager – when you set up Account Managers in the system then that is the list that will show in this dropdown.
 will show you the summary of all the fields that are selected in the webform on the Applicant and Student profile tiles


 to download CSV file for all the programs and counts being displayed in this tile.


 from the