An Offer Letter is a proposed confirmation of enrolment into one or many programs and what the dates and costs for the applicant are. Generally a college emails this Offer Letter to the student or agent and they review and either confirm or decline the offer.
In this step of the New Application process, you can generate your Offer Letter. Depending on the type of RTO/college you are and the type of student you are doing an application for, will determine what you may call an Offer Letter.
For example, for ESOS/CRICOS Providers who manage and deliver training to students from overseas in Australia on Student visas the standard terminology is either an Offer Letter or a Letter of Offer (LOO). However, for a local/domestic based RTO/college, you may call an Offer Letter an Enrolment Acceptance Advice. Either way, it is the same thing and you can customise the master template and have as many as you wish in the system.
Also, on the Application Finished screen, you will see two buttons called +Add OSHC Provider Details and +Add AVETMISS Settings.
Upon selecting the OSHC Provider Details button, a pop-up window will appear on the screen, which will allow you to enter and save the OSHC (Overseas Student Health Cover) details for the application. This new functionality will provide you with a more convenient way to add and manage OSHC information within the application process. Or you can also add their OSHC details for the application from the Applicant Profile by clicking on the Overseas icon.
Upon Selecting the AVETMISS Settings Button, this will take you to the Application Dashboard > Application AVETMISS Settings screen, where you can update both the application level AVETMISS settings and the subject level AVETMISS settings. This page allows you to customise the settings that determine how your application handles AVETMISS data, which is essential for managing and reporting on vocational education and training in Australia.
Note: Offer letters can be generated from different screens in TEAMS.
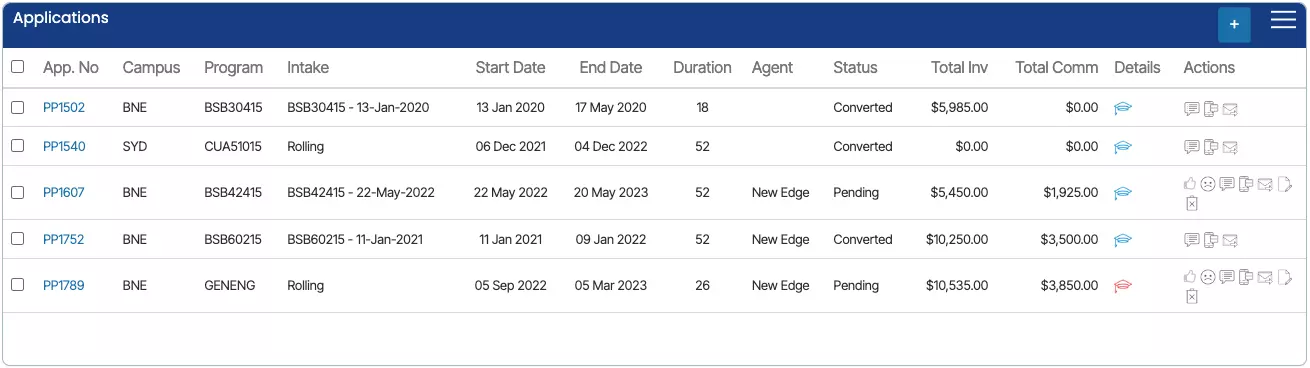
Applicant Dashboard > Applications Tile
Applications Dashboard > Application profile Tile
Student Dashboard > Current and Upcoming enrolments tile > Burger Menu
Please see below the process to generate an Offer Letter.


 below and you will be able to walk through each step OR you can select specific links below to go directly to the relevant step.
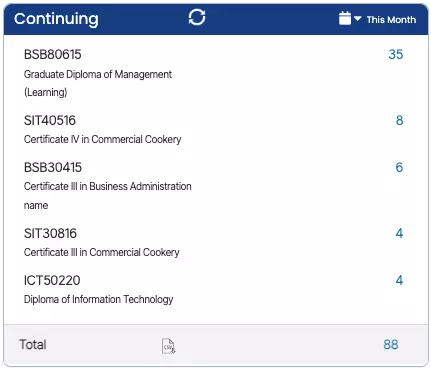
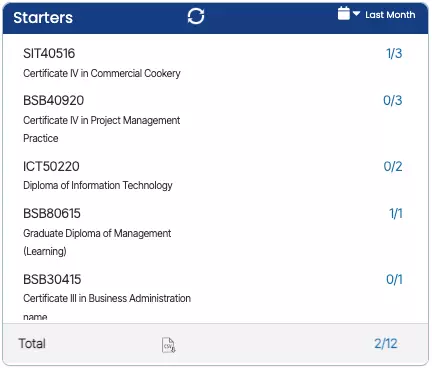
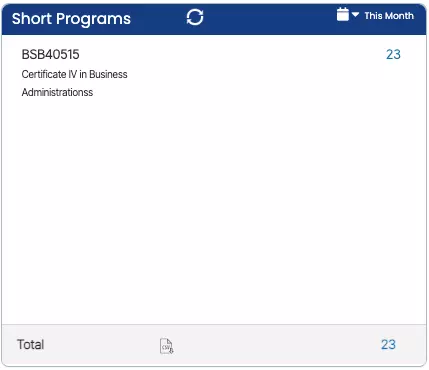
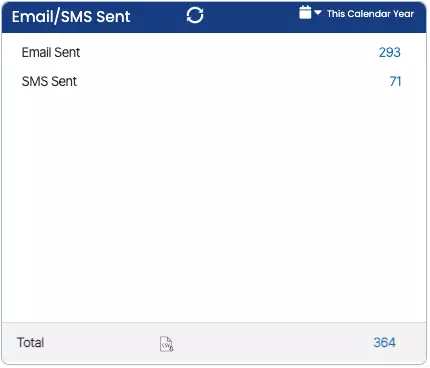
 icon to download the counts in a CSV file.