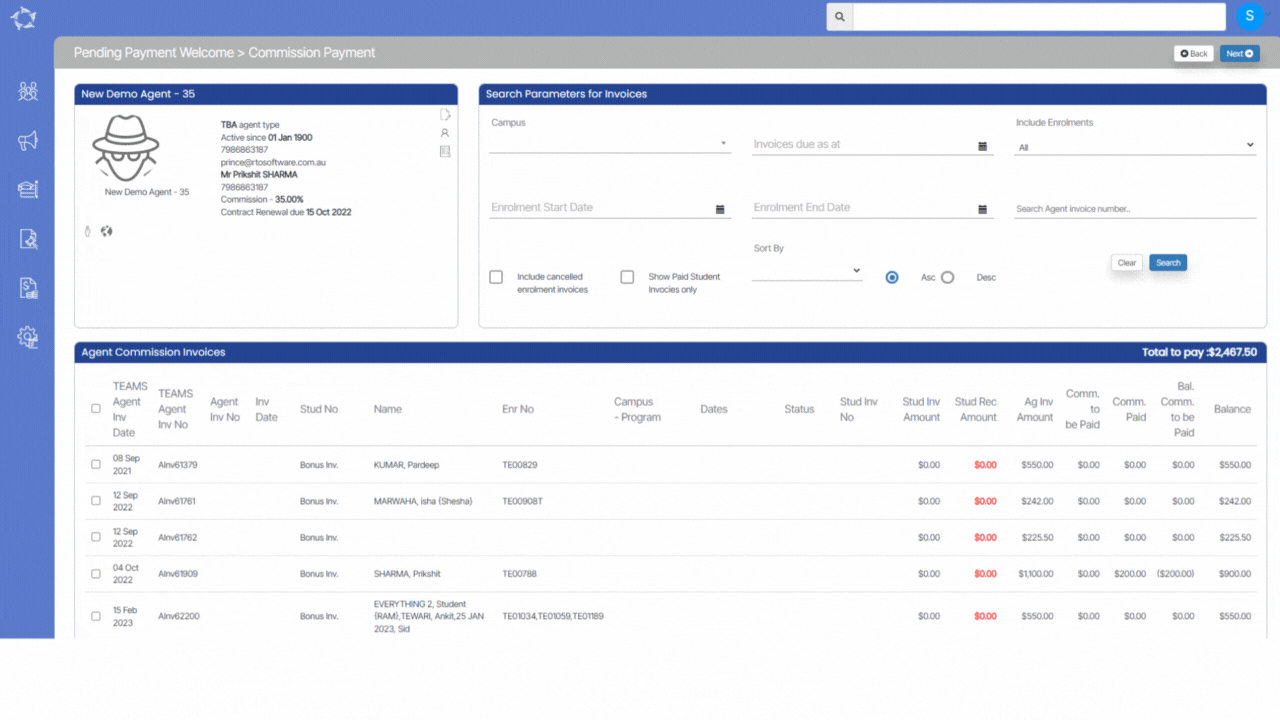
Agent Dashboard > Agent Profile Tile > Pending Payment > +New Payment
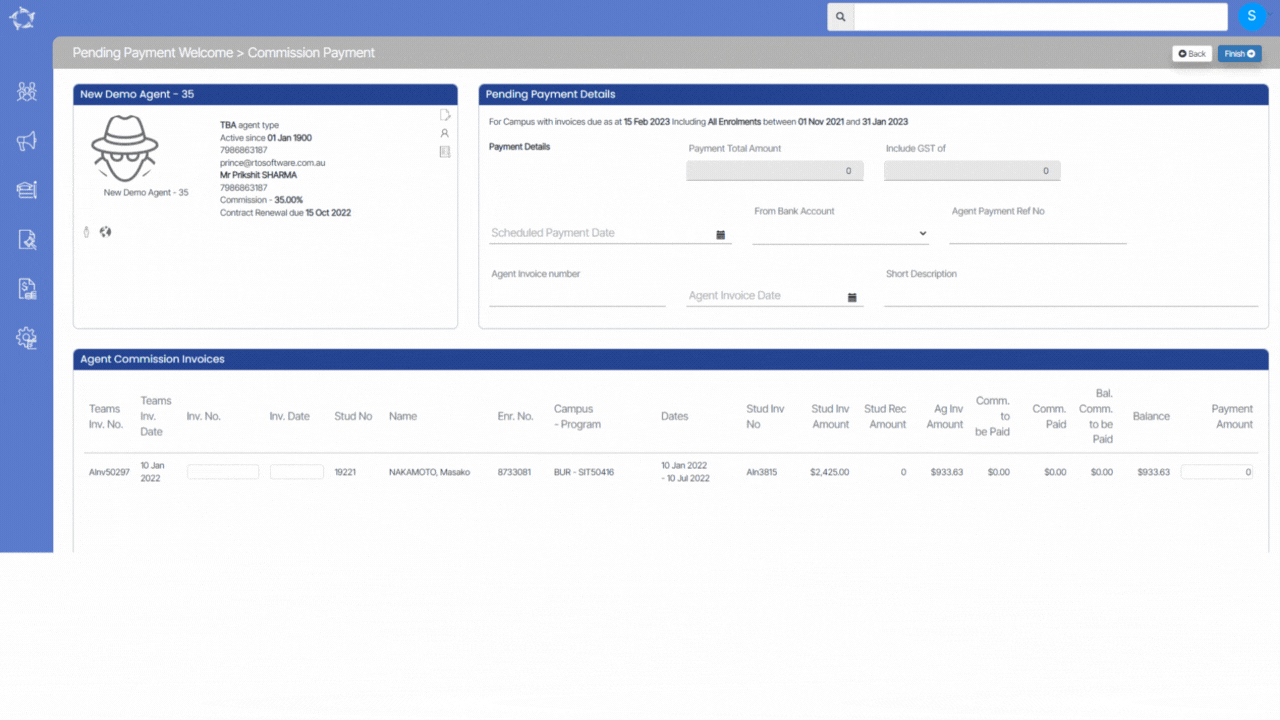
On the Agent Pending Payment Step 2 screen, the grid will display all the commission invoices that were selected in step 1. The Pending Payment Details section will replace the filter section on this screen. In the Pending Payment Details section, you must enter the payment details for the selected invoices. This includes information such as the payment date, payment method, and payment reference number. Once this information is entered, you can review the pending payment invoice before finalizing it. The Pending Payment Details section on the Agent Pending Payment Step 2 screen is where you can enter the necessary payment details to create a pending payment invoice.
Note: You are required to enter the Agent Invoice number and Agent Invoice Date for the selected commission invoices in the Pending Payment Details section. Once these details are entered, the system will automatically populate the values in the Inv. No. and Inv. Date columns in the grid for each selected invoice. This automation ensures that the correct information is recorded for each commission invoice, making it easier for you to keep track of payment details. By entering the Agent Invoice number and Agent Invoice Date, users can ensure that the correct information is associated with each commission invoice in the grid.
IMPORTANT – If an agent has not sent any invoice yet, you can leave the Agent Invoice number and Agent Invoice Date fields empty when creating a pending payment invoice on the Agent Pending Payment Step 2 screen. These fields can be edited in the future once the agent provides the necessary information.
The Scheduled Payment Date is the only mandatory field that must be filled in to save the pending payment batch. This field specifies the date on which the payment for the selected commission invoices is scheduled to be made. By leaving the Agent Invoice number and Agent Invoice Date fields empty for agents who have not yet provided this information, you can create pending payment invoices for those agents without delay. Once the agent provides the necessary information, these fields can be updated to ensure that the correct information is recorded for each commission invoice.
Once all the necessary information has been entered in the Pending Payment Details section of the Agent Pending Payment, you can select the Finish button located at the top of the screen and will finalise the pending payment invoice for the selected commission invoices. Before selecting the Finish button, you should review the information entered in the Pending Payment Details section to ensure that it is accurate and complete.