The receipt functionality on the student financial screen has recently undergone some minor changes.
With these improvements, when a receipt is cancelled, it will no longer display any icons in the Actions column for that particular receipt. Instead, the cancelled receipt entry will be highlighted in a distinct red maroon colour, clearly indicating its cancellation status. These changes ensure that cancelled receipts are readily identifiable.
A new feature has been introduced to enhance the Student Financial Detail screen, streamlining the process of cancelling multiple invoices in bulk. This functionality introduces checkboxes alongside an invoice cancel icon within the grid.
To cancel multiple invoices for a particular enrolment, you can now easily select the checkboxes corresponding to the invoices you wish to cancel. Once the desired invoices are selected, clicking on the cancel invoice icon will initiate the cancellation process. You will then be prompted to provide a cancellation reason, and upon selection and saving, the chosen invoices will be cancelled efficiently.
The significant improvements to our system’s listing screens, including Continuing listing, Finishers listing, Starters listing, Applications listing, Overdue, Payment Due, and Payment Received screens. As part of these enhancements, we have added a valuable new feature called Page Limit in the filters section.
This option empowers you to seamlessly send emails to all students directly from any of the listing screens. For instance, if a listing screen has ten pages with a total of 500 students, this new option simplifies the process by allowing you to select all the students from the list, eliminating the need to go through each page individually. This not only streamlines the workflow but also saves valuable time that would otherwise be spent navigating through multiple pages.
Note: Editing an instalment plan will not impact the enrolments that are already linked to it before editing.
Please follow the below steps to edit the instalment plan:
Select the edit icon under the actions column, Instalment plan entry screen will open.
You can edit all the fields, turn on/off all tick boxes and make multiple selections from the dropdowns available on the Instalment plan entry screen.
After making changes as per your requirement you need to select the next button to edit it further.
Instalments can be edited one by one by selecting the edit icon against each instalment.
Once you click on the edit icon against the first enrolment, the system will head you to the instalment plan step 2 screen where you can make changes to all the available fields as per your requirement. For example – if you want to add material in specific instalments then you can select it from the additional fees dropdown, after editing the instalment select the update button to save the changes.
In this way, you can edit all the instalments as per your requirements and select the finish button to save all the changes.
When you generate the Commission Due Report, you have the flexibility to sort the report based on your preference. You can now choose to sort the report either by Student Number or by Student Name, providing you with greater control and ease of use when managing commission related data. This added sorting option enhances the user experience, making it simpler to access and analyse the Commission Due Report according to your specific needs and preferences.
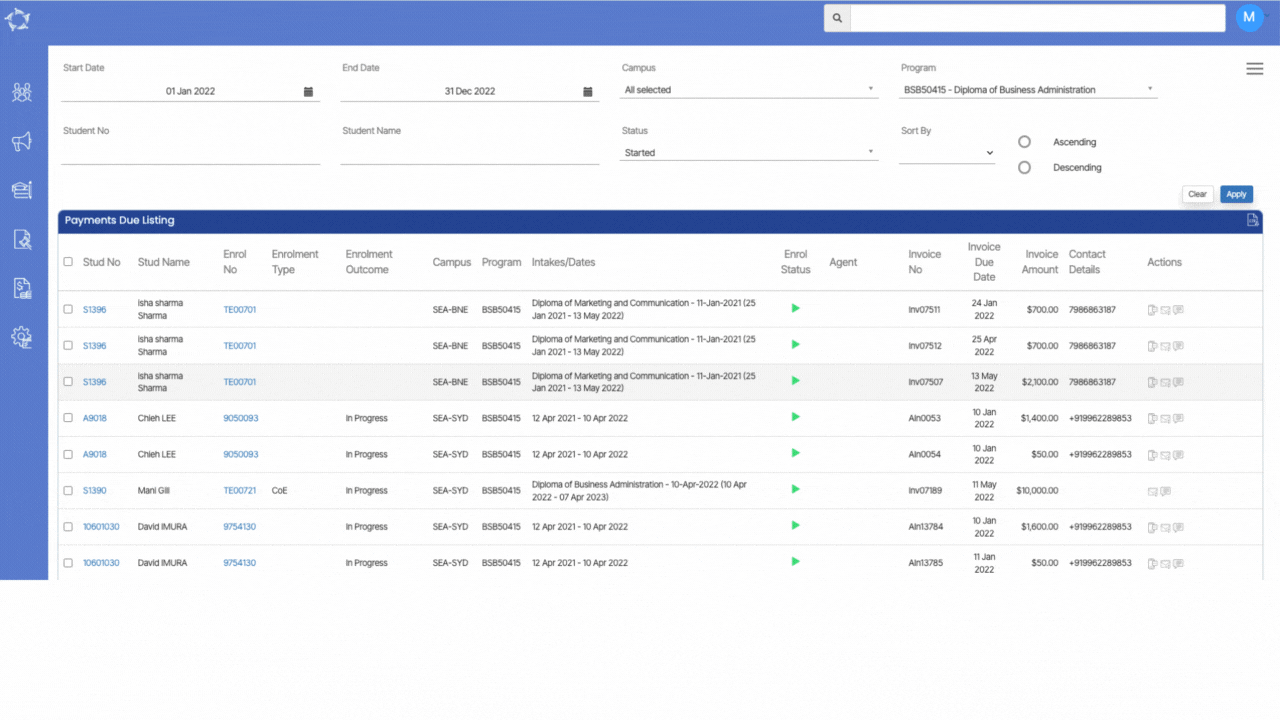
There is a new enhancement to our Payment Due Listing screen. We’ve introduced a new column called Contact Details within the grid on this screen. This valuable addition will display the mobile numbers of the students, providing you with quick access to their contact information for seamless communication.
Furthermore, when you generate a CSV Report by selecting the CSV icon on this screen, the contact details will be included in the report, ensuring that you have comprehensive data readily available for your records and further analysis.