avetmiss
How to do Machine credentials
The Keystore file can be downloaded upon completion of machine credentials. The person with the My Gov ID access must do the Machine credentials. To initiate the machine credentials, please follow the steps outlined below:
Navigate to – https://info.authorisationmanager.gov.au/
- Click on Login with My GovID.
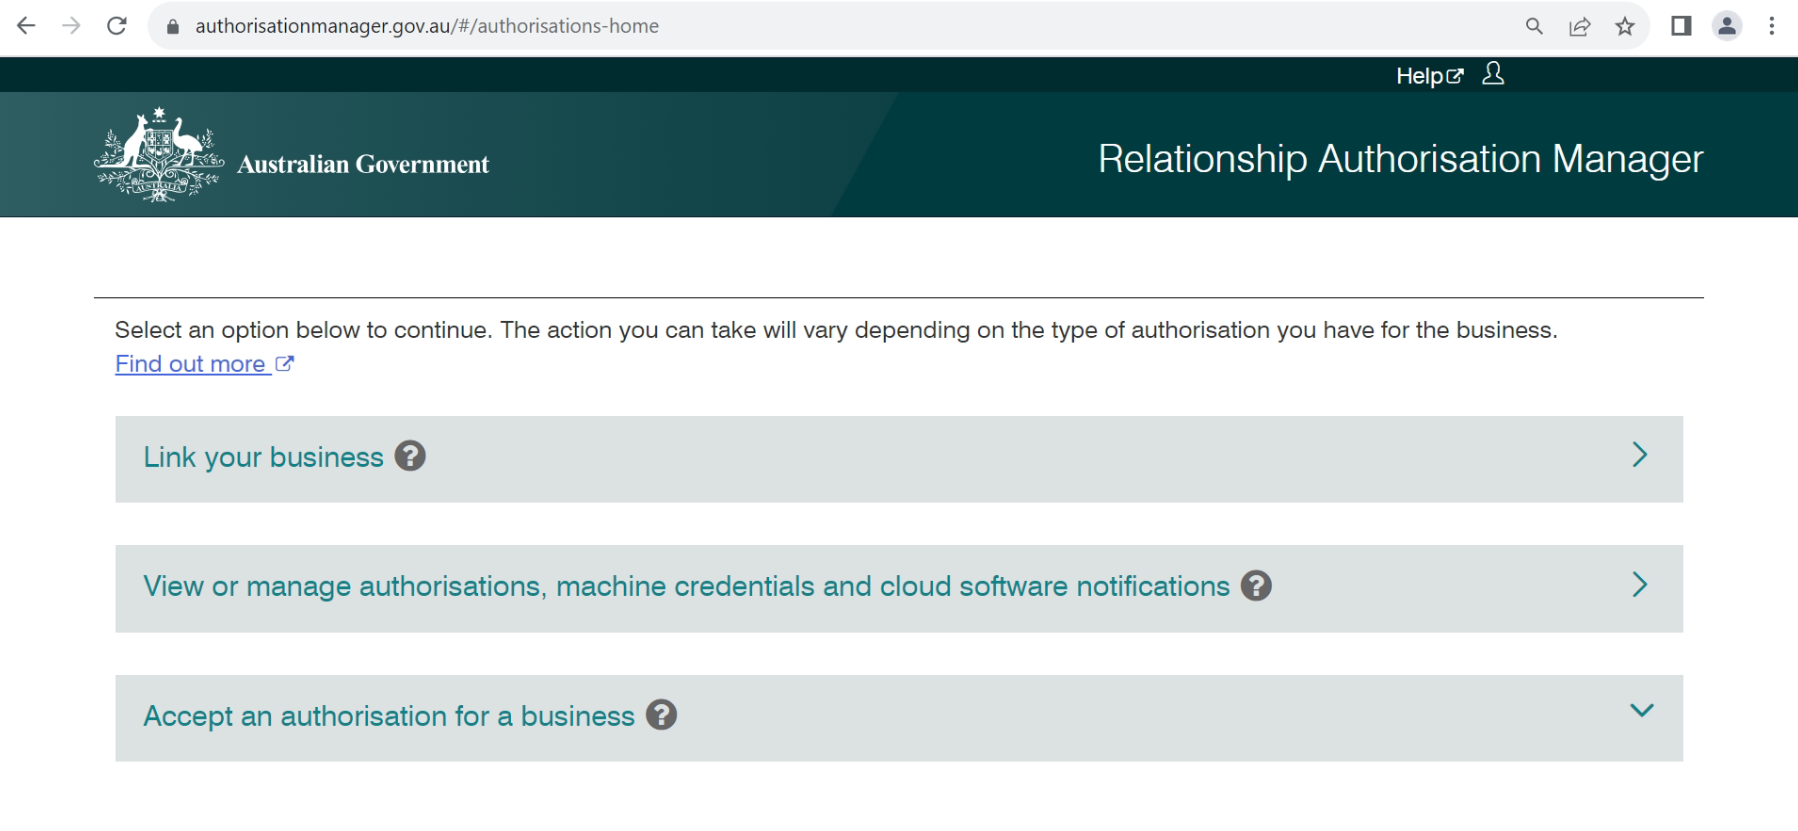
2. Once you log in to the RAM (Relationship Authorisation Manager), click on the “View or Manage authorisation, machine credentials and cloud software notification“.
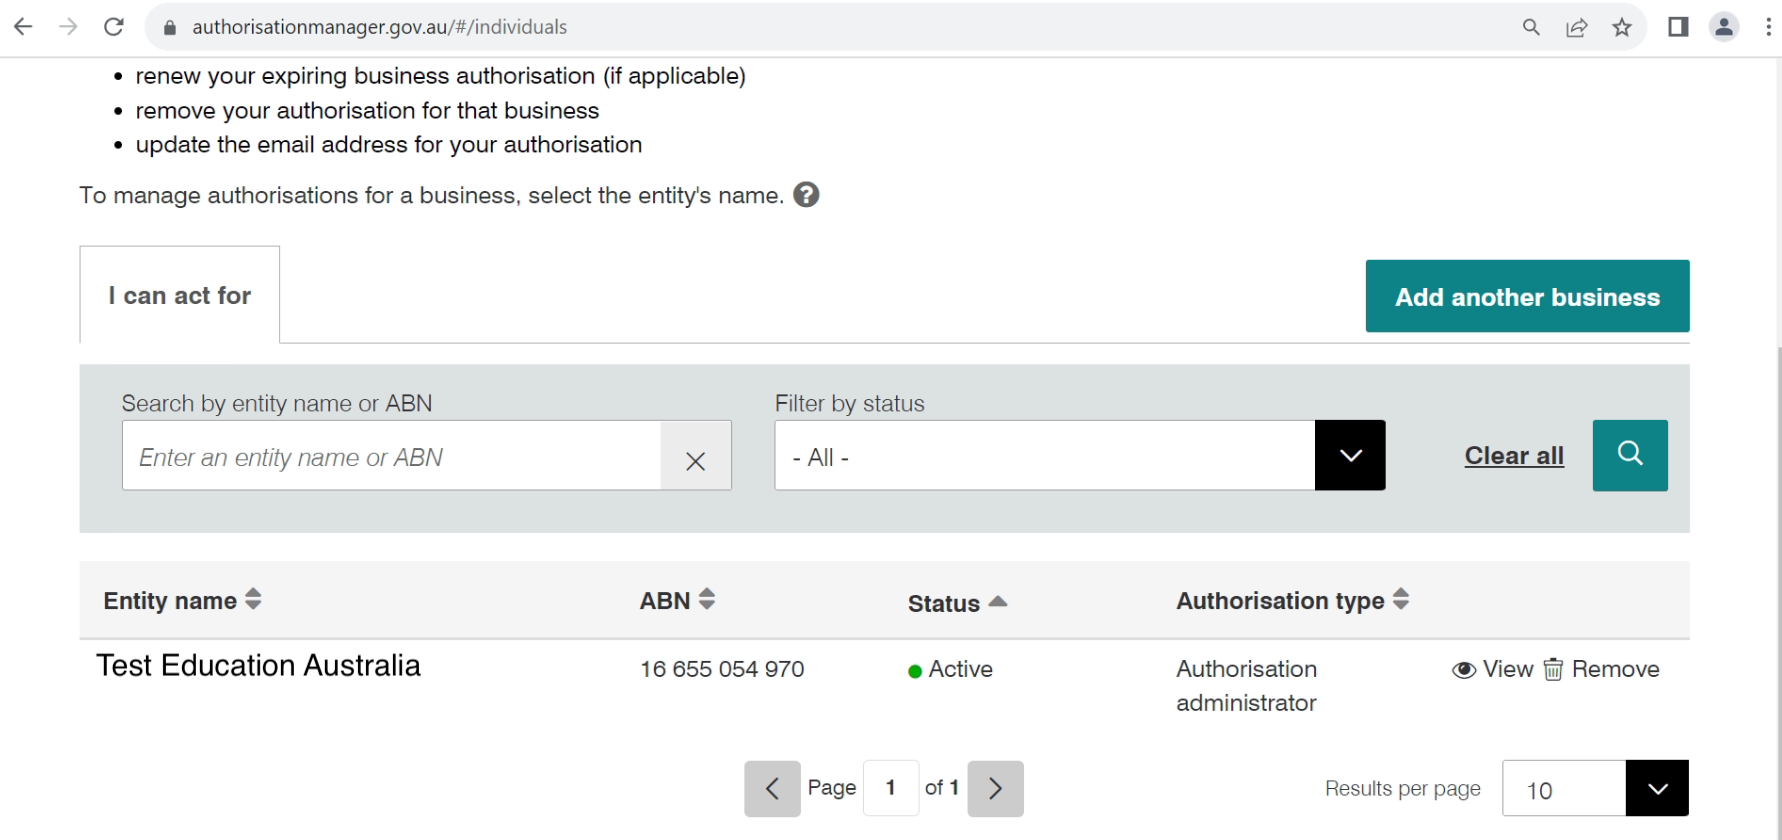
3. Select your Institute entity from the grid.
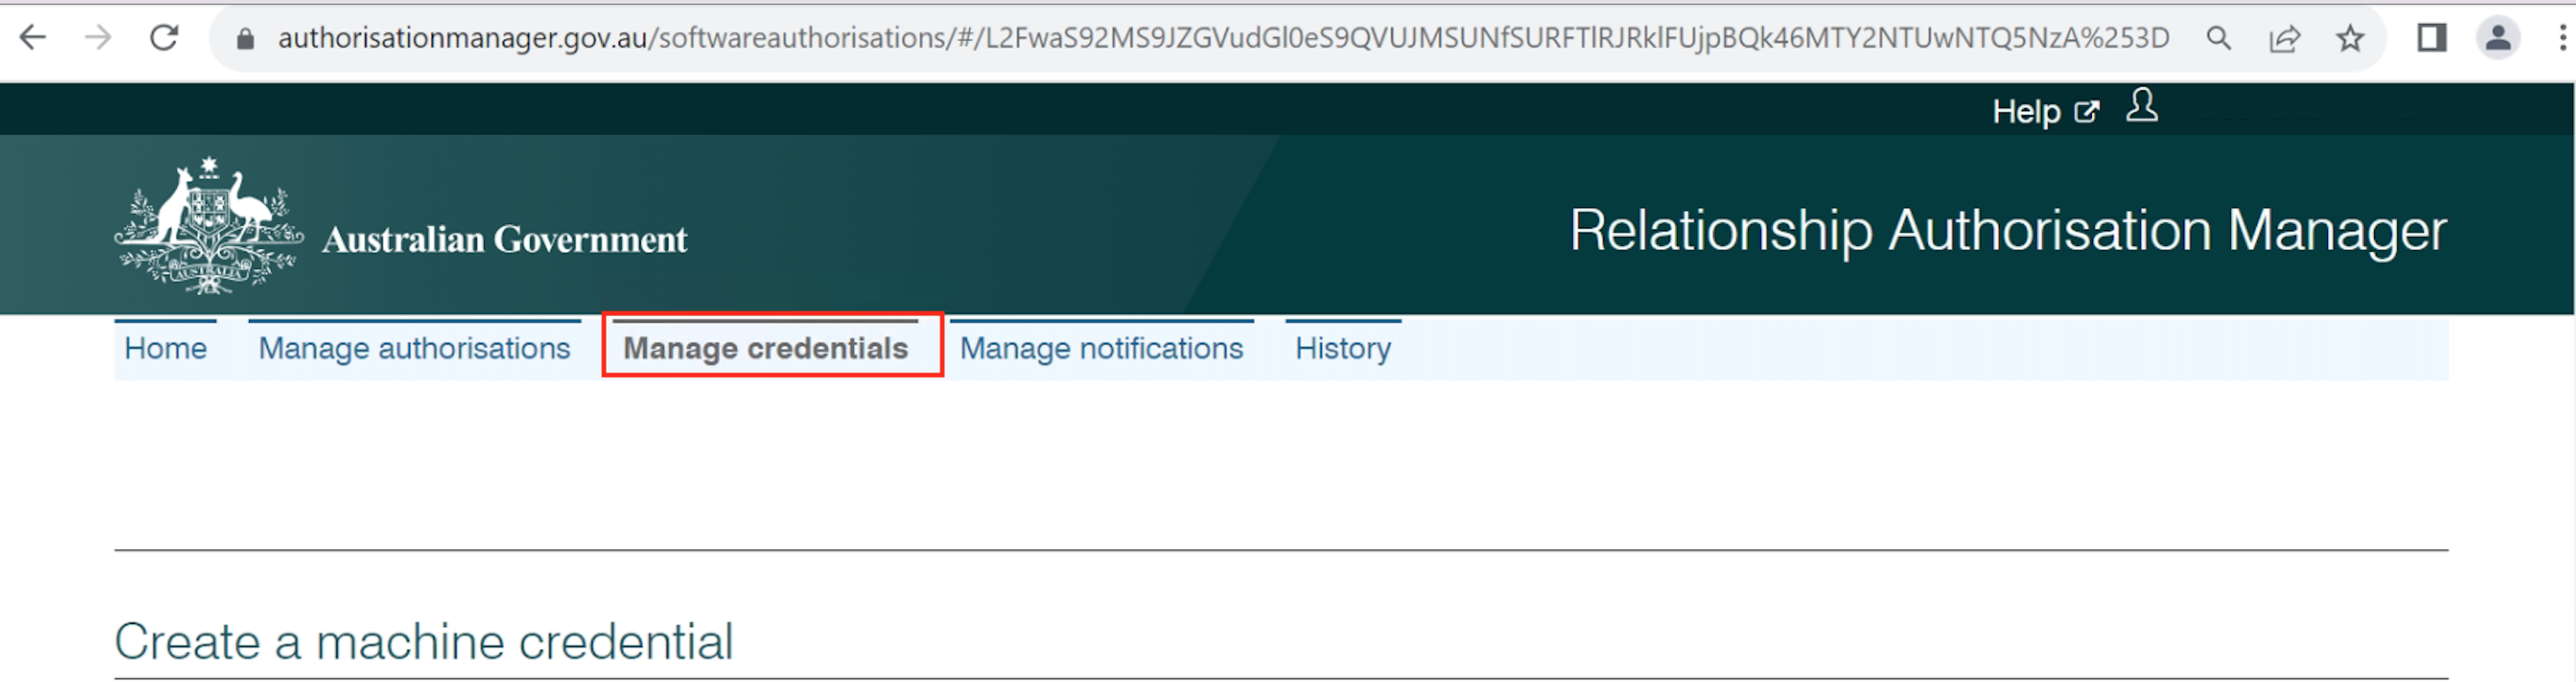
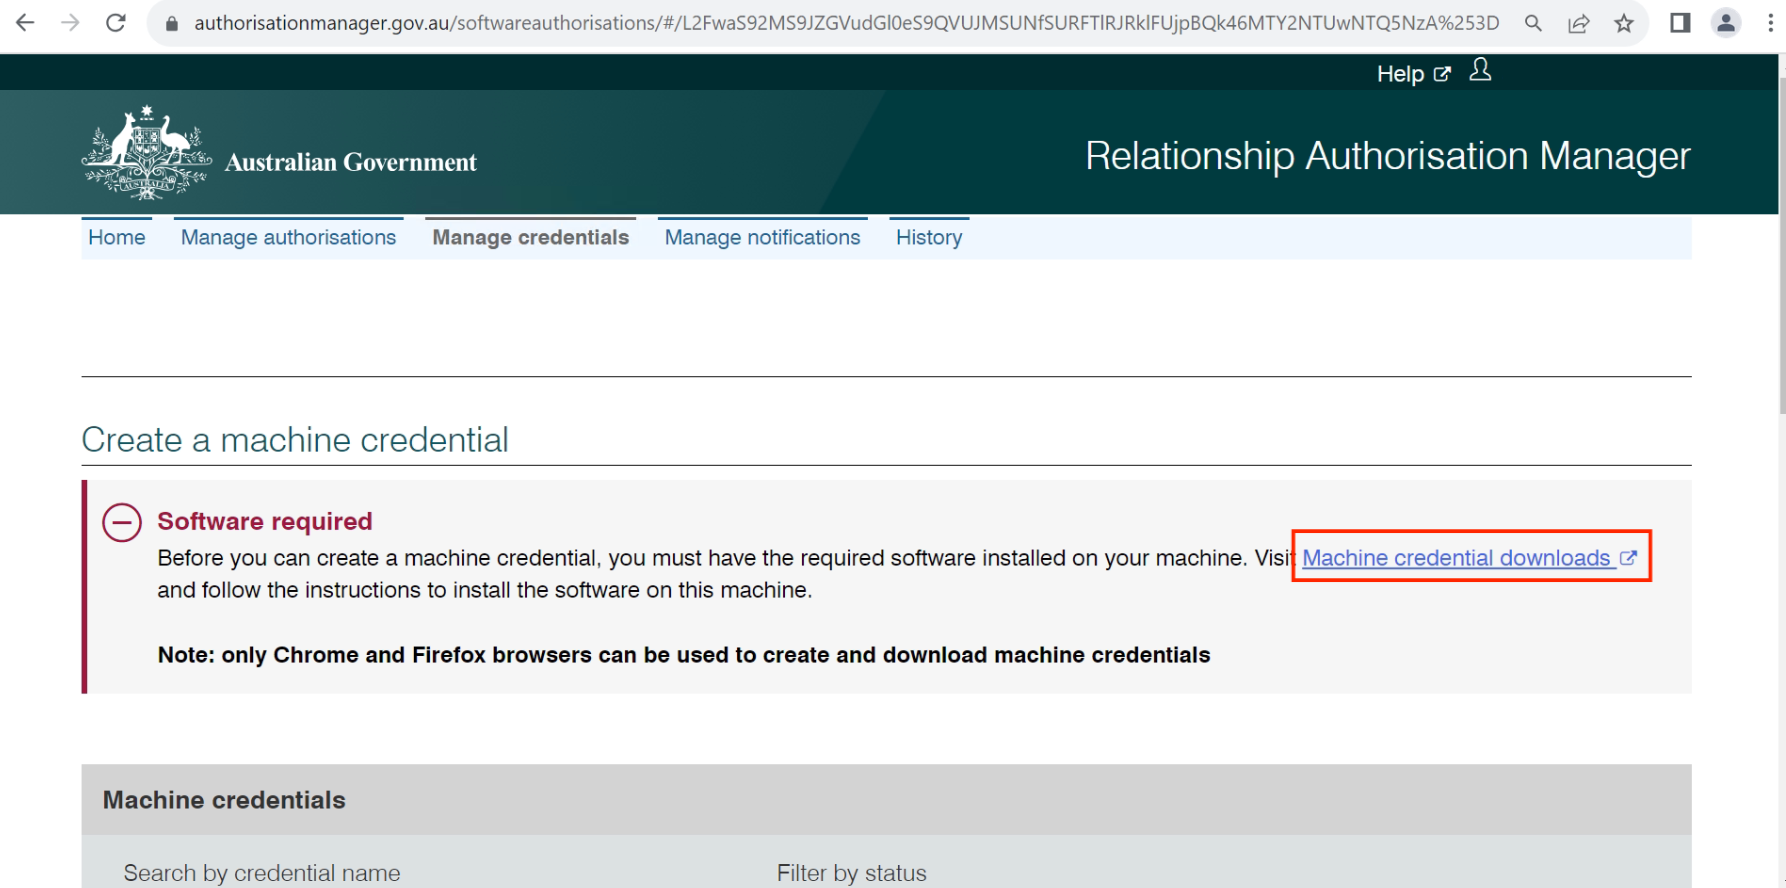
4. Click on the “Manage Credentials” menu from the top of the screen.
5. Click on the “Machine Credentials download” link.
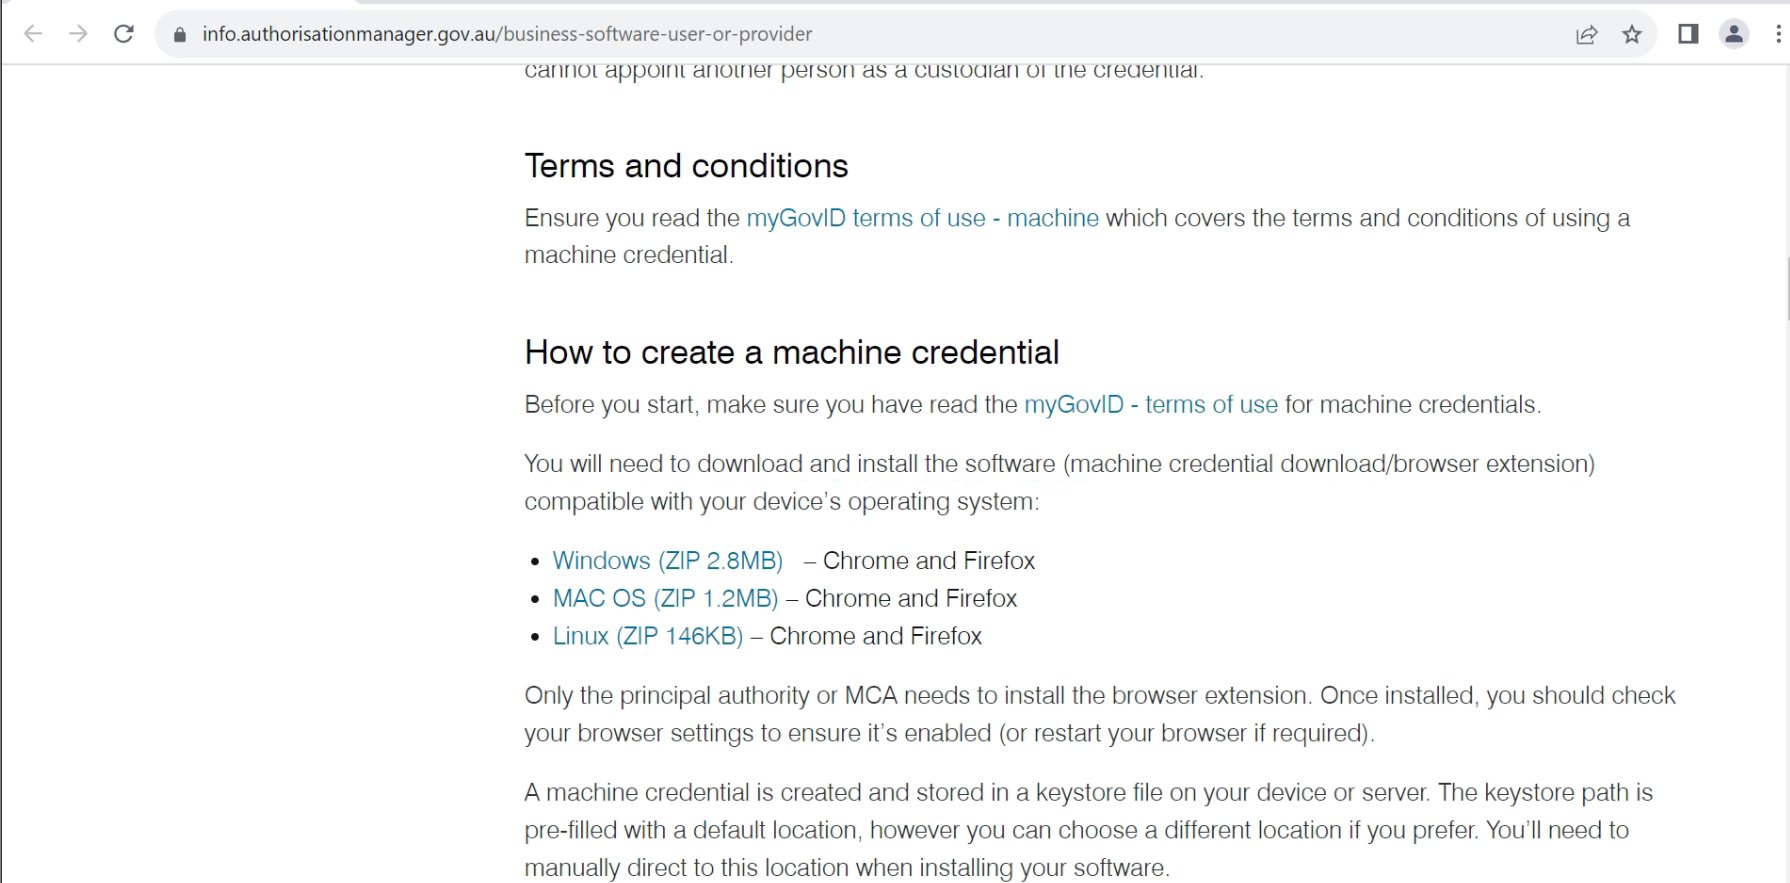
6. Click on the compatible device operating system to download the credentials.
7. Installing the Downloaded credential.
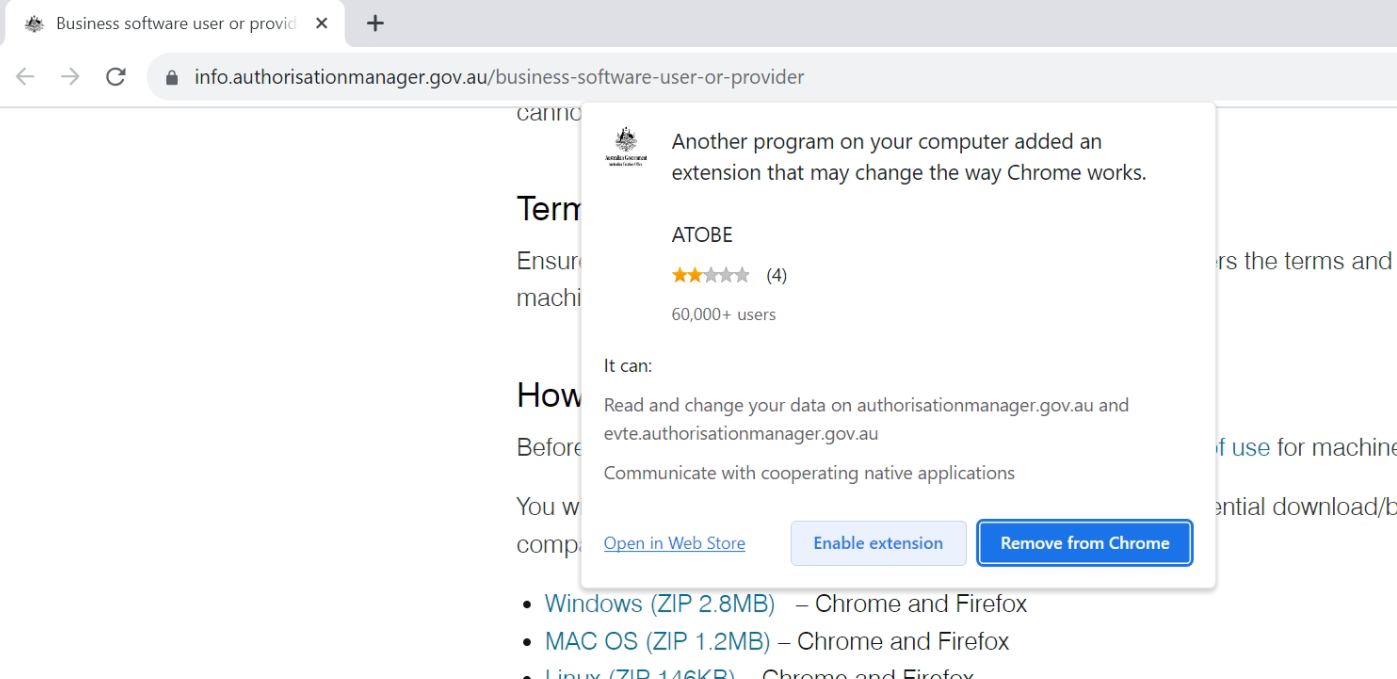
8. Once the credential is installed move back to the same browser and there will be a popup on your screen for the extension of ATOBE, click on Enable extension.
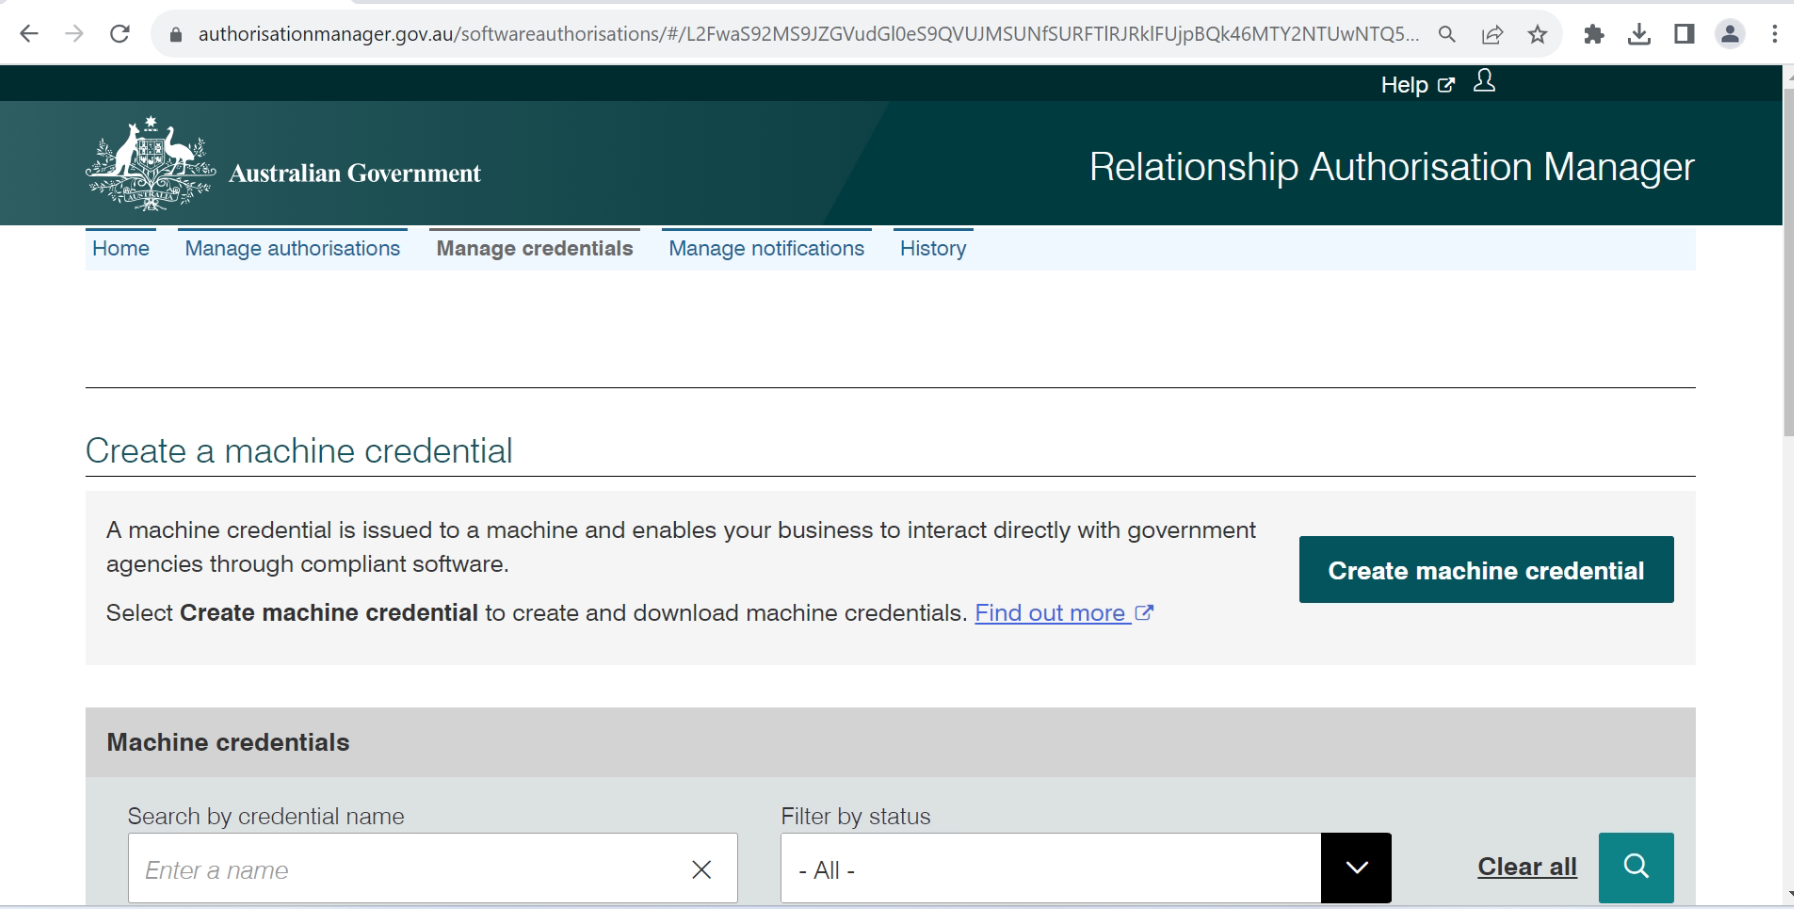
9. Once you enable the extension, please reload the screen and go to the “Manage credential” menu and there you will find that the Machine Credentials download link has been changed into a Create machine credential button.
10. Click on the Create Machine Credentials.
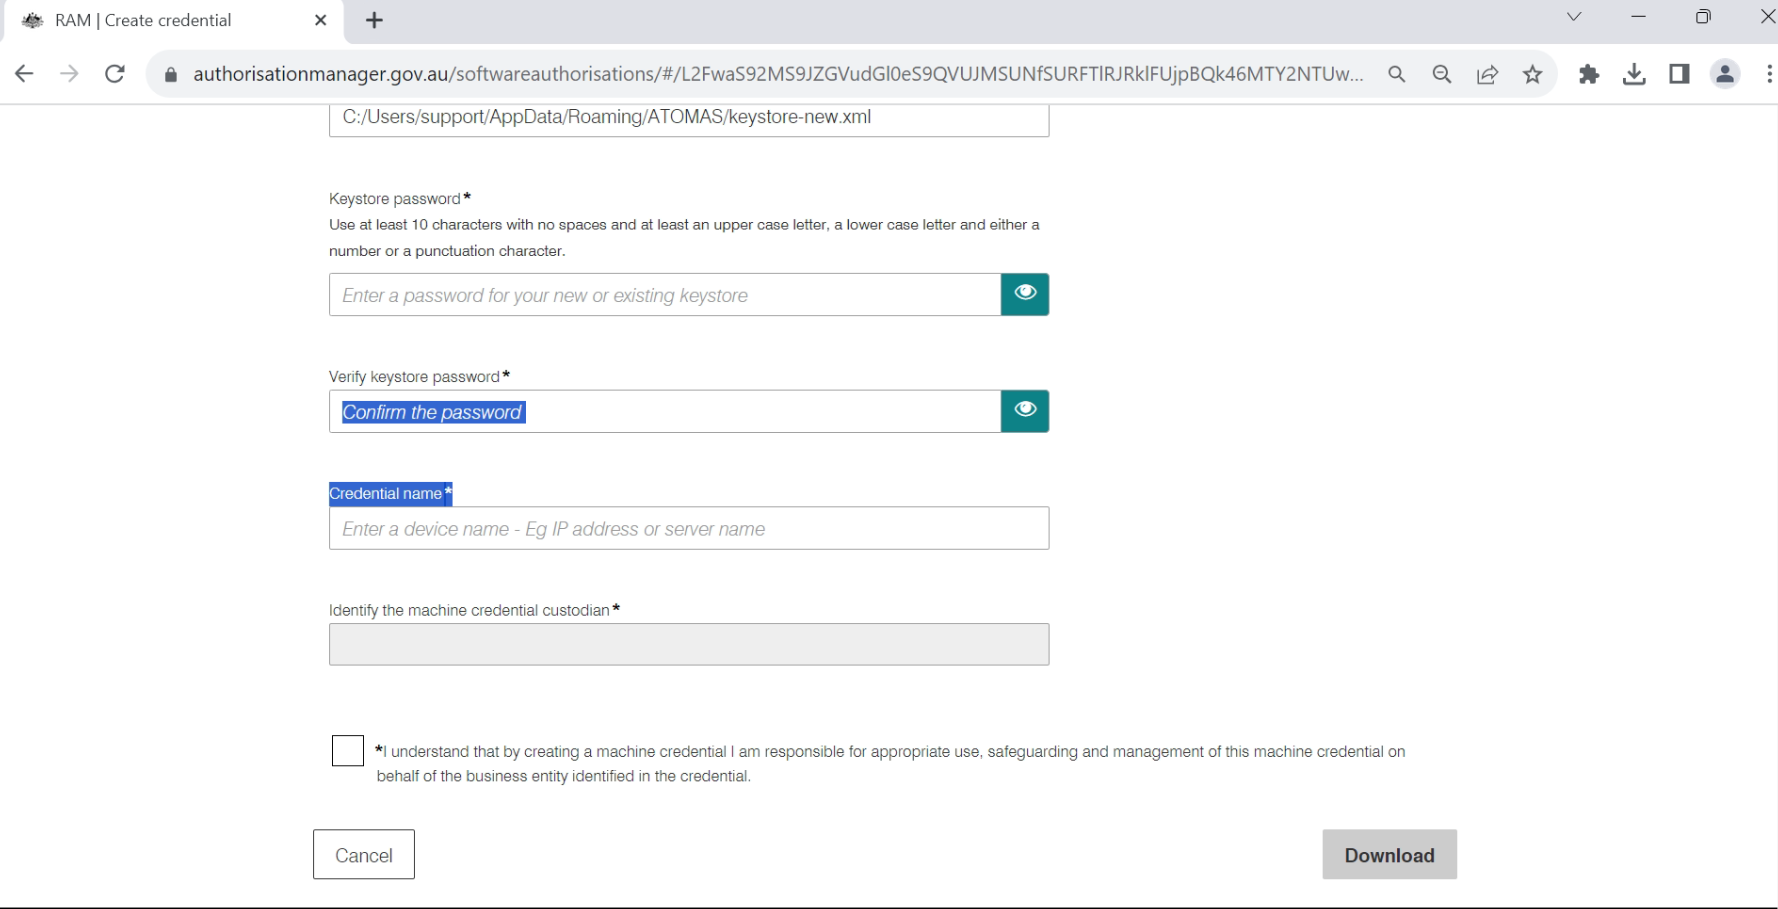
11. On the next step enter a password (which you have to share with TEAMS support), password instructions are given just before the password field.
Under the credential Name field enter the abbreviation of your college name for ex – PNP, ARB, ITI. (Contact TEAMS support if required)
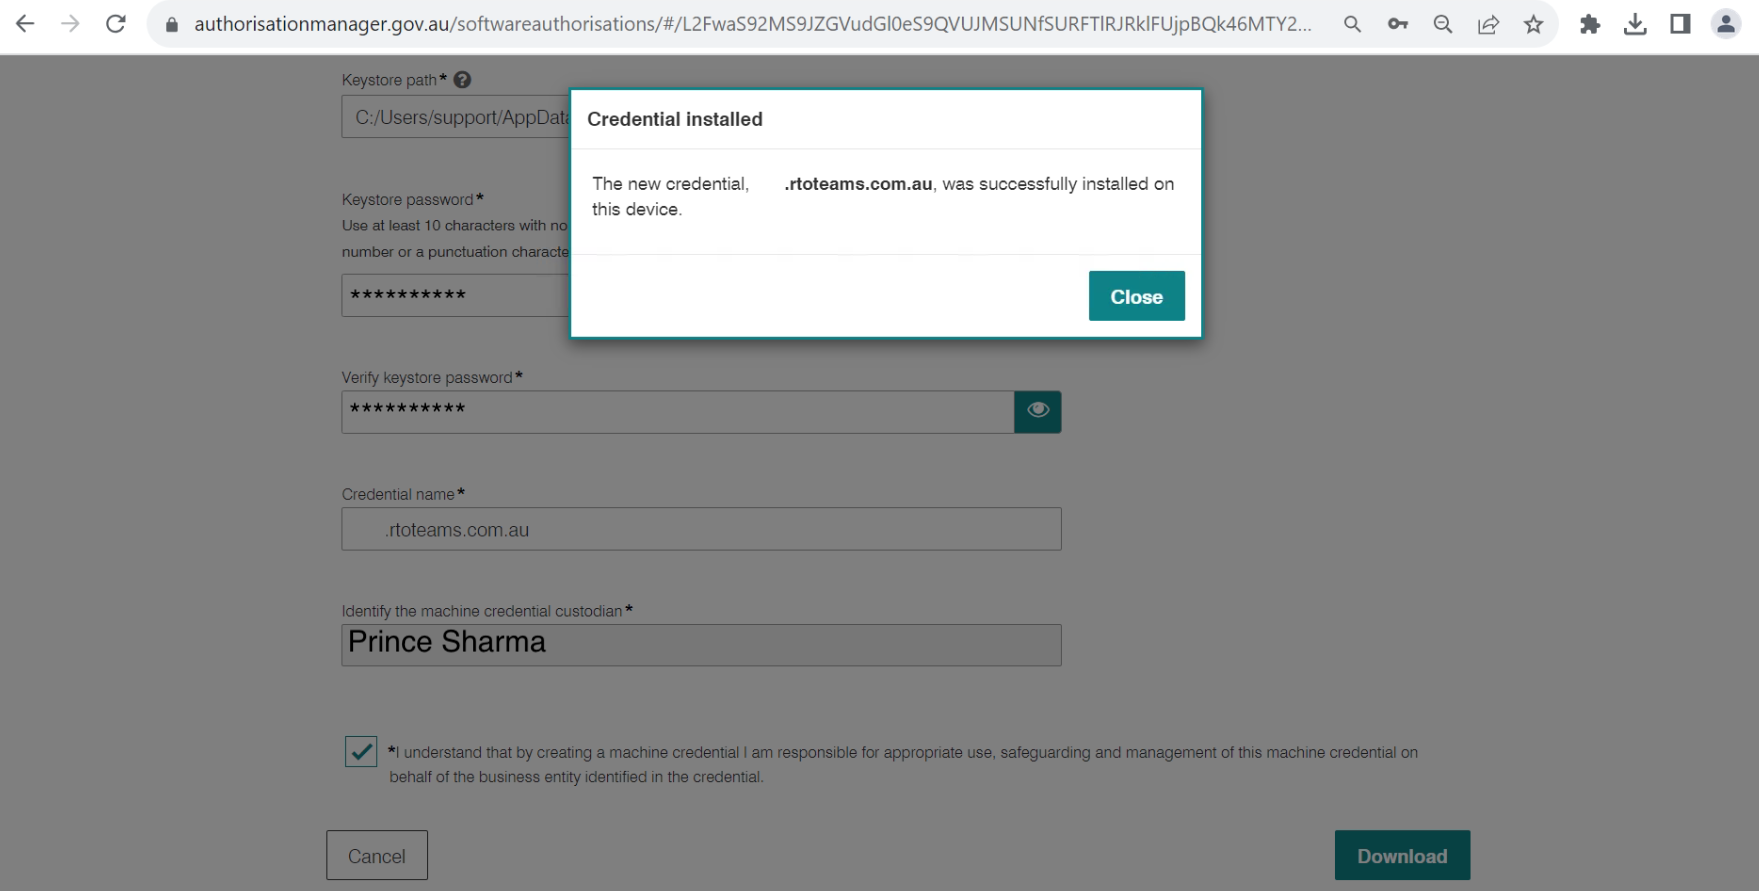
12. Select the tick box (*I understand that by creating…..) and click on the “Download” button.
13. Upon clicking on the Download button the system will download the file on your system.
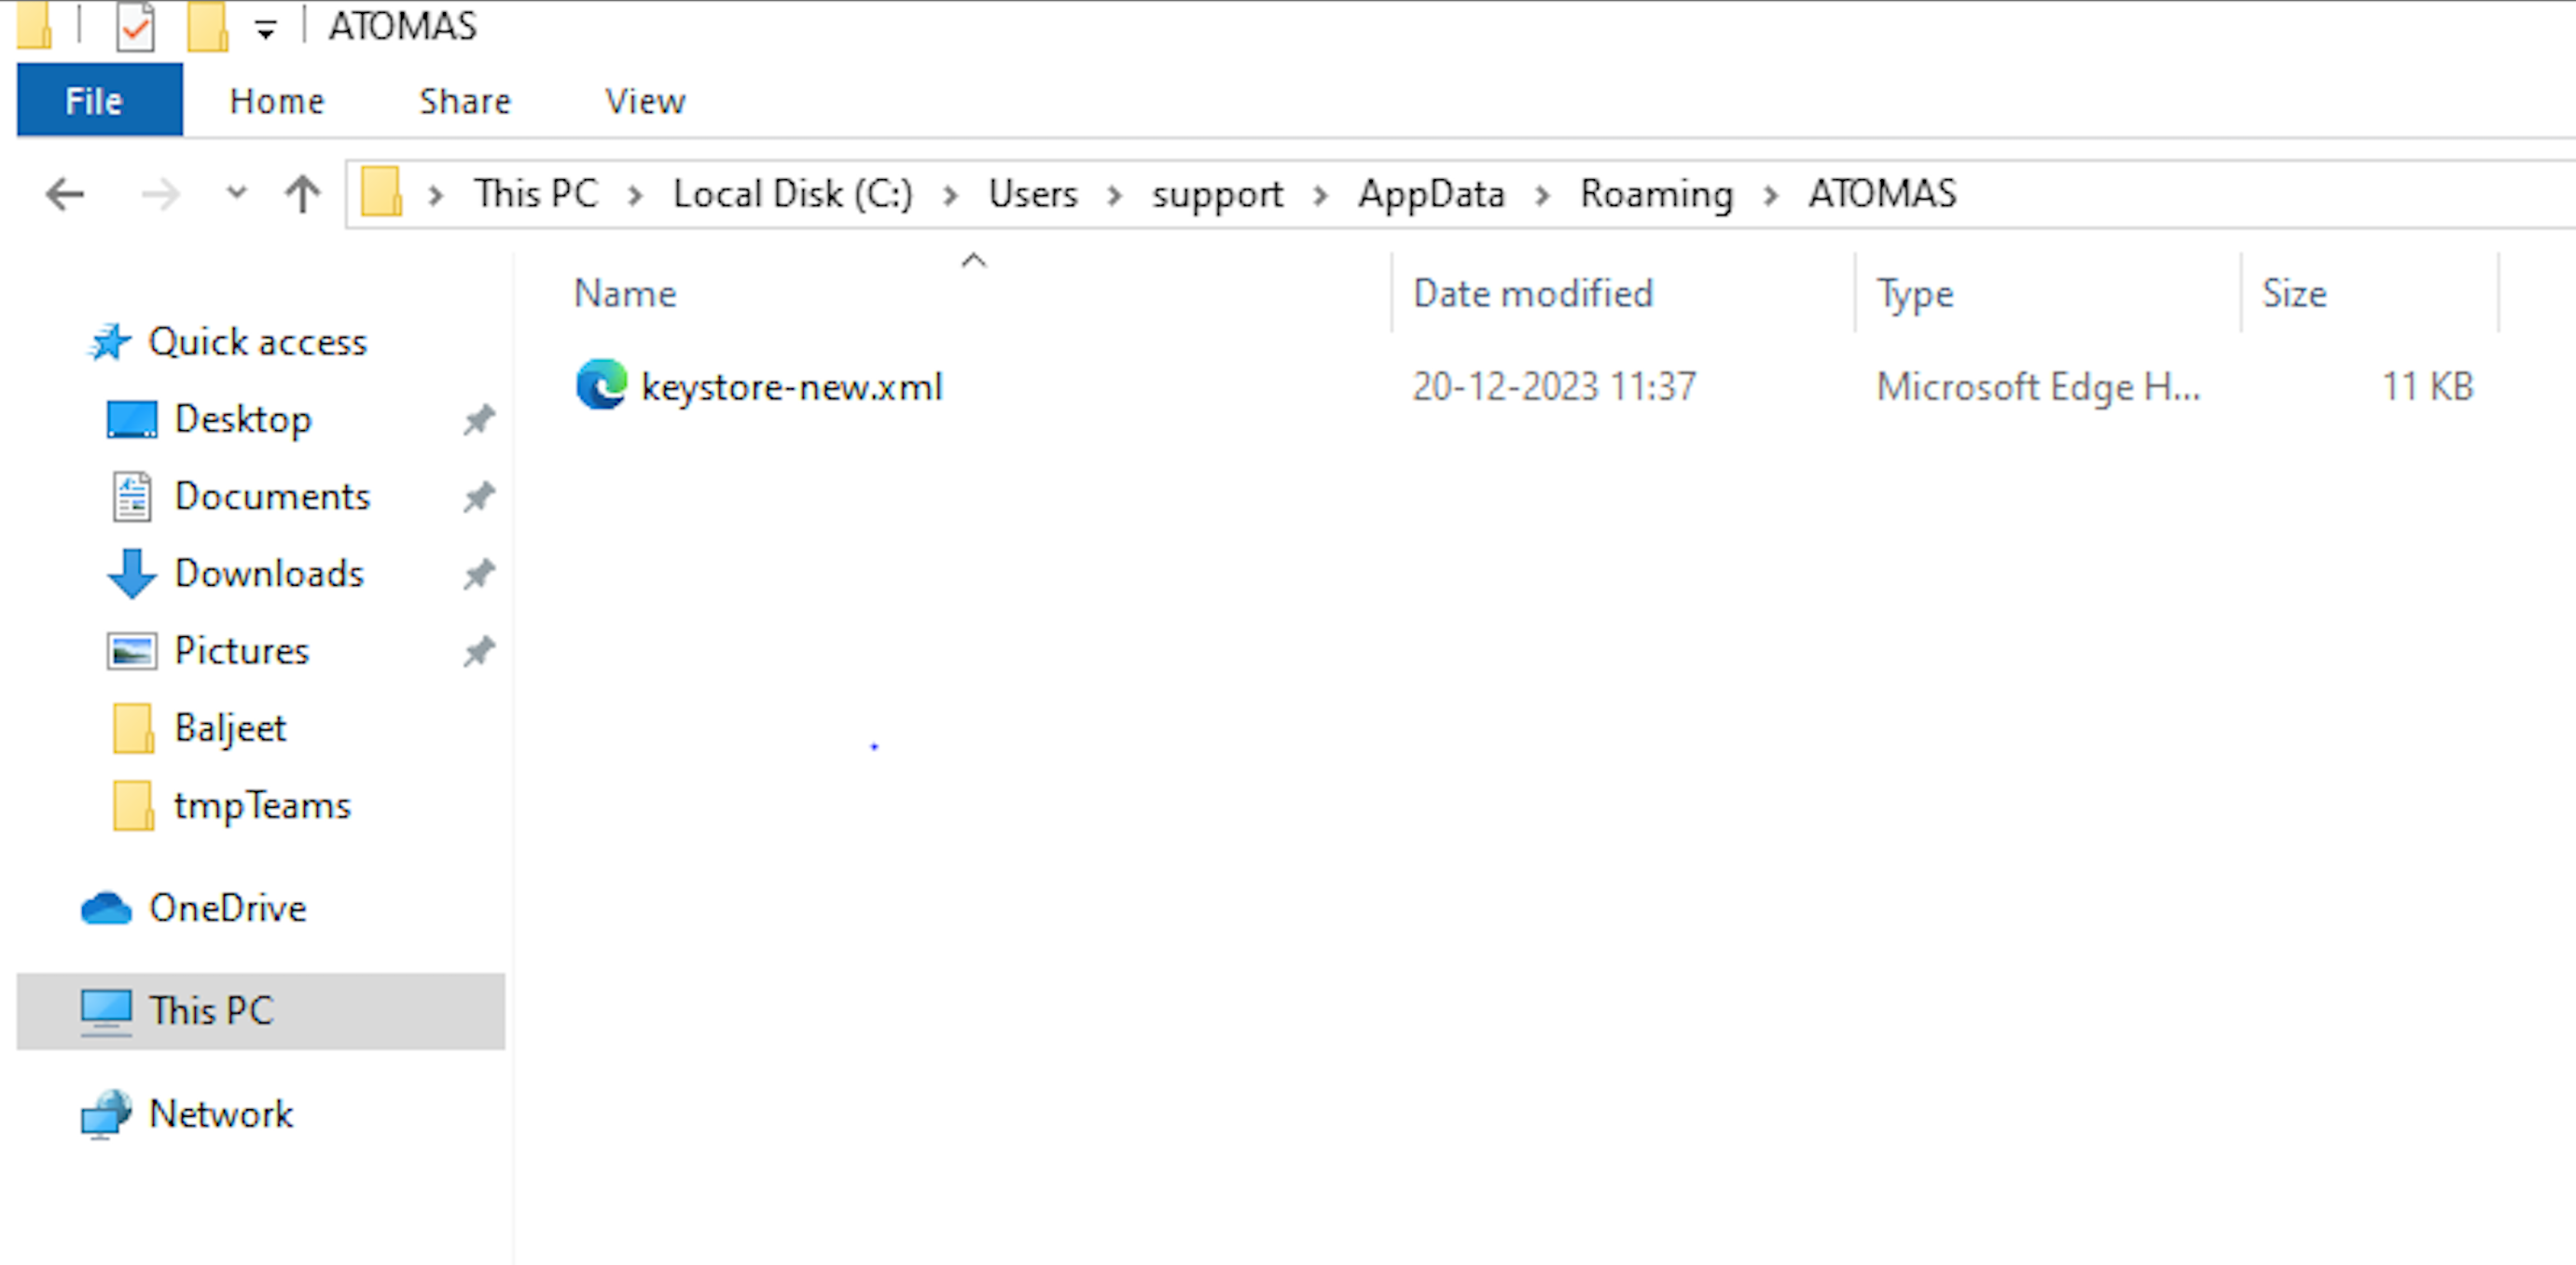
14. Open my computer and enter the below link in the link area to locate the downloaded file:
C:/Users/support/AppDate/Roaming/ATOMAS
There will be a file with the name “Keystore-New“, this is the file that you have to share with TEAMS support along with the password that you had set at step 12.
For more information please contact TEAMS support at support@rtosoftware.com.au or 1300 85 05 85.
Bulk Exclusion of Subjects from AVETMISS Submission
A convenient new bulk feature has been introduced in TEAMS; Exclude Subjects from AVETMISS Icon, which is now accessible in the Subjects AVETMISS settings tab within the Enrolment AVETMISS settings screen.
This feature makes it easier for you to exclude particular subjects for AVETMISS submissions. With this feature, you can select multiple subjects by selecting the corresponding checkboxes and then proceed to use the Exclude Subjects from AVETMISS Icon to effectively exclude the selected subjects from the AVETMISS submissions.
Edit Enrolment AVETMISS Settings
Enrolment Dashboard > Enrolment Profile Tile > AVETMISS Icon

IMPORTANT – We believe that staying informed about the latest developments in our software is vital for optimising your experience and maximising the benefits of using our system. To view the latest updates and modifications on the Edit Enrolment AVETMISS Settings screen, we kindly request you to navigate to the History icon showing above in the top left corner of the screen. By selecting this icon, you will gain access to a detailed log of all the recent changes made to TEAMS.
Overview
The first thing to know is that AVETMISS stands for the Australian Vocational Education and Training Management Information Statistical Standard. It is the national data standard that ensures consistent and accurate capture and reporting of Vocational Education and Training (VET) information about students.
The screen will show you two tabs namely Enrolment AVETMISS Settings and Subject AVETMISS Settings.
The Enrolment AVETMISS Settings tab will allow you to update the AVETMISS settings for the enrolment whereas the Subject AVETMISS Settings will show you subject level AVETMISS settings.
Enrolment AVETMISS Settings Tab
The below table will explain each and every field of Enrolment AVETMISS Settings:
| Columns | Explanations |
|---|---|
| Include in National Export | Tick the box if you want to include enrolment in national export. |
| Purchasing Contract | You can select the purchasing contract from the dropdown. |
| State Training Authority | From the dropdown menu you can select State Training Authority. |
| Fee Exemption | From the dropdown menu, you can select the fee exemption. |
| Any Disability | By marking this option you can select the disability of the student. |
| At School | By marking this option you can select the school type and enter the school name. |
| Proficiency in English | From the dropdown menu you can select the english proficiency of the student. |
| Study Reason | You can select the study reason from the dropdown menu. |
| Funding Source National | From the drop down you can select funding source national. |
| Funding Source – State Training Authority No | You can enter the funding source – state training authority no in this field. |
| Current Labour Status | You can select the current labour status from the dropdown. |
| Prior Educational achievements | By marking this option, you can select the educational achievements of the students. When you select the level of prior education, for example, a Bachelor’s degree, etc, you can also select if the level of education is equal to Australian(A), Australian Equivalent(E), and Internation(I). |
| Special Contract | From the dropdown menu you can select special contract. |
| Training Location | From the dropdown menu, you can select the training location. |
| Competency Enrolment | Tick this option if the enrolment is competent. |
| Student Still At School | Tick this option if the student is still in school. |
| Full Time Student | Tick this option if student is studying full time. |
| Training Contract Identifier | You can enter the training contract identifier number in this field. |
| Overseas Student | Tick this option if student is from overseas. |
| Date Program Completed | From the calendar, you can select a date when the program is completed. |
| Smart and Skilled enrolment | For smart and skilled enrolment. |
| AASN | From the dropdown menu, you can select the student’s Australian Apprenticeship Support Network. |
| ANP | From the dropdown menu you can select student’s Apprenticeship Network Provider. |
Subject AVETMISS Settings Tab
The below table will explain every field of Subject AVETMISS Settings:
| Fields | Explanations |
|---|---|
| Internal Percentage | You can add Internal Percentage in this field. |
| External Percentage | You can add External Percentage in this field. |
| Workplace Percentage | You can add Workplace in this field. |
| Pre-dominant Delivery Mode | It will automatically be filled based on the Internal Percentage. |
 | This icon will allow you to edit Subject AVETMISS Setting. |
| This tick box will allow you to select subjects in bulk. | |
| This icon is displayed in two sections. In the grid and in the grid header. If you are excluding a particular subject from AVETMISS then you can select this icon against that single subject and the system will show you a pop message ensuring confirmation as OK to exclude the subject from AVETMISS. If you wish to exclude multiple subjects then you can simply select tick boxes against the subjects and select the icon above the grid in the blue ribbon. Please note – Once you have excluded the subjects from the Avetmiss submission, then the icon will turn red colour. |