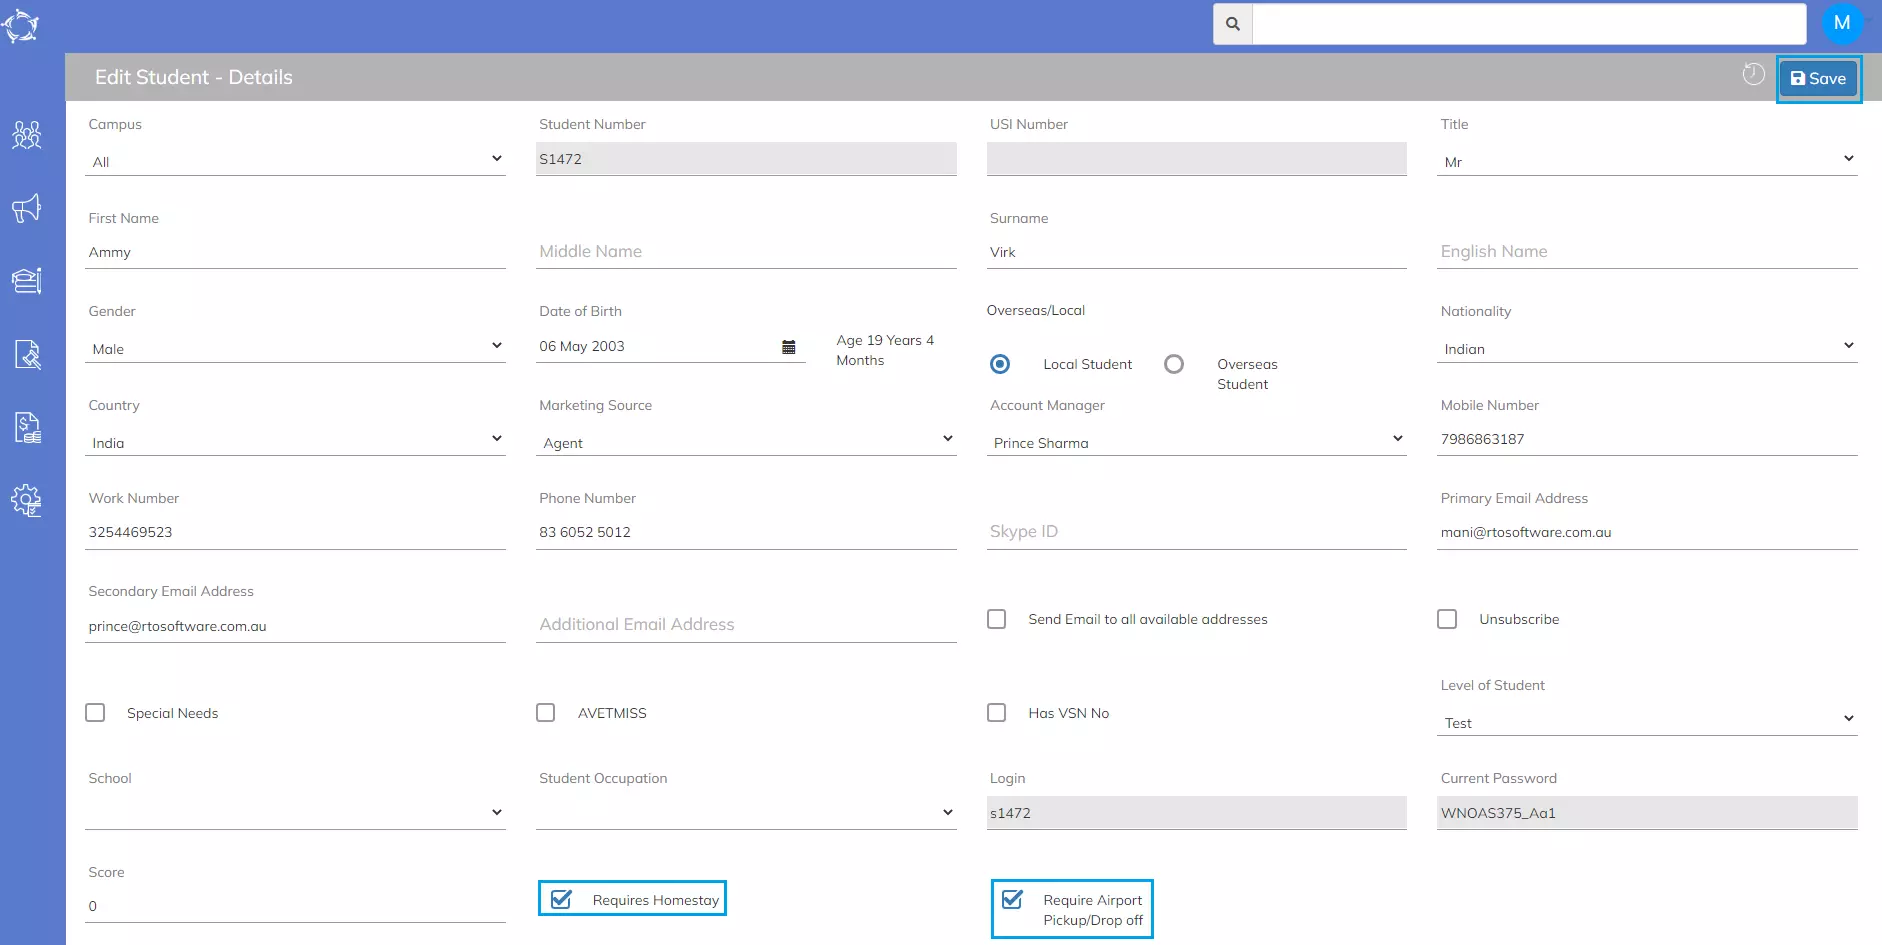
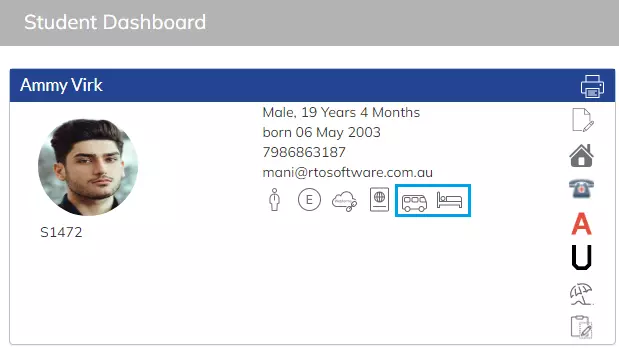
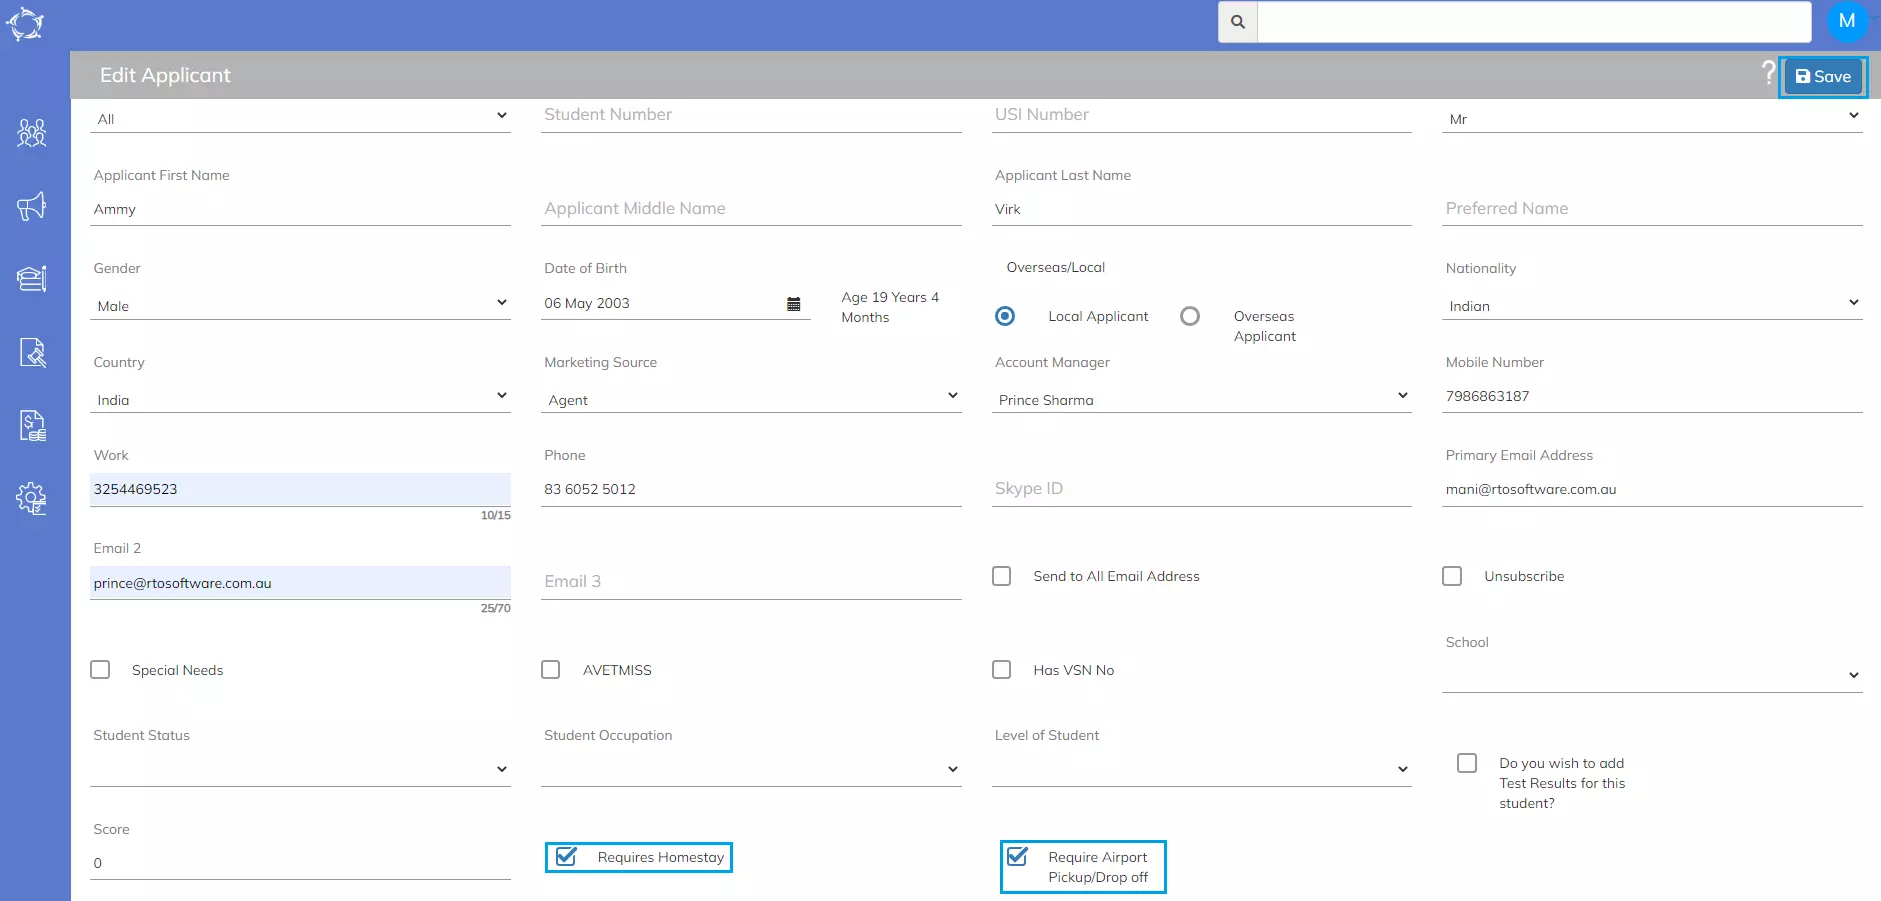
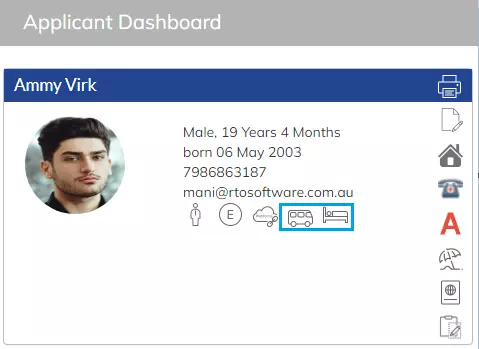
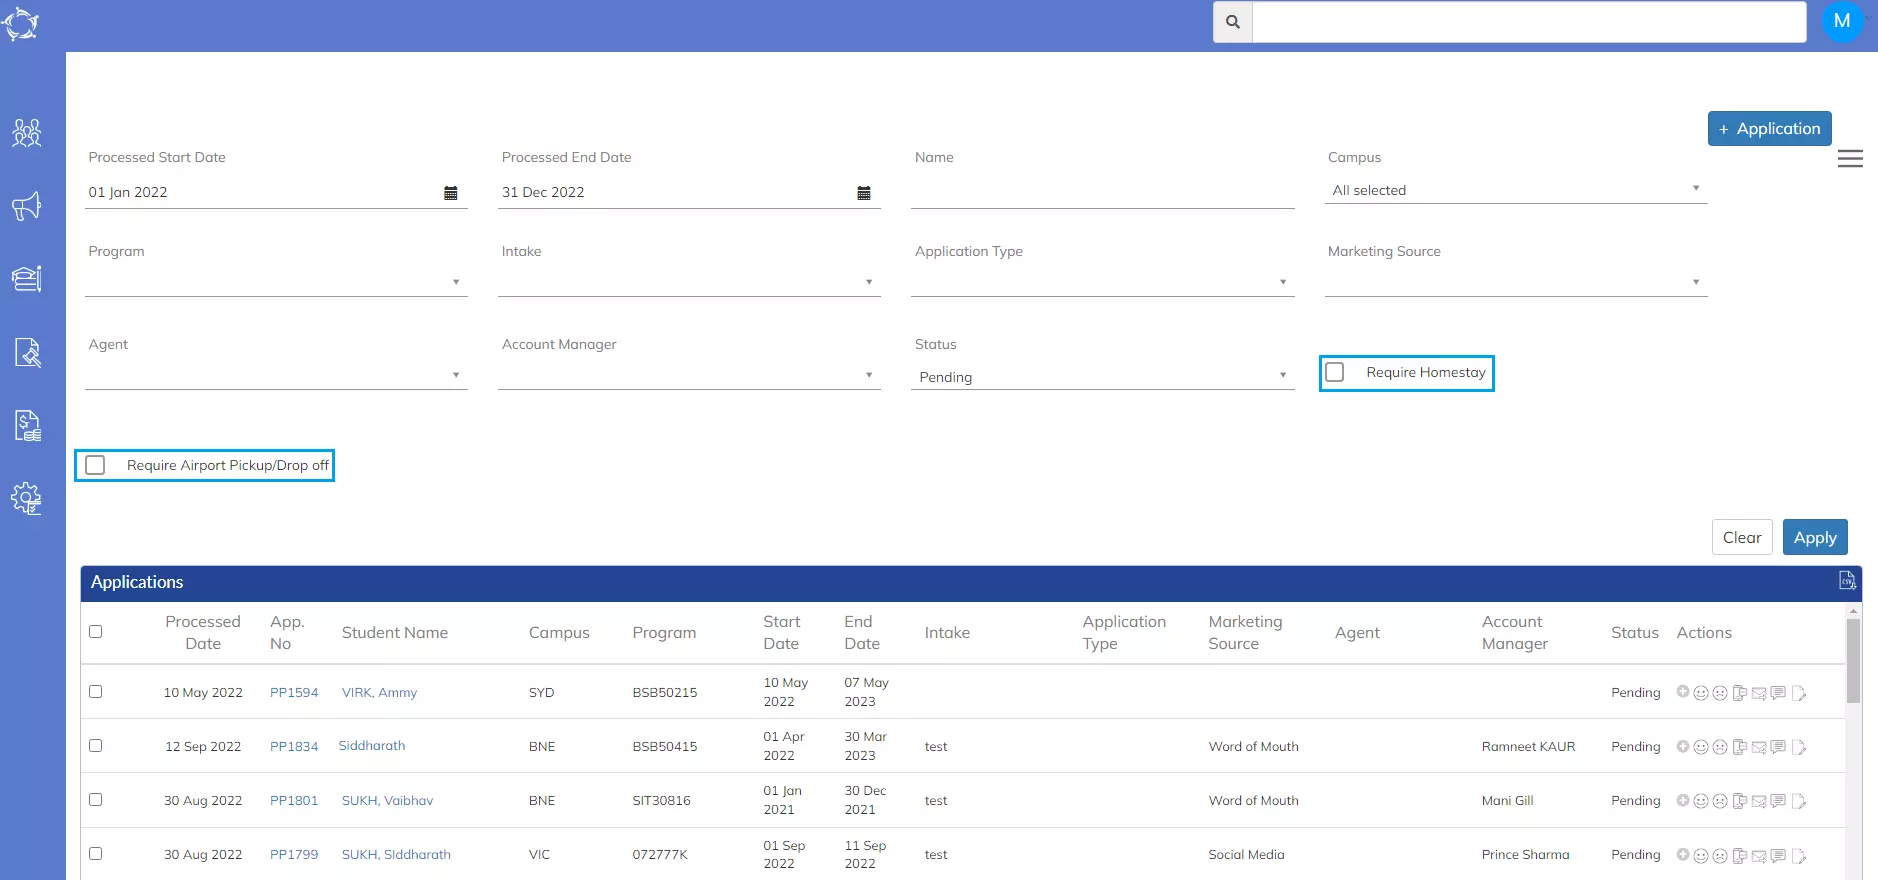
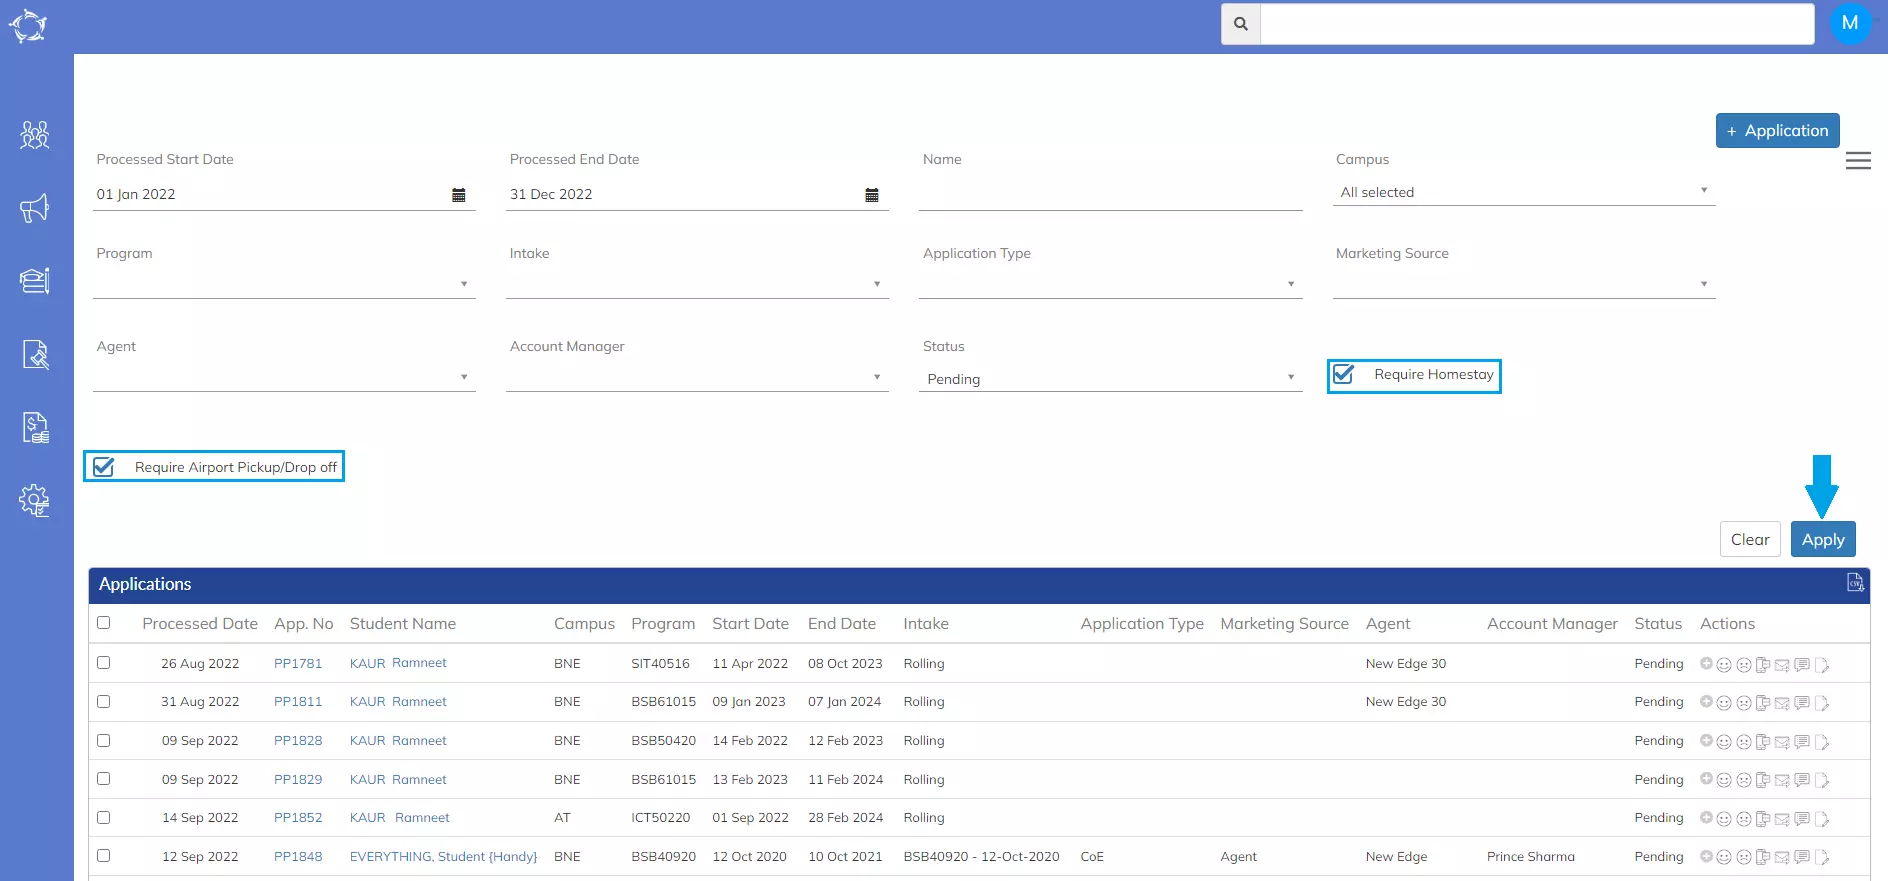
We have added new tick boxes Requires Homestay and Requires Airport Pickup/Drop off on the Application Tile Listing screen.
Once you select these tick boxes and selected the Apply button {Apply Button} it will show you those applications that have the tick boxes for Requires Homestay and/or Requires Airport Pickup/Dropoff selected. From there you can download the list by selecting the CSV icon as shown below:
If you have any queries, please do not hesitate to contact us on 1300 85 05 85 or email us via support@rtosoftware.com.au
We have added two new tick boxes for Approved Leave and Sick Leave anda Notes Icon on the attendance screen. This allows you to set absence entries as approved (will raise the student’s attendance percentage) and/or sick leave in bulk instead one by one from the Enrolment Dashboard.
IMPORTANT 1. You can only see the Approved and Sick leave tick boxes if your timetable is set to enter absence in the attendance screen. 2. These tick boxes will remain read only until you have marked an absence entry against a student in the attendance screen. 3. The notes icon will always show whether you are entering absence or attendance (presence) in the attendance screen.
We have added a new field for CEFR level and also Other English level to the test results screen in the system. This will allow you to manage the progress of your students english level each time you test them.
CEFR Level
The CEFR level (Common European Framework of Reference for Languages) is a user code and you can create the levels in the system. We have added the standard set to your site. Where you have permissions to the User Code screen you can edit or add more if you wish to.
The levels for CEFR level will always be as below:
A1, A2. B1, B2, C1, C2, Pre-A1
Other English Level
This field is used to update the final outcome of a student’s test result. This indicates your college’s English level for a student. For example, if a student has finished studying with you and based on his results, he is at the intermediate level. Then in the Other English level, you can update the level accordingly.
Note: Once you have updated the levels and other information in the test result popup screen and while generating the certificate, you need to select the Test Result date (as this is a mandatory field) of the test for which you have updated the CEFR and other English level and the system will print the data accordingly.
To upload or change an applicant profile picture, you need to bring your cursor over the thumbnail of the picture and the system will show two icons as shown below.
To upload the profile picture by clicking the picture using the system camera, click on this icon.
To upload the profile picture by uploading the picture from your computer, click on this icon
After you have selected your picture, click on the save button to save it for the applicant/student.
The system will refresh the screen and your picture will be uploaded.
Note: Make sure you are cropping a picture like a passport size copy before you upload it in TEAMS.
If you have any queries, please do not hesitate to contact us on 1300 85 05 85 or email us via support@rtosoftware.com.au
In the system, there are contact information merge fields for each object such as Applicant/Student, Agent, Employer and Schools. There is also contact information at the user and campus etc.
For each of these objects, there will be one or many types of contact information merge fields such as Phone number, Mobile number, Fax number, and Email Address for local and international contact information.
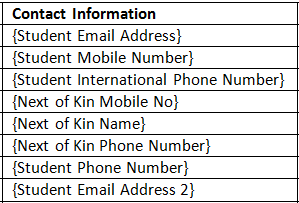
Each of the fields for contact information then becomes a merge field in our MS Word report templates. For example, the merge fields of each object’s contact information fields are as follows:
Applicant/Student Contact merge fields
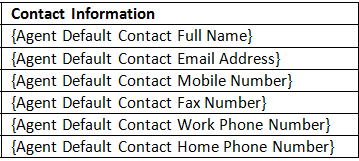
Agent Contact Merge fields
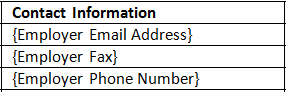
Employer contact merge fields
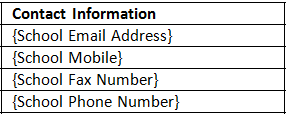
School Contact information merge fields
IMPORTANT – Always insert the merge field with the {} brackets, do NOT change them to any other style of bracket such as (), the system looks for the {} ones and will not work if you use any other style of brackets.
This is how the contact information merge fields will print the data in your customise templates
If you have any queries, please do not hesitate to contact us on 1300 85 05 85 or email us via support@rtosoftware.com.au
1. For employer role ” Legal“, you can not add multiple entries with overlapping dates. 2. If an employer with the role “GTO” is added then you can not add another employer with the role of GTO or legal. 3. If employer role ” GTO ” is selected then the system will check if its start date is greater than the last legal employer end date, only then it will allow adding the GTO employer to the grid
 of the picture and the system will show two icons as shown below.