Application Dashboard

history of changes

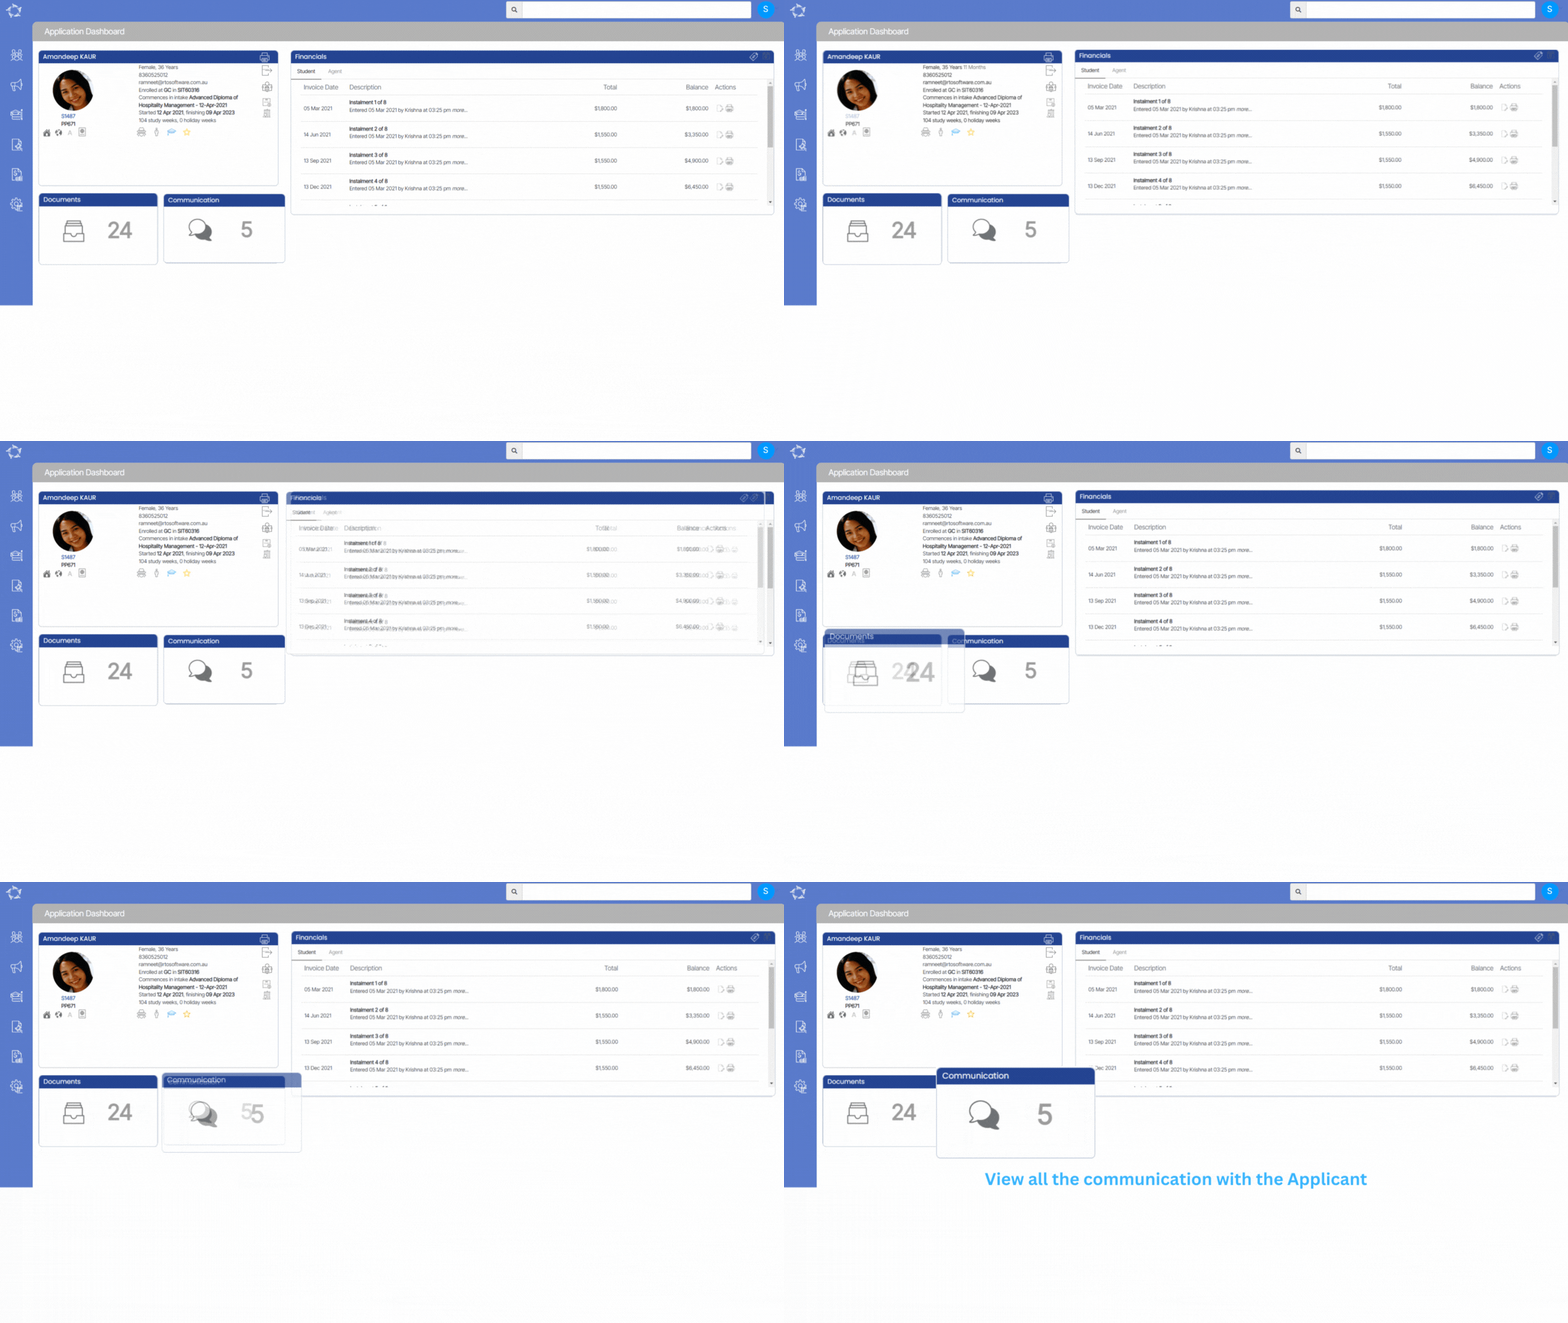
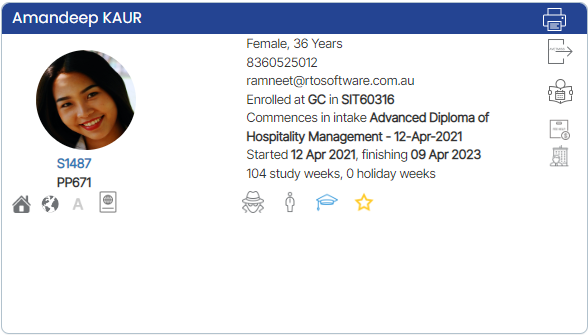
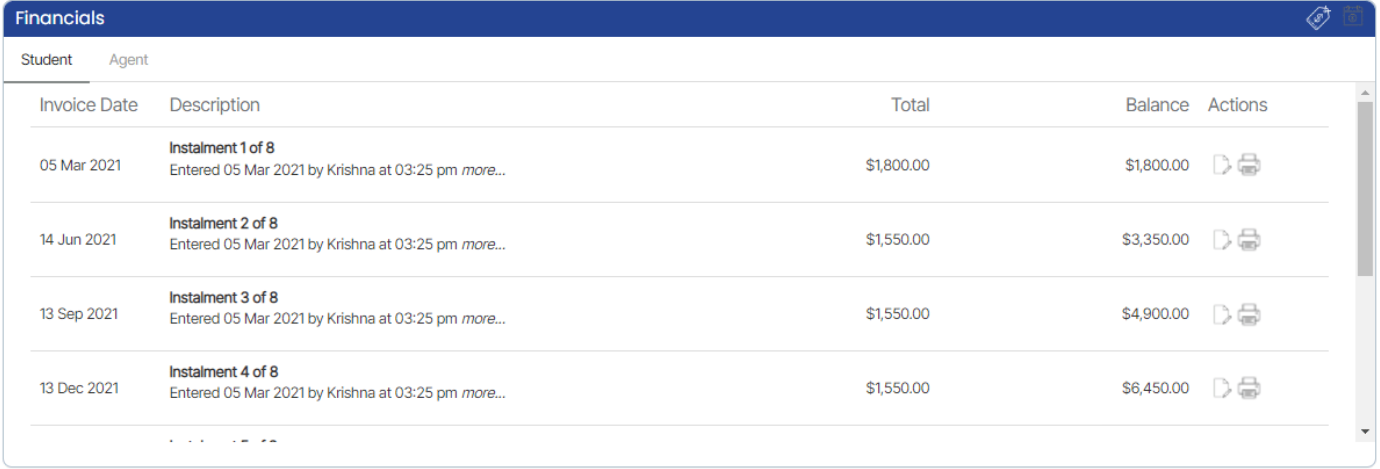
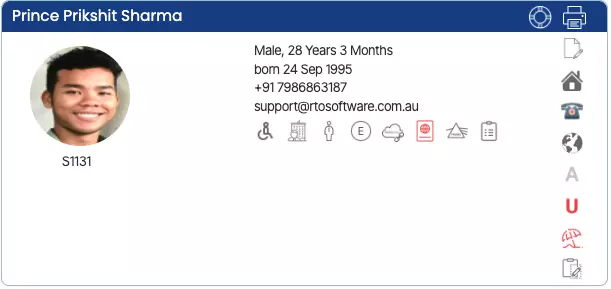
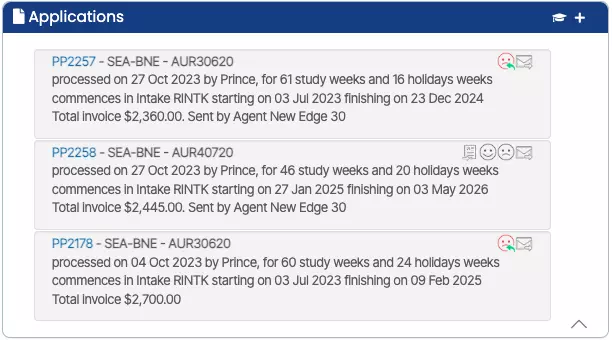
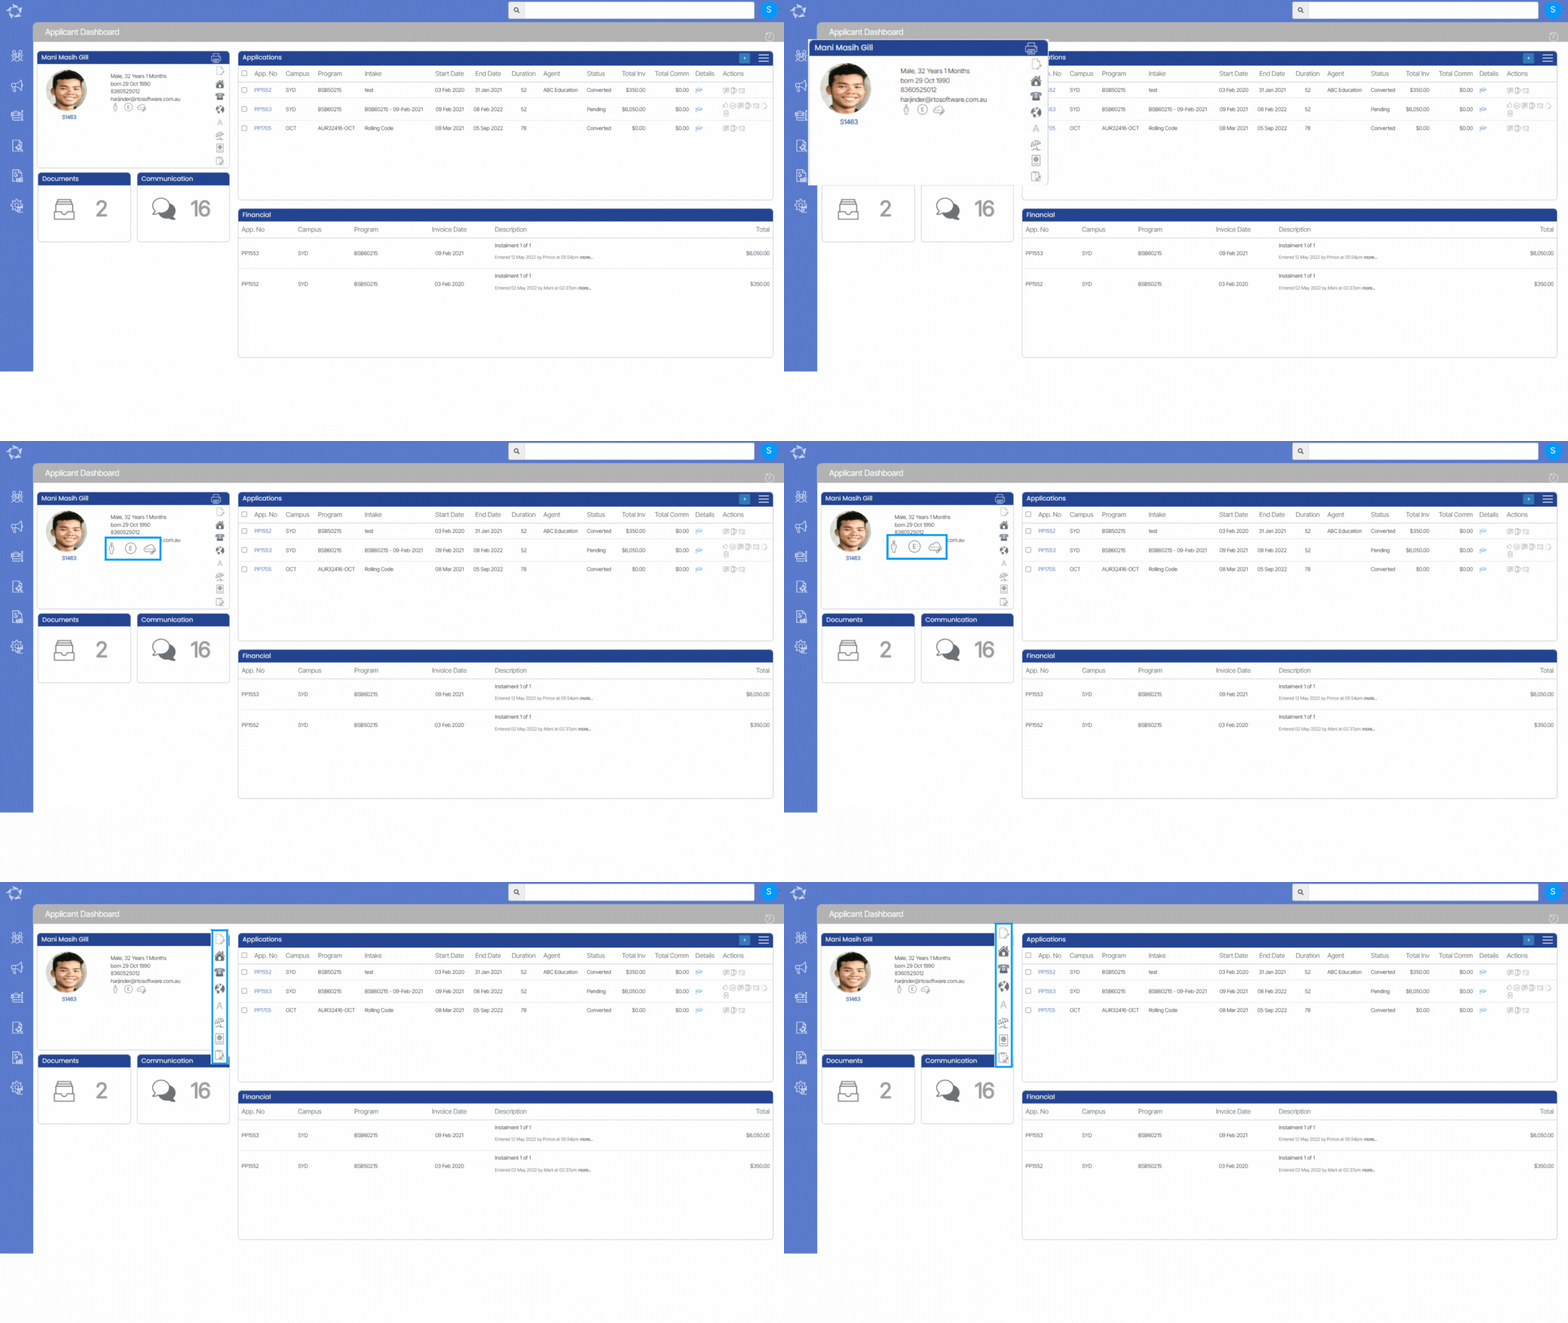
This screen will show you the basic information about the applicant on the application dashboard. Like all dashboards, it is comprised of a number of different tiles that will allow you to navigate to different screens and information linked to the application.

Tiles

Here are all the tiles present on an application dashboard. You can learn more about each tile by selecting the image of the tile.

These tiles are common tiles in all the dashboards.

AD – AVETMISS Settings

Application Dashboard > Application Profile Tile > Application AVETMISS Settings icon

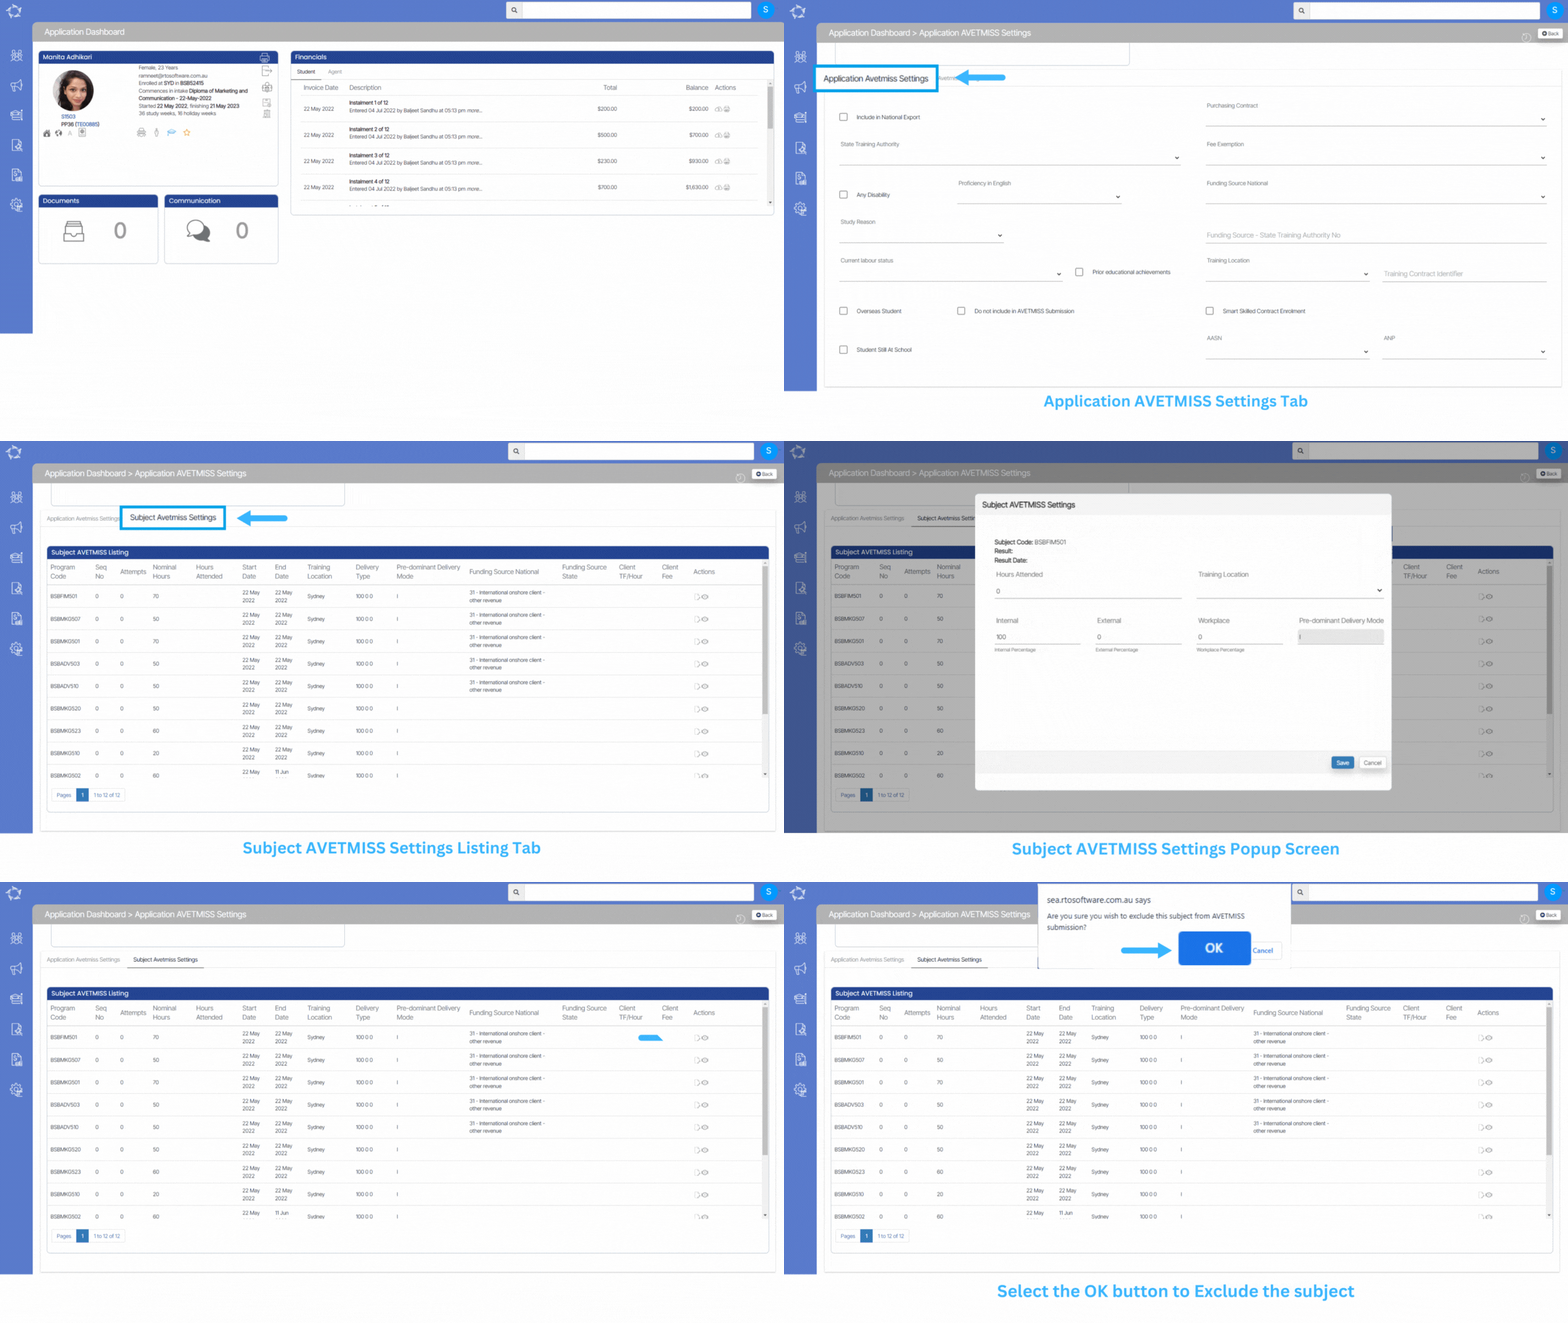
This screen will allow you to edit the AVETMISS details of an Application and Subject. When you are on this screen, you will see two different tabs:

Application AVETMISS Settings – In this tab, you can update the AVETMISS settings for the application.

Subject AVETMISS Settings – In this tab, you can update the subject AVETMISS settings.

Explanation of the fields below for Application AVETMISS settings

Application AVETMISS SettingsExplanation
Include in National ExportYou can tick this box if you want to include this application in national export.
Purchasing ContractYou can select the purchasing contract from the dropdown menu.
State Training AuthorityYou can select the state training authority from the dropdown menu.
Fee ExemptionFrom the dropdown menu, you can select the reason for fee exemption.
Any DisabilityYou can tick this box if the applicant is disabled and select their disability from the dropdown.
Proficiency in EnglishYou can select an applicant’s proficiency in English from the dropdown.
Funding Source NationalYou can select the funding source of the applicant from the dropdown.
Study ReasonYou can select the applicant’s reason for studying a particular course from this dropdown.
Funding Source – State Training Authority NoState training authority numbers should be added in this field.
Current labour statusFrom the dropdown, you can select the applicant’s labour status.
Prior educational achievementsTick this box and you will be able to select the applicant’s prior education achievements.
Training locationFrom the dropdown, you can select the training location.
Training Contract IdentifierYou can add a training contract identifier number in this field.
Overseas StudentTick this box if the applicant is from overseas.
Do not include in AVETMISS submissionTick this box if you do not want to include a particular application in the AVETMISS submission.
Smart Skilled Contract EnrolmentTick this tick box if the application is a smart skilled application, also when you tick this tick box Funding source national and state training authority number should be auto-filled.
Student Still At SchoolTick this box if the student is still in school and select the school type from the dropdown.
AASNHere you can add information about the Australian Apprenticeship Support Network.
ANP

Fields Explanation below for Subject AVETMISS settings

FieldsExplanation
Hours AttendedYou can add the hours attended by the student for the specific subject.
Training LocationFrom the dropdown, you can select the training location.
InternalYou can make the internal value 100 if the applicant wants to study onshore (classroom-based).
ExternalYou can make the external value 100 if the applicant wants to study offshore.
WorkplaceIf the applicant is employed and wants a work-based study, then you can make the workplace value 100. Pre-dominant Delivery Mode – It will be auto-populated according to the values you will put in the Internal, External, and Workplace fields.

Student Dashboard – Account Manager

Student Dashboard > Student Profile Tile > Account Manager Icon

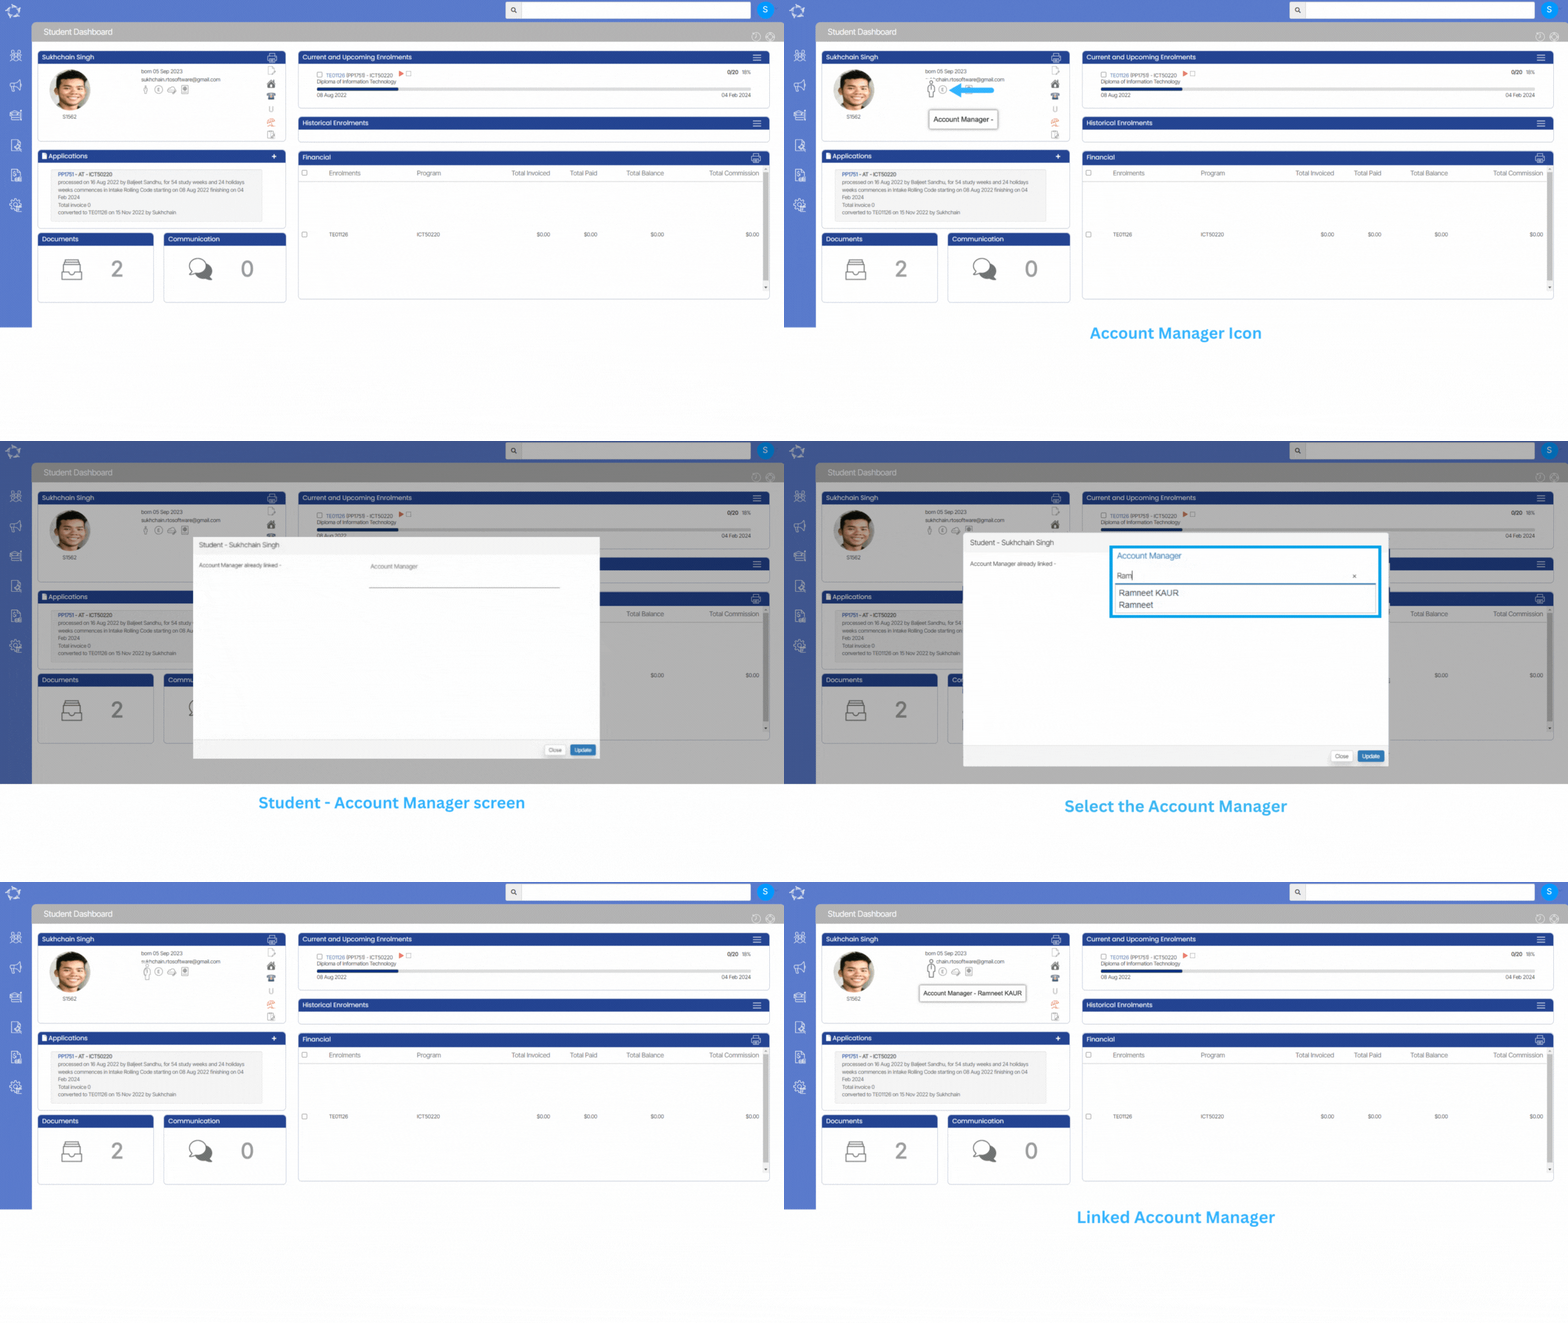
This icon will display the name of the account manager. If you want to change the account manager then you can change it by clicking on the icon itself. This will open a popup window where you can enter the first two letters of the account manager and it will display all the account managers starting with those letters. Select the appropriate account manager and select the update button.

Orientation Date – Application/Enrolment

The orientation date is a period before the start of an academic year for your college students.

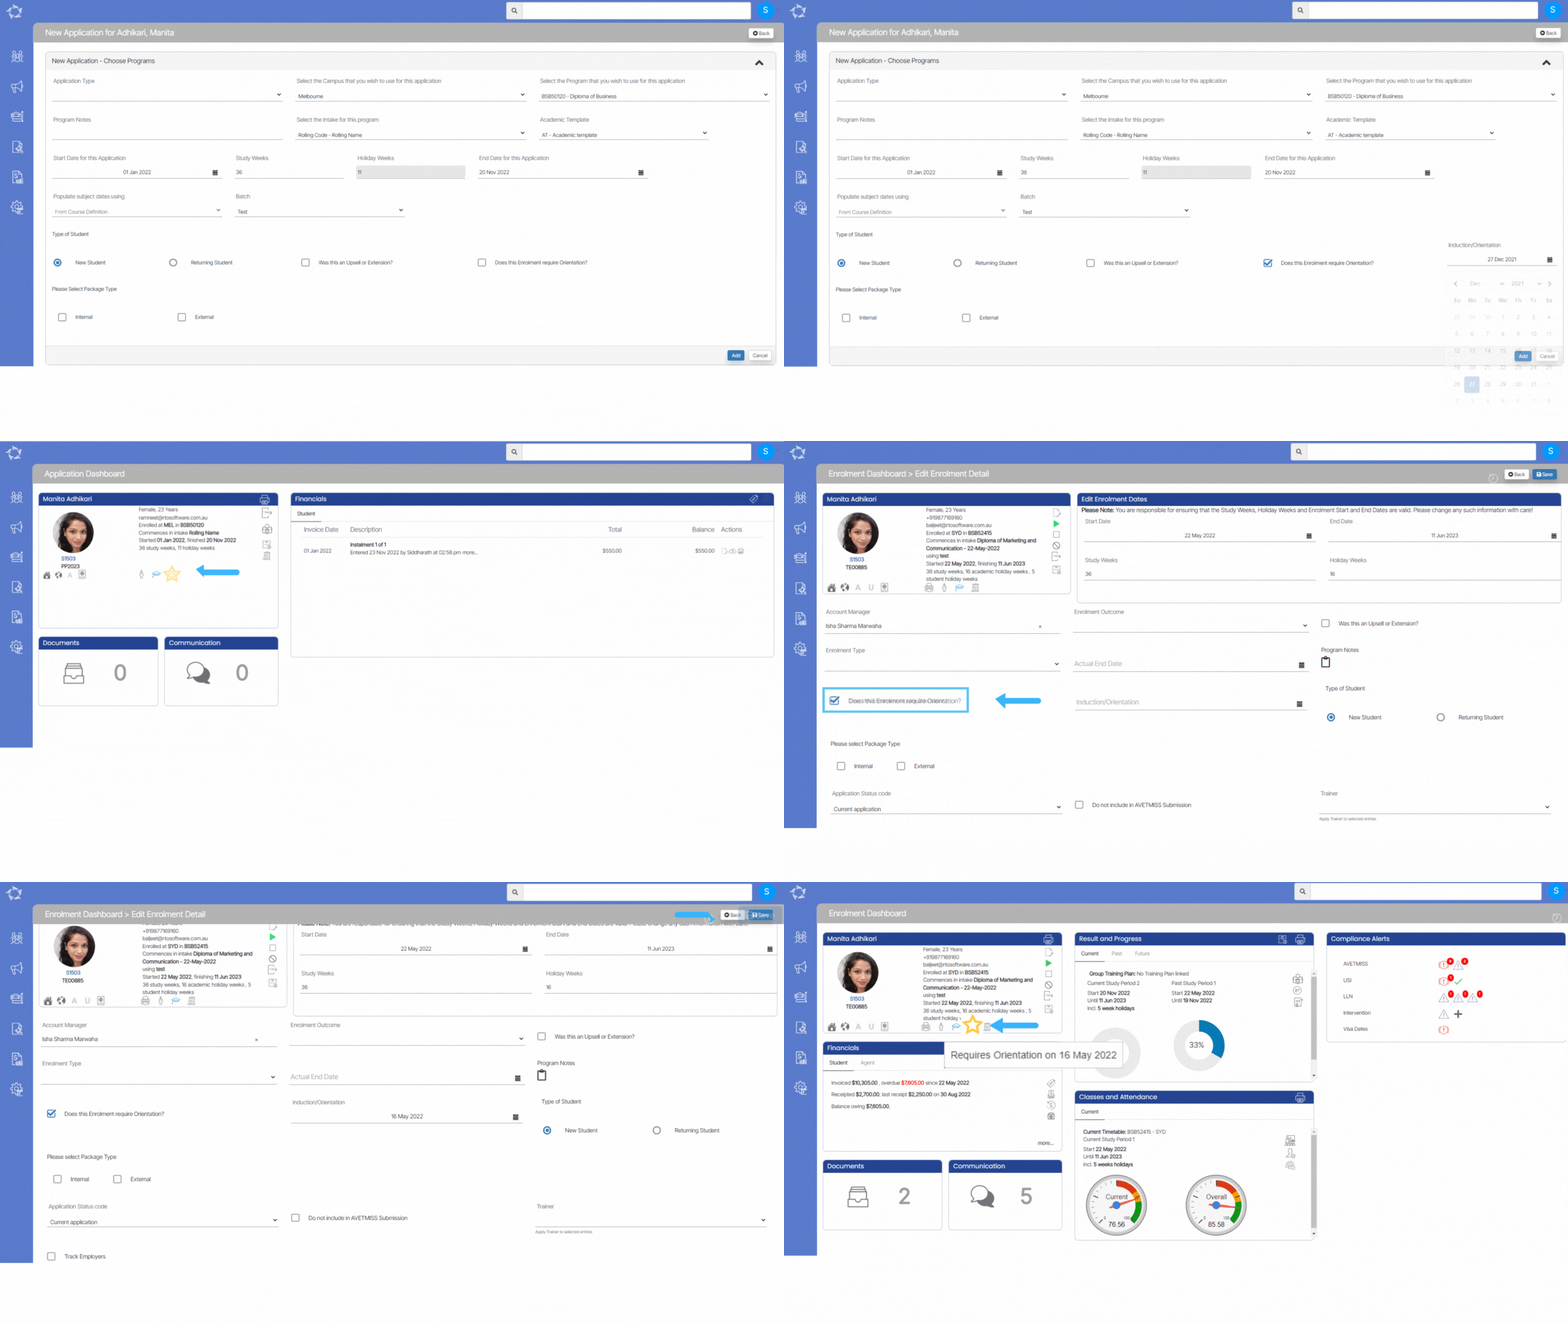
You can add the orientation date while creating an application or you can add the orientation date at the enrolment level on the edit enrolment screen. You need to select the “Does this Enrolment require Orientation?” tick box and it will show you the Induction/Orientation field to add the orientation date from the calendar.

Note: Once you added the orientation date, it will show you a star icon as yellow with a tooltip showing the orientation date on the Application Dashboard and Enrolment Dashboard.

Student Type

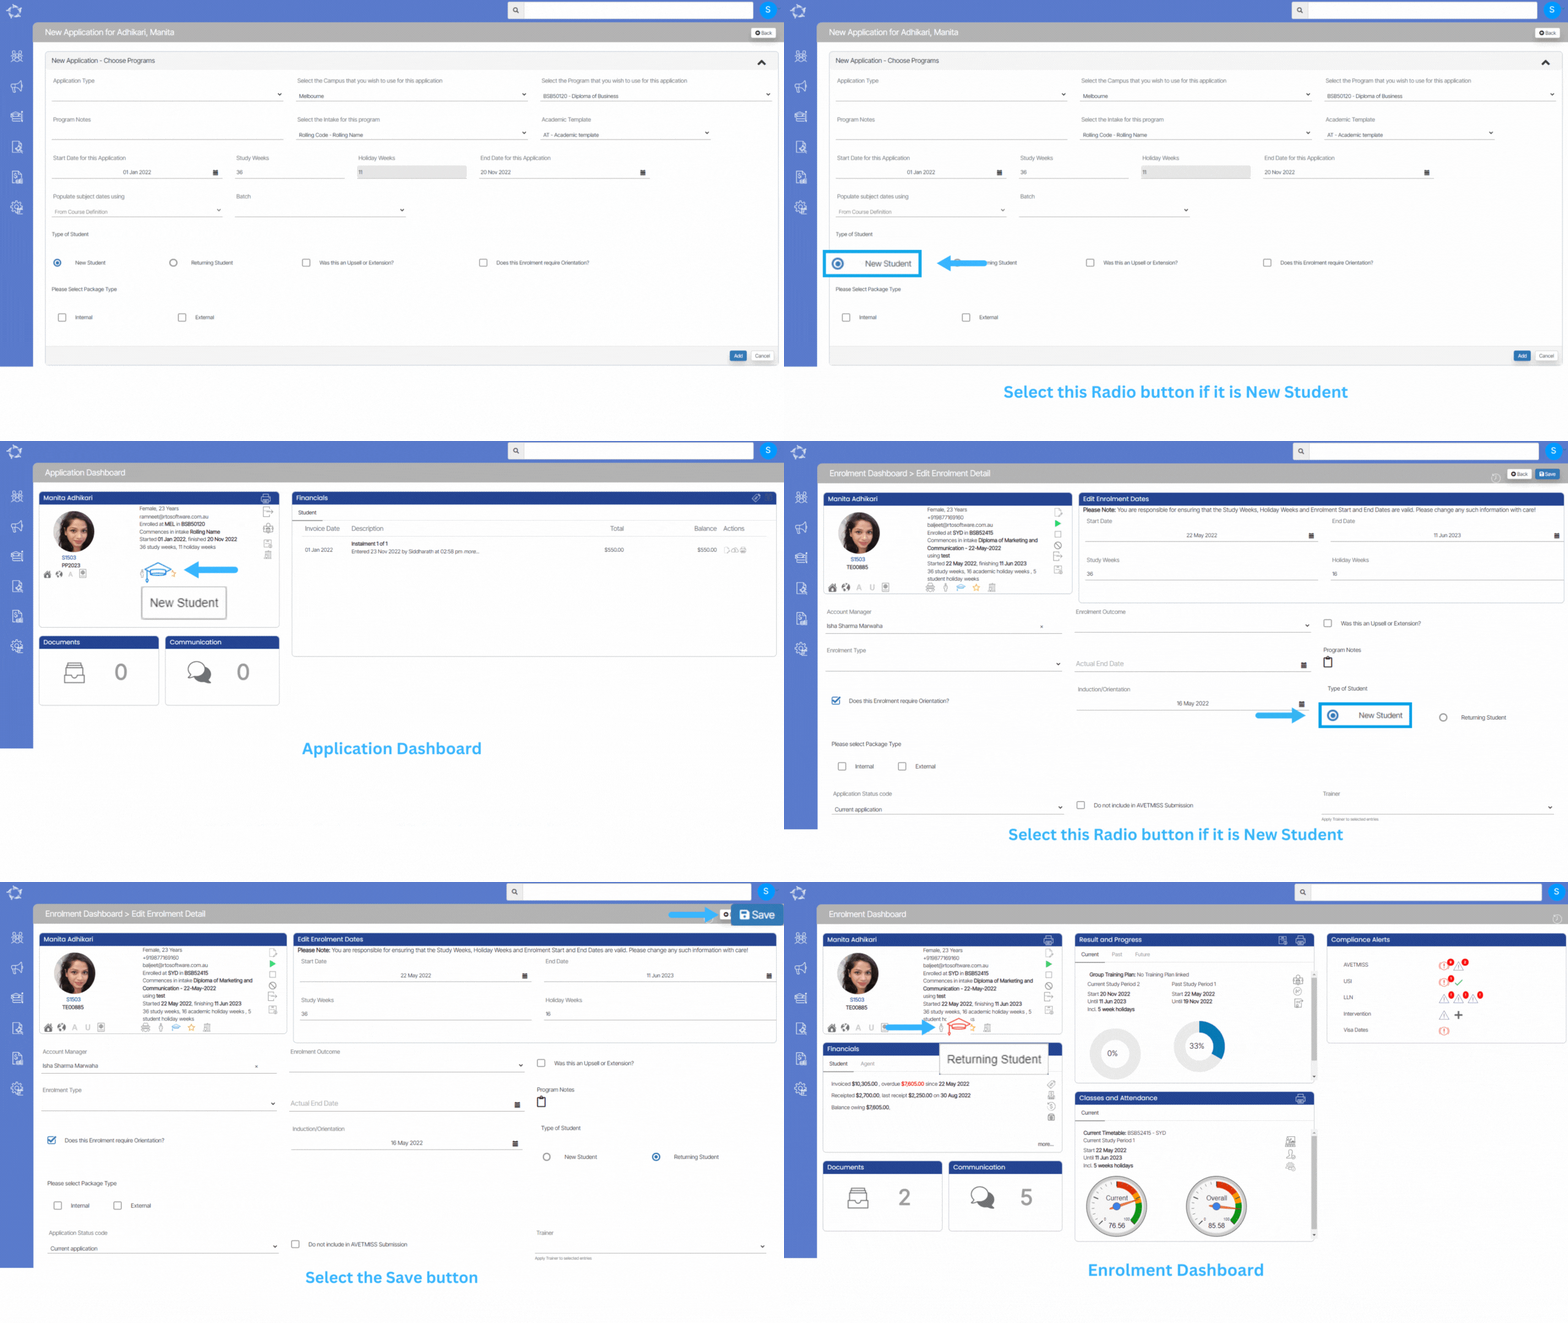
There are two Student type radio buttons New Student and Returning Student in TEAMS and you can select at the applications level while choosing the program for the application or you can select them at the enrolment level on the edit enrolment screen.

New Student – When you select this radio button for the student type then you will see a blue graduation cap at the application and enrolment level.

Returning Student – when you select this radio button for the student type then you will see a red graduation cap at the application and enrolment level.
Student Dashboard

history of changes

IMPORTANT – We believe that staying informed about the latest developments in our software is vital for optimising your experience and maximising the benefits of using our system. To view the latest updates and modifications on the Student Dashboard, we kindly request you to navigate to the History icon history of changes showing above. By selecting this icon, you will gain access to a detailed log of all the recent changes made to the software.

This will give you a summary of the history of the student with your college. It is comprised of several different tiles that will allow you to navigate to different screens and information linked to the student.

Tiles

Here are all the tiles present on the student dashboard. You can learn more about each tile by clicking on the image of the tile.

Applicant Profile Tile

The tile will give you an overview of the basic information about an applicant. You can edit details, addresses, overseas information and much more information related to the Applicant.

Note: Once the applicant is converted to a student then you won’t be able to add/edit any details at the applicant level. However, you can make changes from the Student Profile Tile.

You can upload an applicant’s profile picture from here and edit the details as well for an applicant.

Horizontal Icons

Vertical Icons

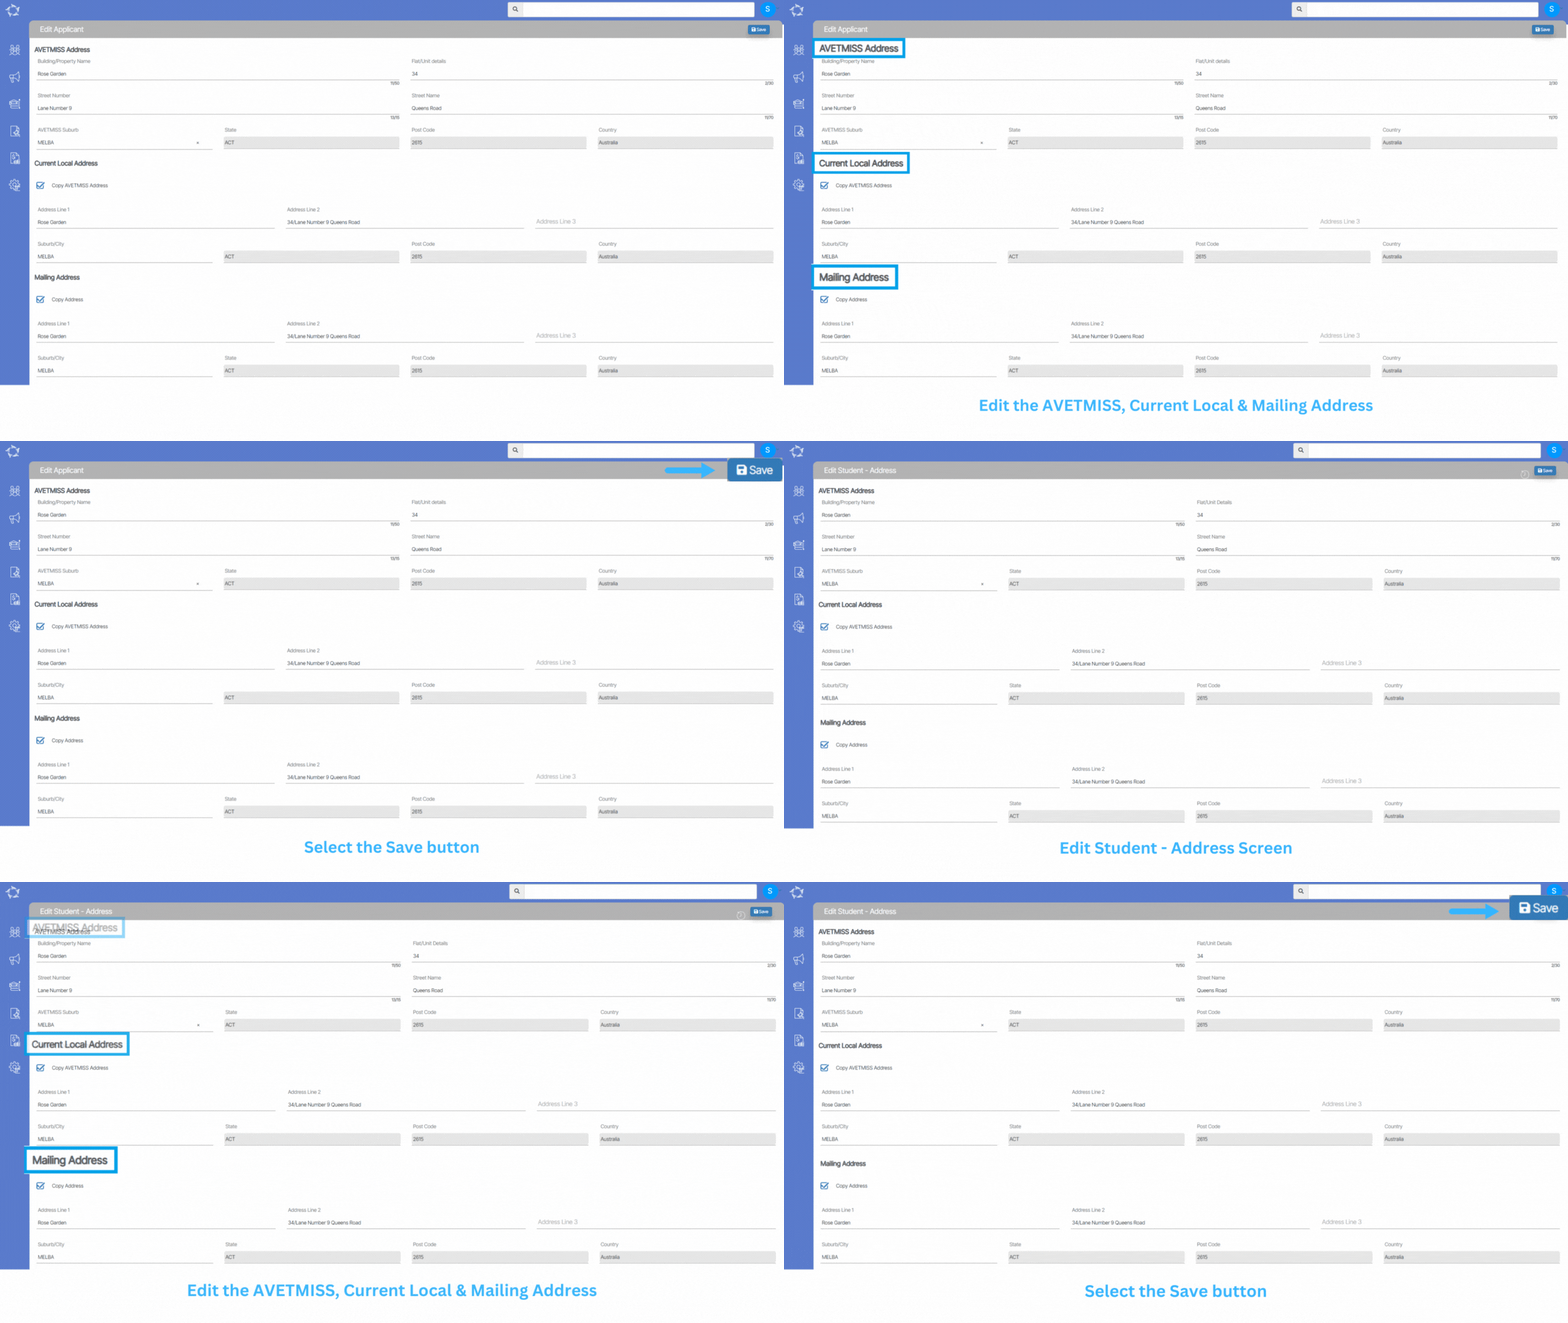
Edit Applicant/Student Address Screens

These screens allow you to add or edit addresses for the applicant or student. You can add the following address details such as:

AVETMISS Address
Local Address
Mailing Address.

IMPORTANT – If the Applicant or a Student is flagged as AVETMISS then the Street name, Street number and Suburb are mandatory fields to select under the AVETMISS Address.

Note – Once the Applicant is converted to a student, then you won’t be able to make any changes to Addresses from the edit applicant address screen. However, you make changes from the Student dashboard > Edit Address screen.

Also, If the Local Address and Mailing Address is the same as the AVETMISS Address then you can copy the AVETMISS address by selecting the Copy AVETMISS Address and Copy Address tick boxes.

Explanation of the fields


AVETMISS AddressCurrent Local AddressMailing Address
Building/Property NameThe building/property details of an address in AVETMISS 8 format. eg. “Stuart Apartment” is not a mandatory field.Copy AVETMISS AddressYou can mark this option if the current local address is as same as the AVETMISS address. It will update the address in all the fields automatically.Copy AddressYou can mark this option if the mailing address is as same as the AVETMISS address. It will update the address in all the fields automatically.
Flat/Unit DetailsThe level/unit details of the address in AVETMISS 8 format. eg. “Apartment 234”, or “Level 8”. Non-mandatory field.Address Line 1If the current local address is different from the AVETMISS address you can add it manually in this field.Address Line 1If the mailing address is different from the AVETMISS address you can add it manually in this field.
Street NumberThe street number of the address in AVETMISS 8 format. eg. “101”, “240-248”.Non-mandatory field.Address Line 2If the current local address is different from the AVETMISS address you can add it manually in this field.Address Line 2If the mailing address is different from the AVETMISS address you can add it manually in this field.
Street NameThe street name of the address in AVETMISS 8 format. eg. “Queens street”, or “Palm Lane”. Mandatory field.Address Line 3If the current local address is different from the AVETMISS address you can add it manually in this field.Address Line 3If the mailing address is different from the AVETMISS address you can add it manually in this field.
AVETMISS SuburbIt is a usercode dropdown field. you can select a suburb in this field. If you do not find a suitable suburb you can ask us, and we will add it.SuburbIt is a usercode dropdown field. you can select a suburb in this field. If you do not find a suitable suburb you can ask us, and we will add it.SuburbIt is a usercode dropdown field. you can select a suburb in this field. If you do not find a suitable suburb you can ask us, and we will add it.
StateIt is a read-only field, It will auto-populate when you select the suburb.StateIt is a read-only field, It will auto-populate when you select the suburb.StateIt is a read-only field, It will auto-populate when you select the suburb.
PostcodeIt is a read-only field, It will auto-populate when you select the suburb.Post CodeIt is a read-only field, It will auto-populate when you select the suburb.Post CodeIt is a read-only field, It will auto-populate when you select the suburb.
CountryIt is a read-only field, It will auto-populate when you select the suburb.CountryIt is a read-only field, It will auto-populate when you select the suburb.CountryIt is a read-only field, It will auto-populate when you select the suburb.

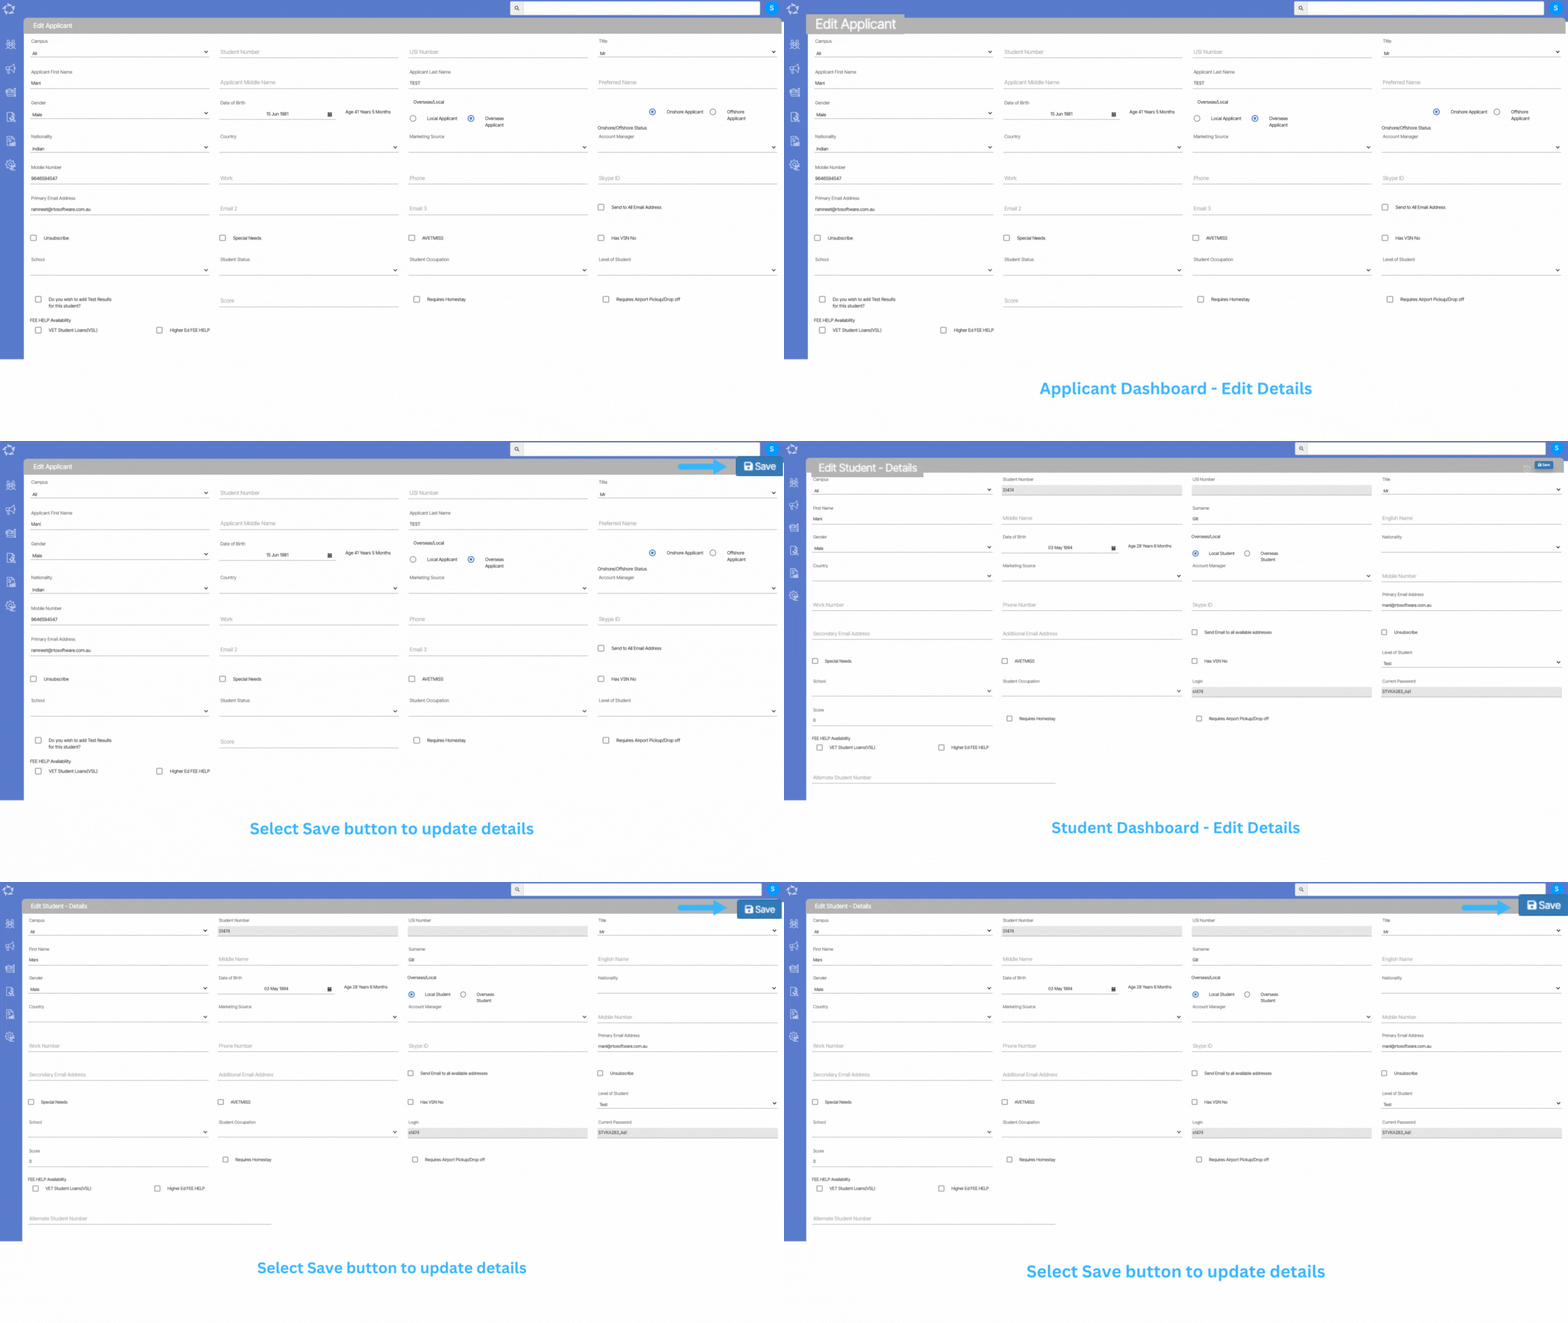
Edit Applicant/Student Details Screen

These screens will allow you to add/edit the information about the Applicant and Student. You can find these screens under:

Applicant Dashboard > Applicant Profile Tile > Edit Applicant Screen

Student Dashboard > Student Profile Tile > Edit Student Screen

Note Once the Applicant is converted to a Student then you won’t be able to add/edit any details at the applicant level. However, you can make changes from the Student Dashboard > edit student screen.

Explanation of the Fields

ColumnExplanation
CampusIt is a dropdown field, where you can select a campus for students. You can also select all as an option if the student has enrolments in different campuses.
Student NumberIt is a system generated field.
USI NumberThis is a Unique Student Identifier number and is a read only field.
TitleIt is a user code field, we can help you to add more titles if needed.
First NameYou can add the first name of the student here.
Middle NameYou can add the Middle name of the student here.
SurnameYou can add the Surname or last name of the student here.
English NameYou can add the English name of the student here.
GenderIt is a dropdown field, where you can select the specific gender of the student.
Date of BirthThis field shows a calendar where you can select the date of birth of the student.
Local StudentYou can select this option if the student is a local resident of the country where he/she is studying.
Overseas StudentThis is for international students. If the student is studying in the same country then select “onshore” but if the student is studying from a different country then please select “offshore
Nationality Nationality of the student.
CountryCountry of the student.
Marketing SourceThis is a user code field, you can select the options from the drop-down. If you need to set up any other options, kindly contact support.
Mobile NumberYou can add the mobile number of the student in this field.
Work NumberAdd the work contact number of the student.
Phone numberPhone number of the student.
Skype IDYou can add the student’s skype ID here.
Primary Email AddressThis email address will be used for all communications with the student.
Secondary Email AddressAdd the secondary email address of the student
Additional Email AddressYou can add another email address here
Send Emails to all available addressesIf this tick box is ticked, the system will send emails to all other email addresses too including the primary email addresses i.e. secondary email addresses and additional email addresses.
UnsubscribeBy ticking this tick box, you can unsubscribe from all the marketing emails. That means the student will not receive any marketing emails.
Special NeedsIf the student has any special requests or needs. You can tick the tick box and then can add special notes in the note box.
Always make sure to hit back at the notes icon after entering the notes to save it.
AVETMISSIf you are going to report this student to the government and the student is studying in any VET course, kindly tick this tick box. This is very important for compliance.
Has VSN NoYou can update the Victorian Student No in this field.
Level of StudentYou can select the level of the student if he/she is studying an ELICOS course.
School
Student OccupationYou can update the occupation of the student here.
LoginIt is a system-generated field where login details of the student portal or moodle will be populated.
Current passwordIt is a system-generated field where the password for the student portal or moodle will be populated.
ScoreHere You can update the English test score of the student.
Would you like to book homestay accommodation?You can select if students want to book accommodation (with or without meals) from the college. 
DurationYou can update the duration of the stay for a student.
Would you like to book our airport pick-up services?If the student wants to book airport pick-up services, you can select this option.
Do you require us to arrange Overseas Student Health Cover for you?If the student wants to arrange Overseas Student Health Cover, you can select this option.
Alternate Student numberStudent numbers given to a student other than system generated student numbers should be added in this field.

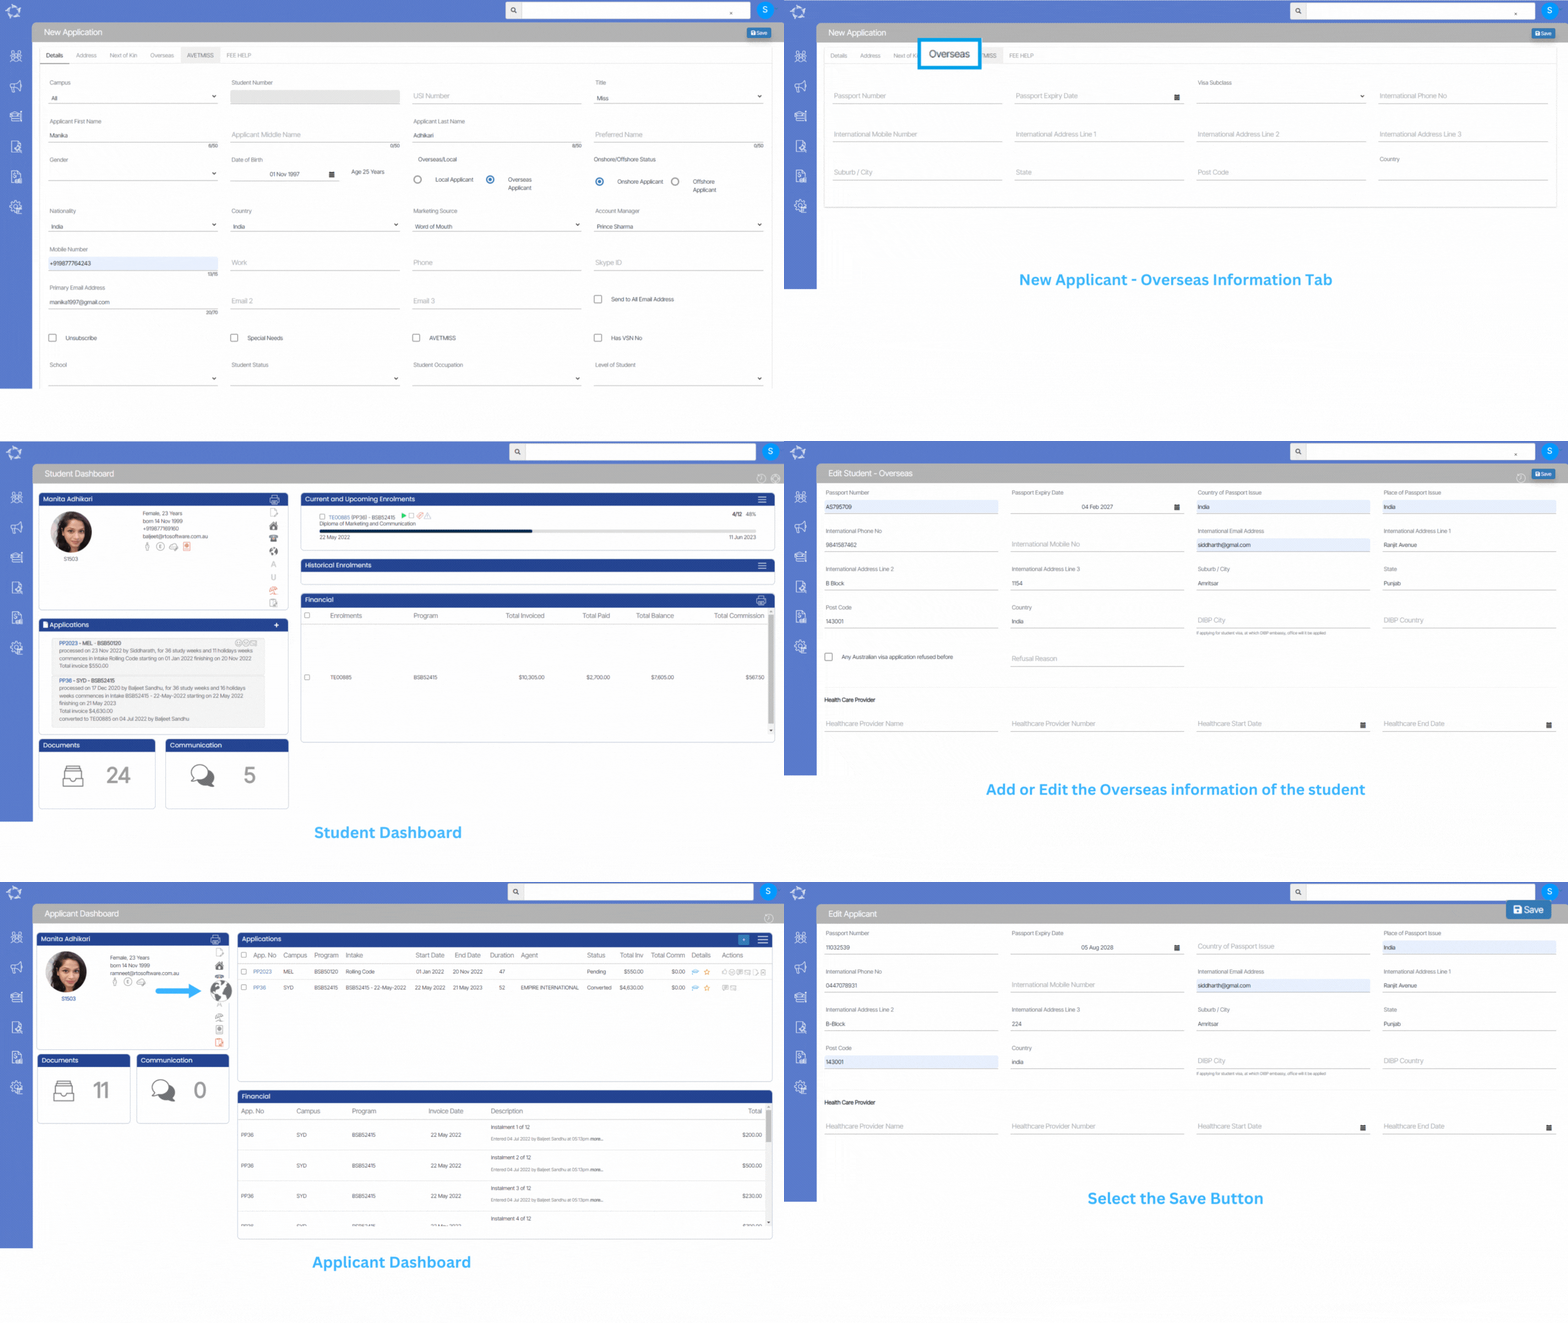
Edit Overseas Information

This screen allows you to Add/Edit the overseas information of the students. You can add the overseas information from the below screens.

New Applicant > Overseas tab

Applicant Dashboard > Overseas icon

Student Dashboard > Overseas Icon

Note – Once the applicant is converted to a student then you won’t be able to add/edit any details at the applicant level. However, you can do the changes from the edit student screen.