In this update, we have released the new Agent Portal. This will allow any of your agents; that you give permissions to, the ability to view information that they would normally email or call you about. They will also be able to create applications in TEAMS and you will be notified. Also, we have introduced a new view icon to allow you to view a password for specific fields in the system. A new filter (tick box) on the Application Listing screen has been added, that will allow you to search based on application dates. And new filters and column heading changes have been made to the bulk results screen. For a full list of what has been added in this release, please see below.
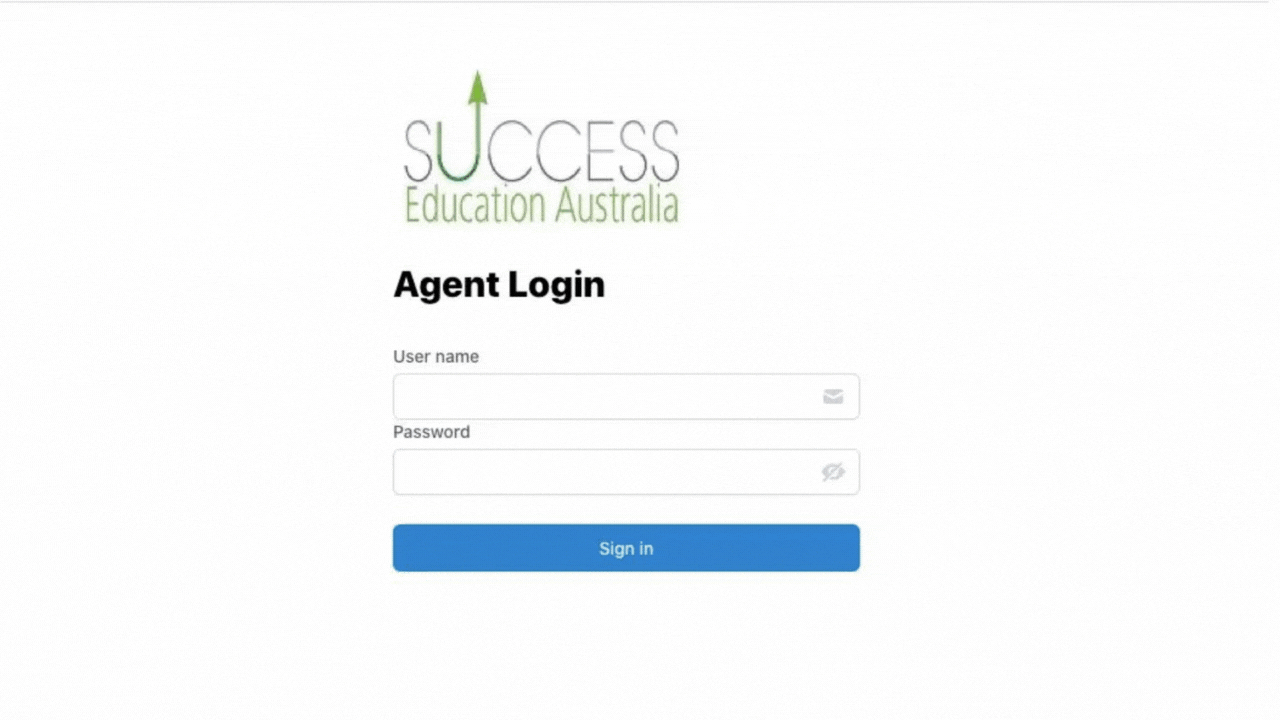
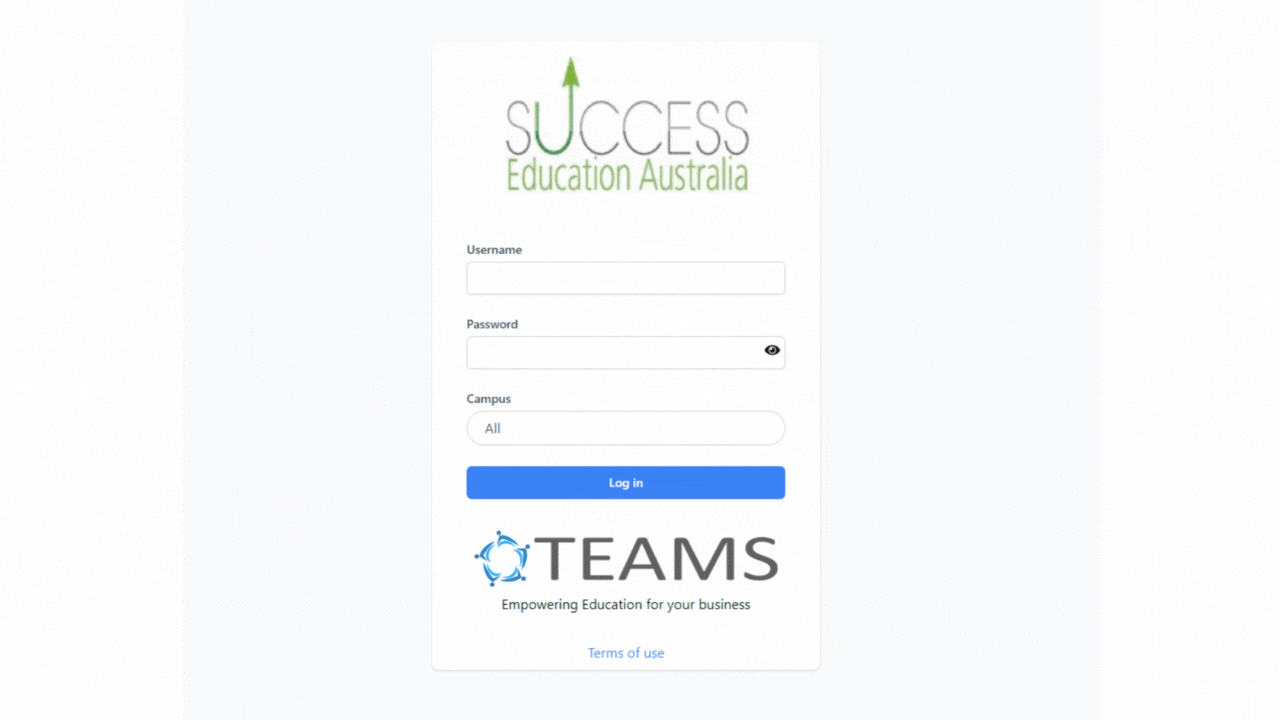
Agent Portal
We have released the New Agent Portal. Agents will be able to view information that they would normally email or call you about, such as current students and commission invoices overdue etc. They will also be able to do applications that are directly in TEAMS and you will receive notifications.
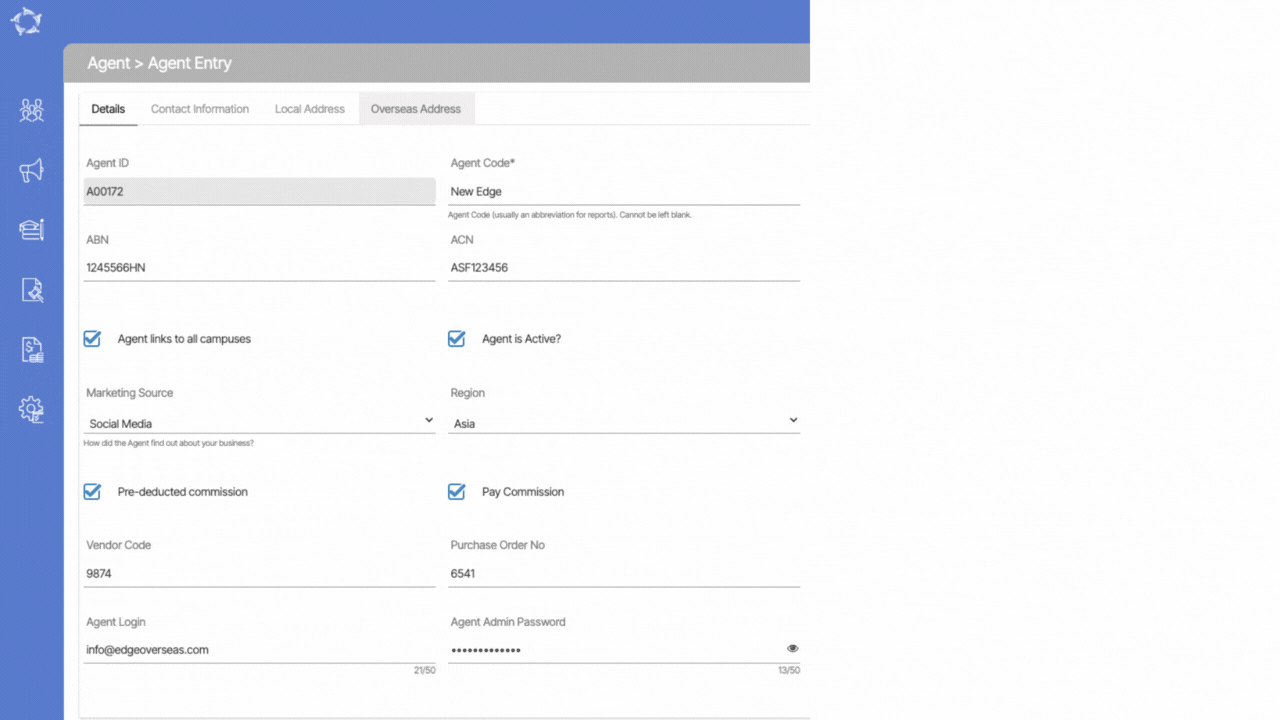
As part of the Agent Portal, we have made some changes on the Agent entry screen for you to be able to setup their login details.
New Icon – View Password
We have made some further improvements and added a new icon on the user login screen and User entry screen. Now the user will be able to view their password by selecting the view icon in the password field.
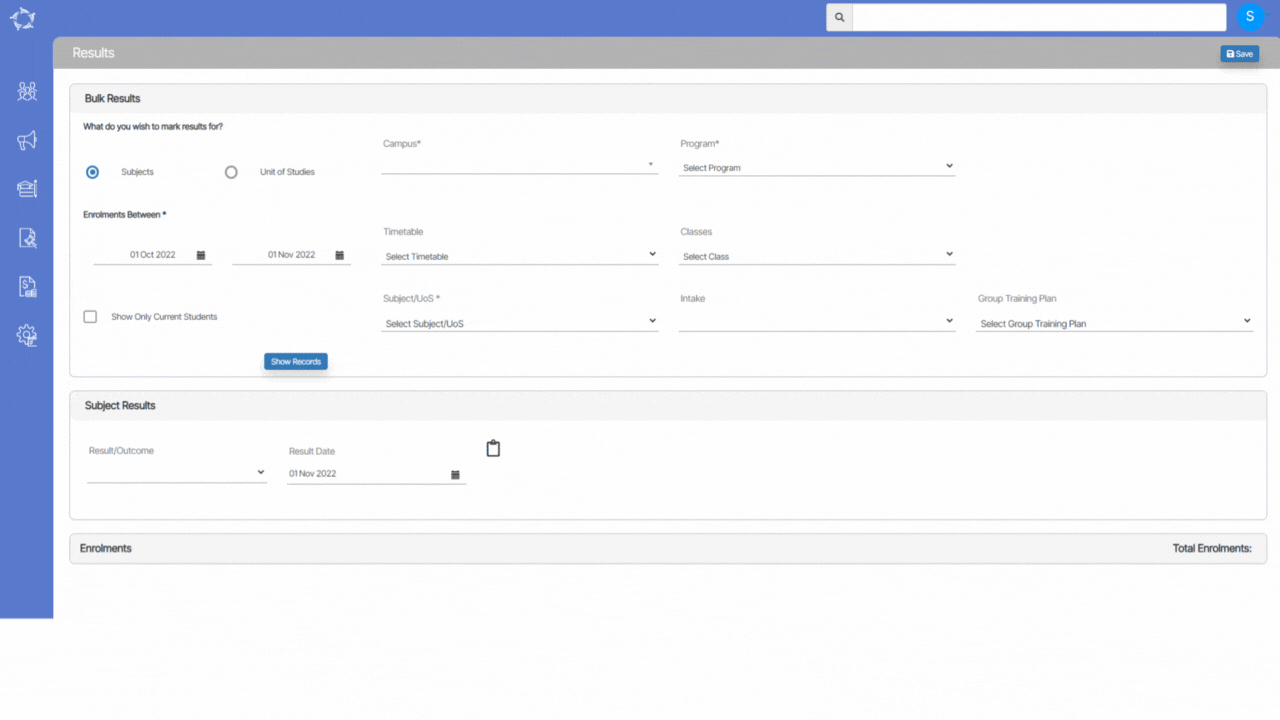
New Filter – Use Application Dates
By default, the system uses the creation date of an application to search and display results in the Application List screen. We have added a new filter for Use Application Dates. If you select this the system will search based on the application dates. You can access this screen from the Marketing Dashboard.
Bulk Results Screen
We have made some changes to the Filters and how the system behaves when you select information in them. Also, we have changed the name of some of the column headings in the grid and have added a new column to the grid as well.
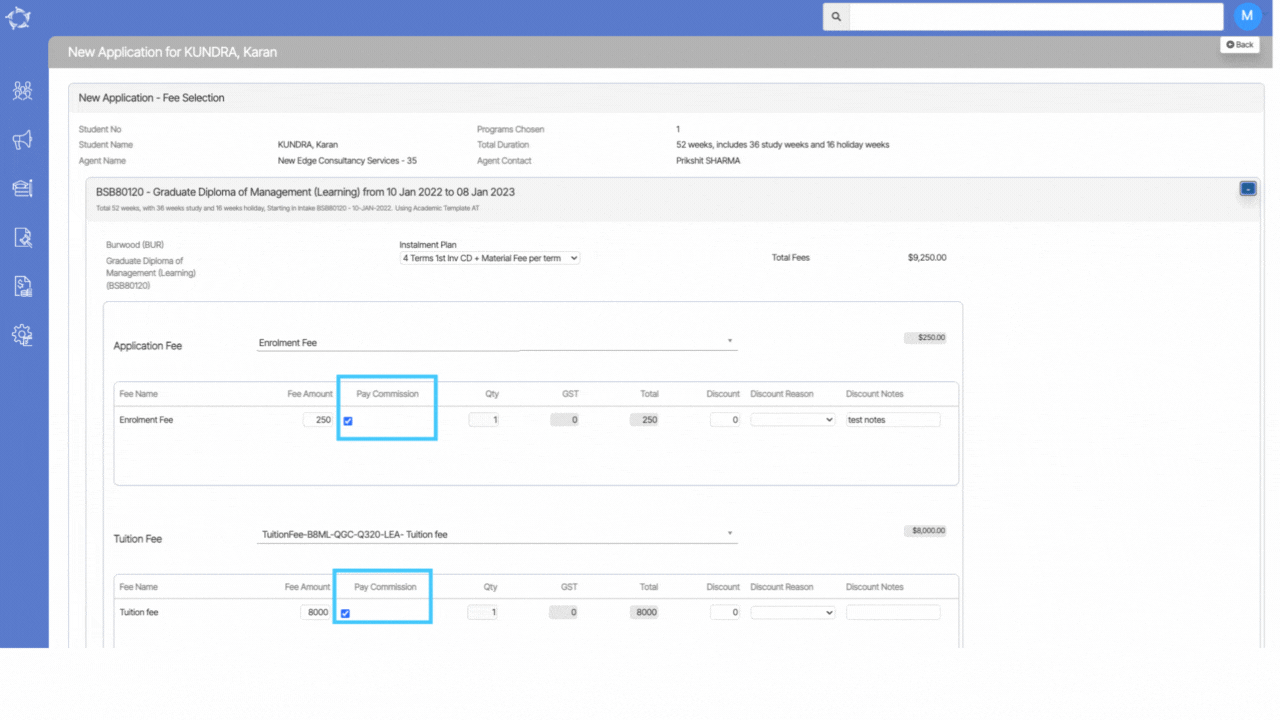
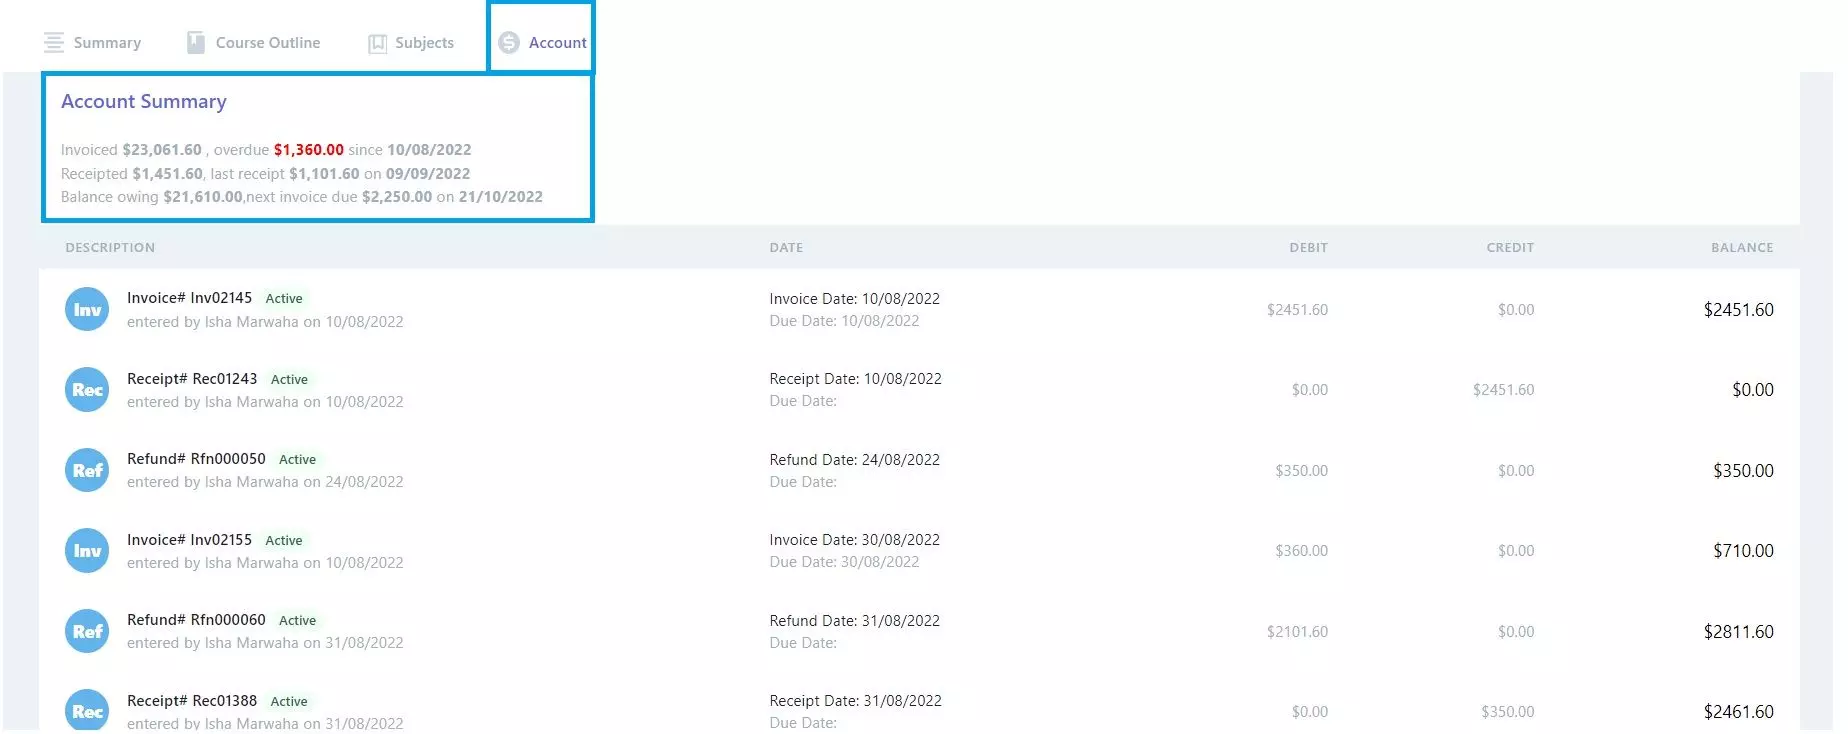
ED – Agent Financial Details new payment information
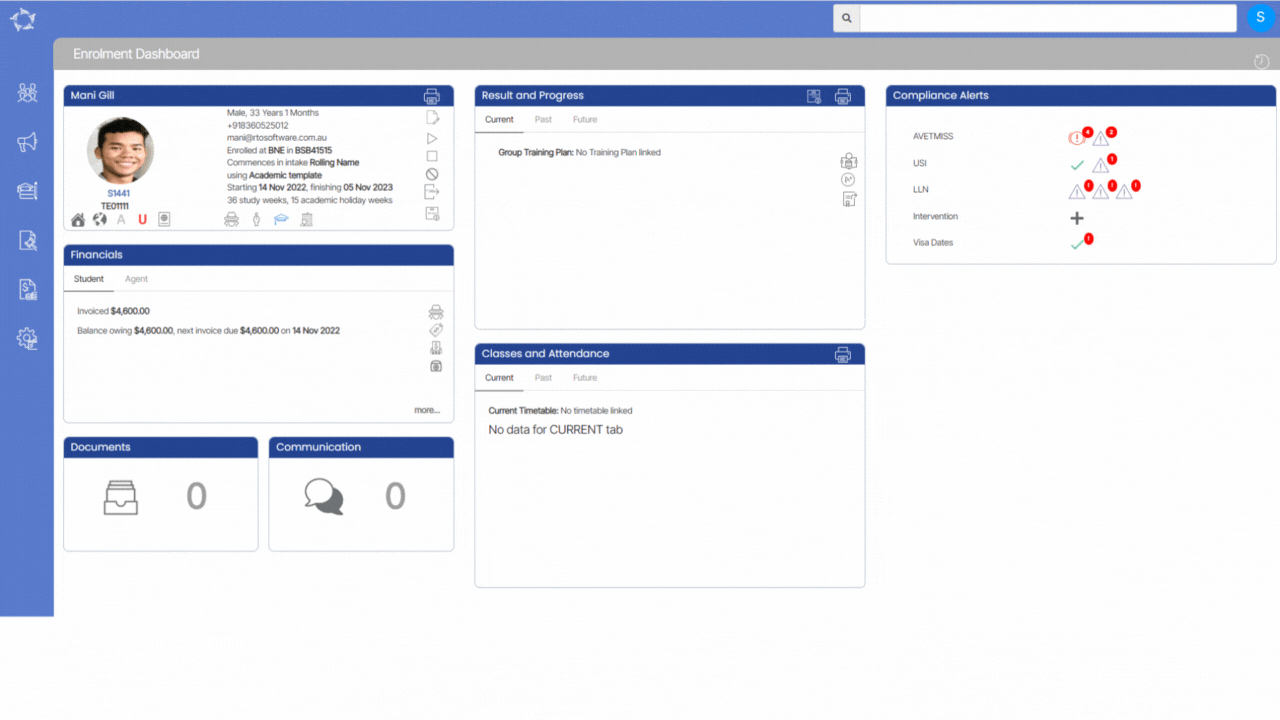
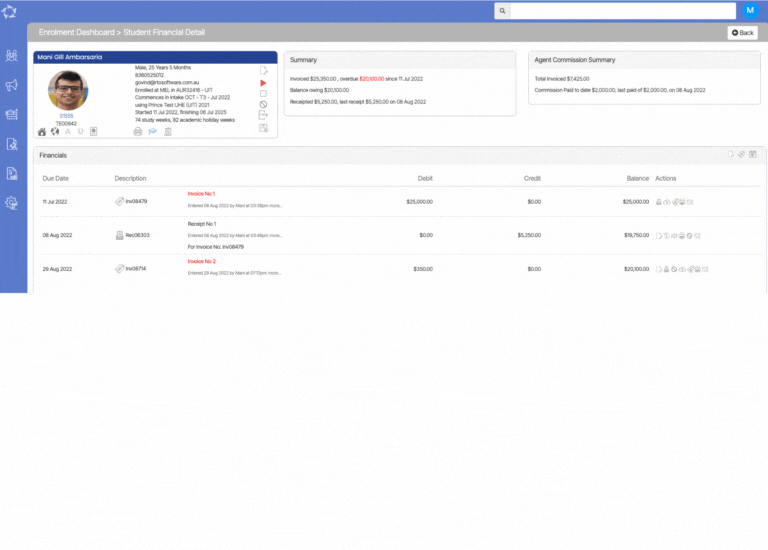
We have made some changes on the Enrolment Dashboard > Agent Financial screen. Now you will be able to see Agent’s payments (what invoice was done for both student and agent payments and who did the payments.
Agent – new login fields for Agent Portal
We have now added two new fields Agent login and Agent Admin password on the Agent entry screen
We have also added a new eye icon on the screen to view the agent admin password.
Our mission is to build software that helps you do things more efficiently. Your input and engagement are vital in helping us improve our service and offerings for your college. We are always open to listening to your feedback.
Any questions, please feel free to reach out to us. We look forward to serving you to the best of our ability.
Please review the changes and if you would like further clarification, please contact our Support team.
A big thank you to so many of you who have been actively participating in helping us bring these new improvements to life.
Next update is due on Thursday, 17th November 2022
Note: Please alert other team members within your college if the changes outlined above affect their role or department.
Thank you for taking the time to read this post.
 will show you the summary of all the fields that are selected in the webform on the Applicant and Student profile tiles


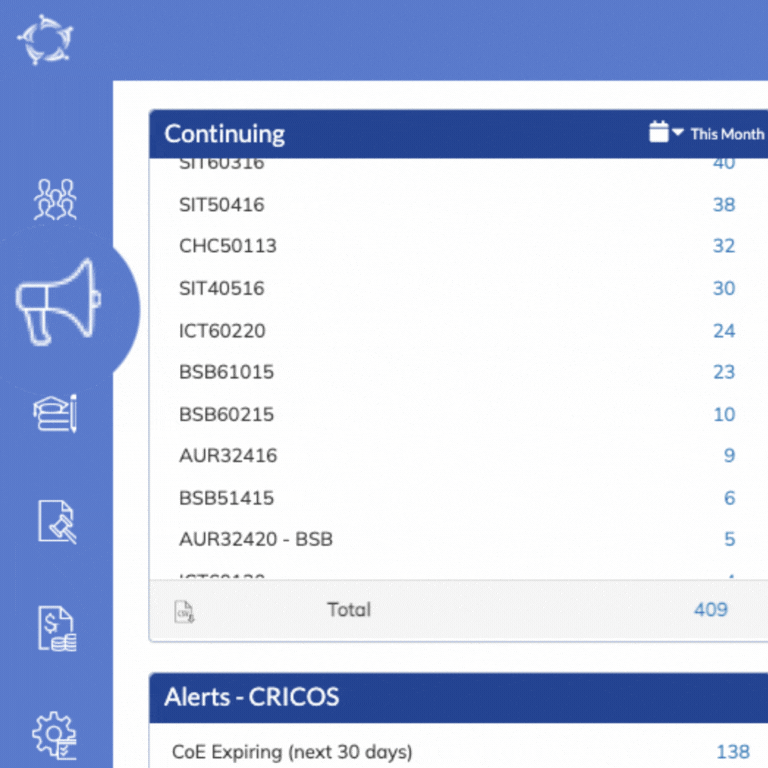
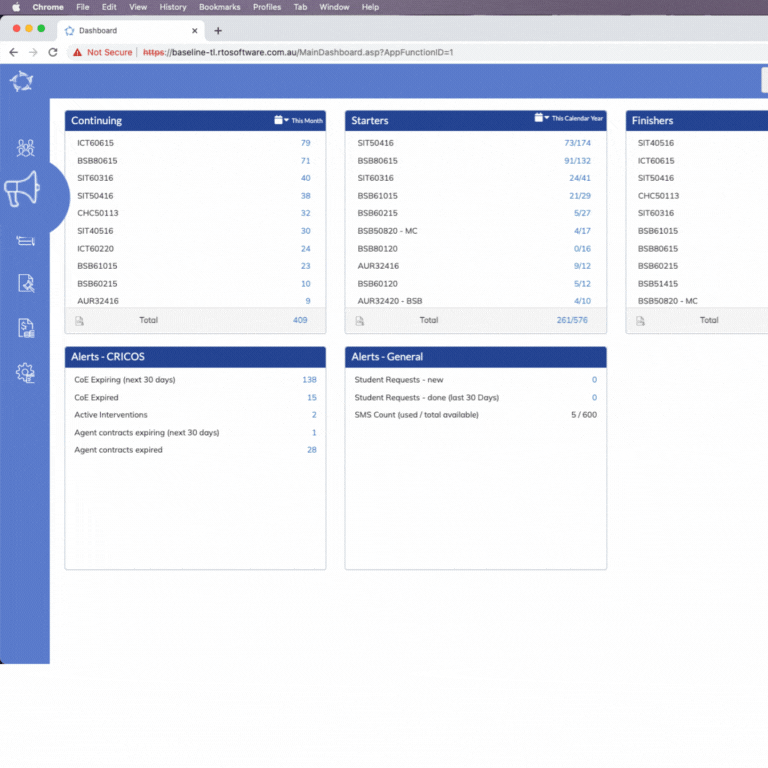
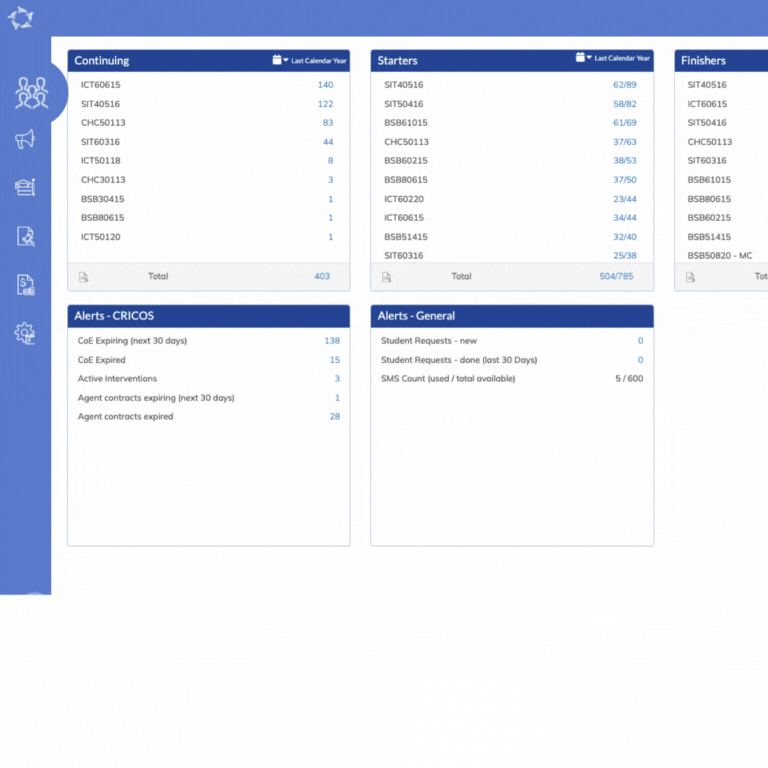
 to download CSV file for all the programs and counts being displayed in this tile.