Our team has been hard at work to bring you a seamless and efficient experience, and we are excited to unveil our latest feature: the Integration of Pin Payment!
This integration marks a significant milestone for us as it allows us to streamline your payment processes, making transactions easier, faster, and more secure than ever before. Pin Payment is a trusted and widely recognised payment gateway that ensures a smooth and hassle-free payment experience for your students and clients.
There are some of the key benefits of our Pin Payment Integration-:
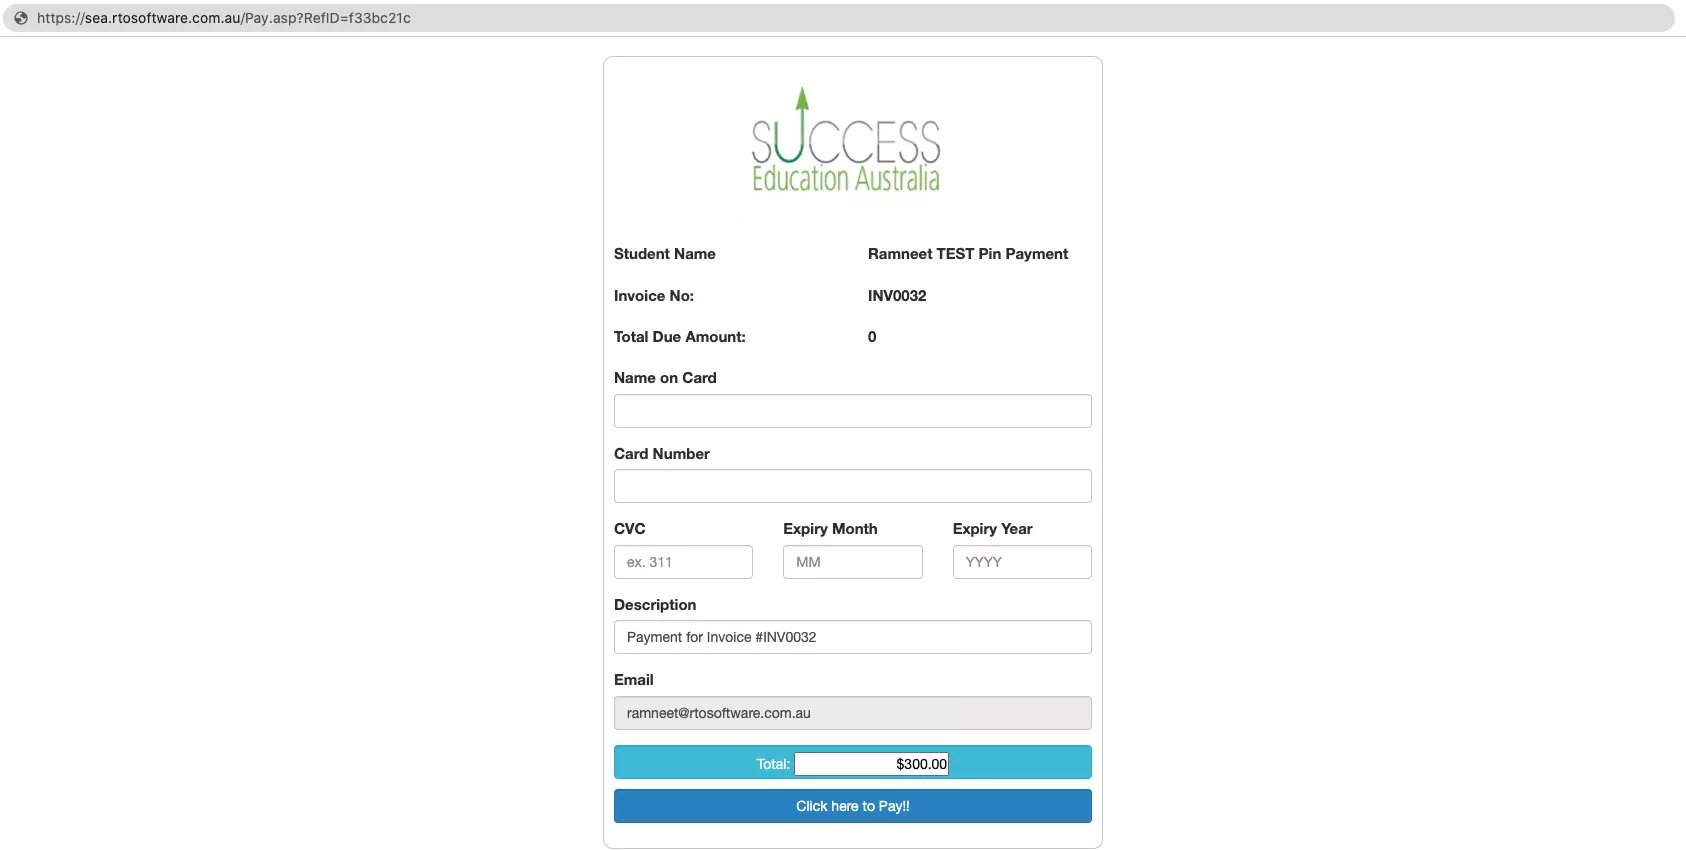
- Effortless Transactions: With Pin Payment integrated, your students can now make payments directly online. This means no more redirection to external payment portals, ensuring a frictionless and convenient payment process.
- Enhanced Security: Pin Payment implements top-notch security protocols, safeguarding sensitive payment information and reducing the risk of fraudulent activities.
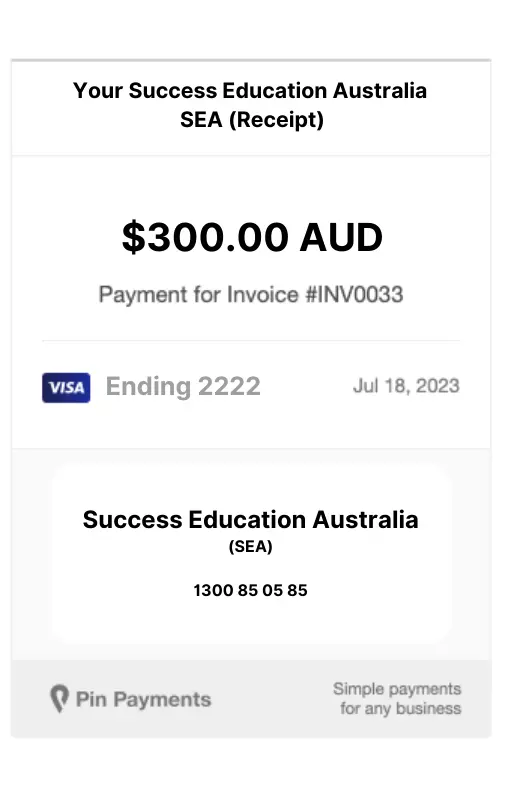
- Simplified Record-Keeping: Our system will automatically record and organise all payment details, saving your administrative staff valuable time and effort.
- Increased Trust and Credibility: By integrating Pin Payment, we demonstrate our commitment to providing you with the best tools and services. This partnership enhances the credibility of your RTO, fostering trust among students.
NOTE – We understand that adopting a new payment system can be both exciting and challenging. To ensure a smooth transition, our dedicated support team is ready to assist you every step of the way.
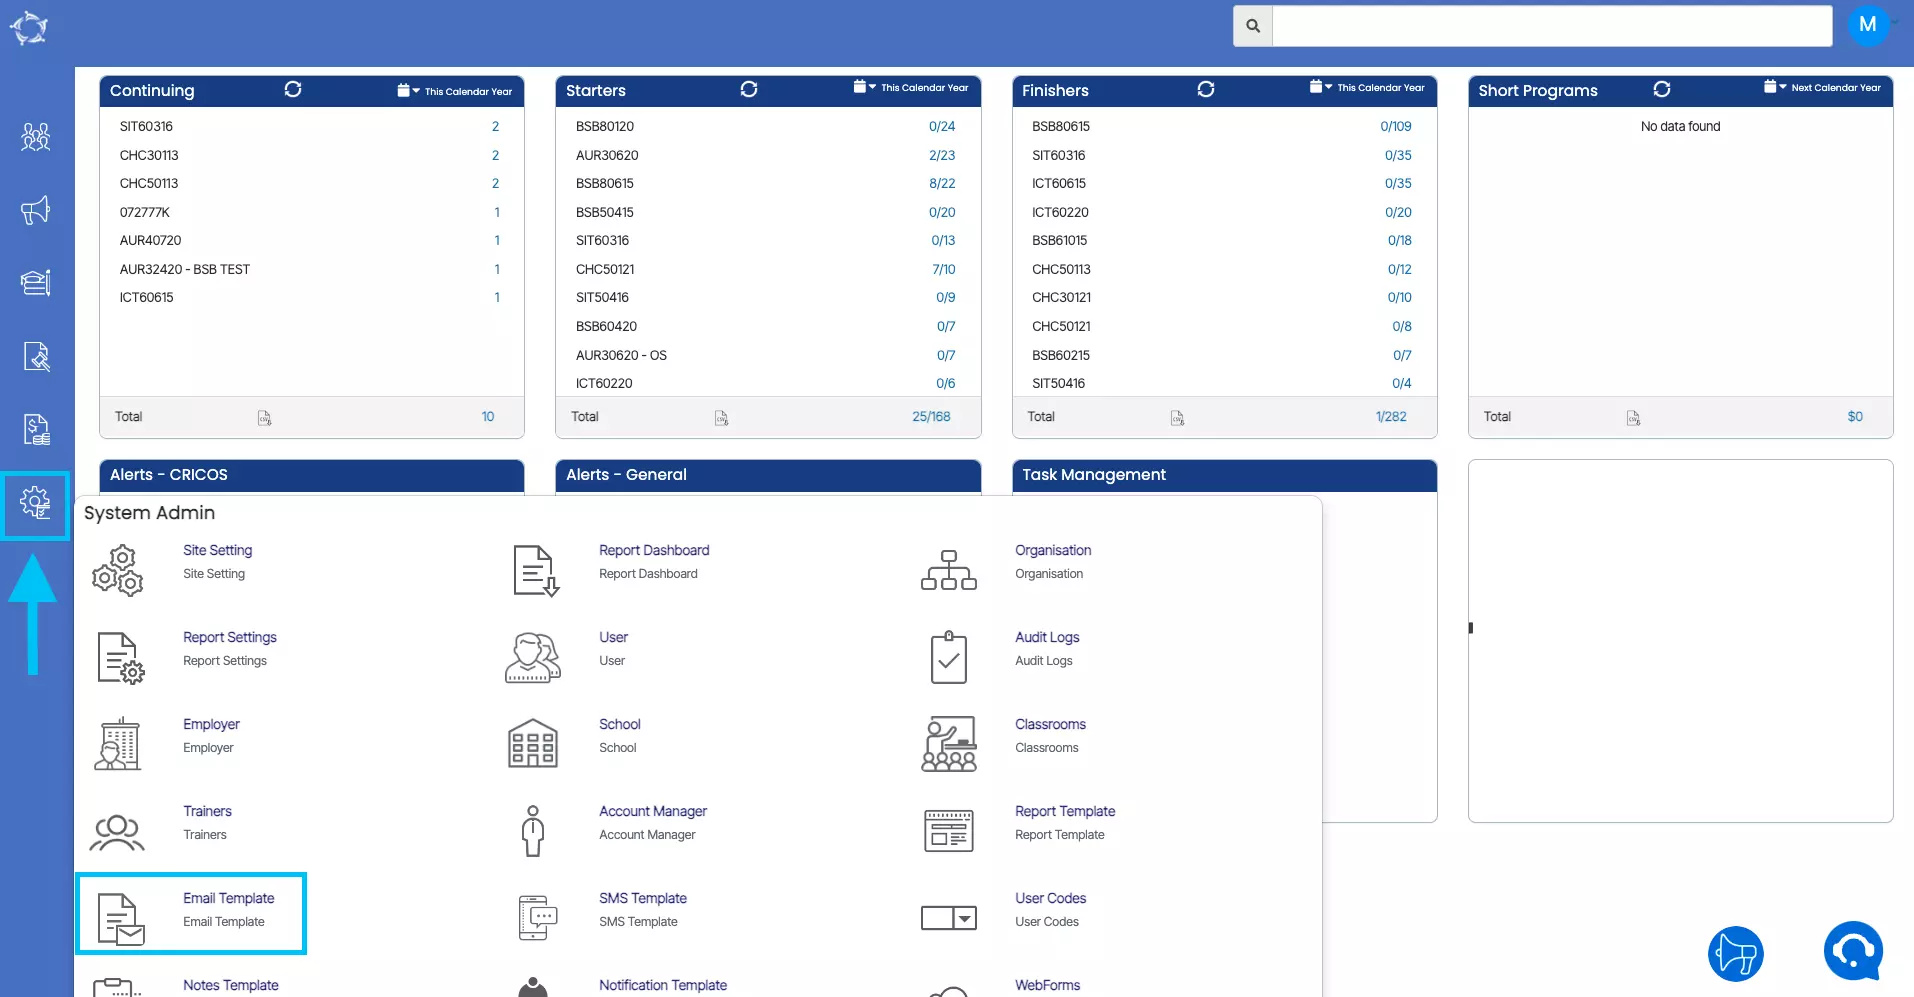
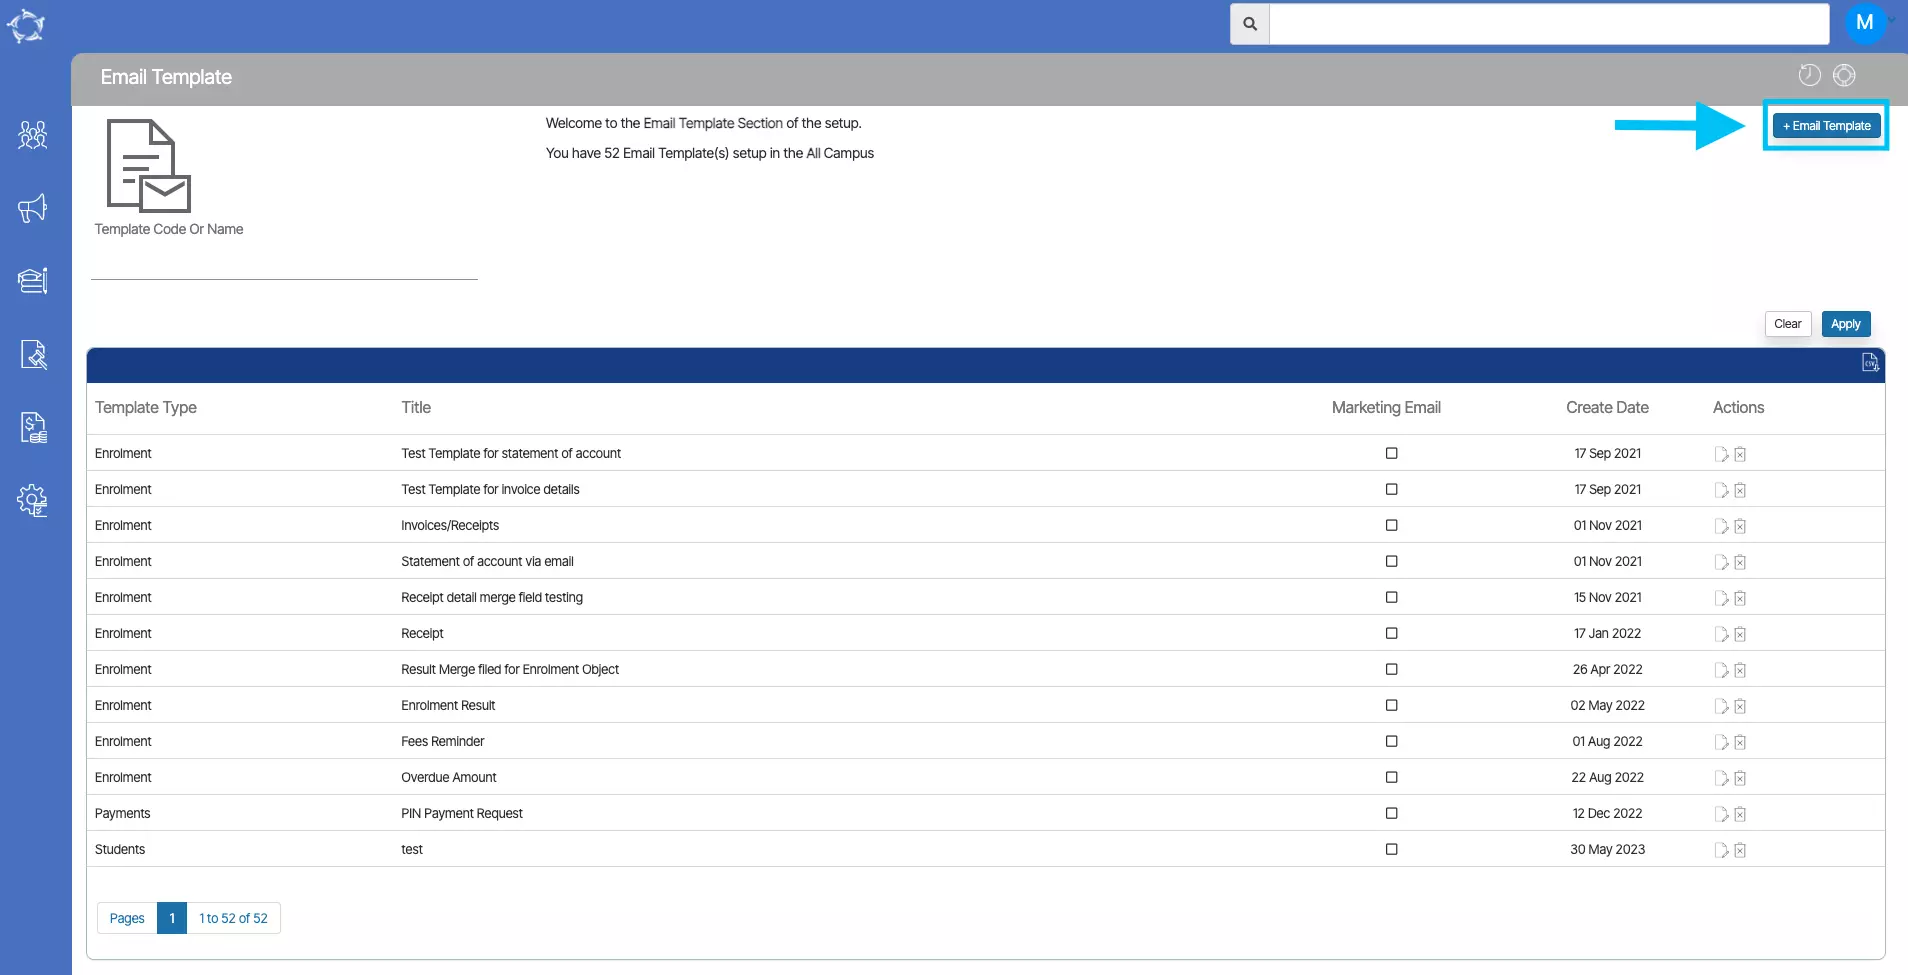
IMPORTANT – Before you send a Pin Payment email to students, it is recommended to create a Pin Payments Email Template in TEAMS.
Please select the link below to know more about on how to create email template for Pin Payment and how to send pay request email for invoices.
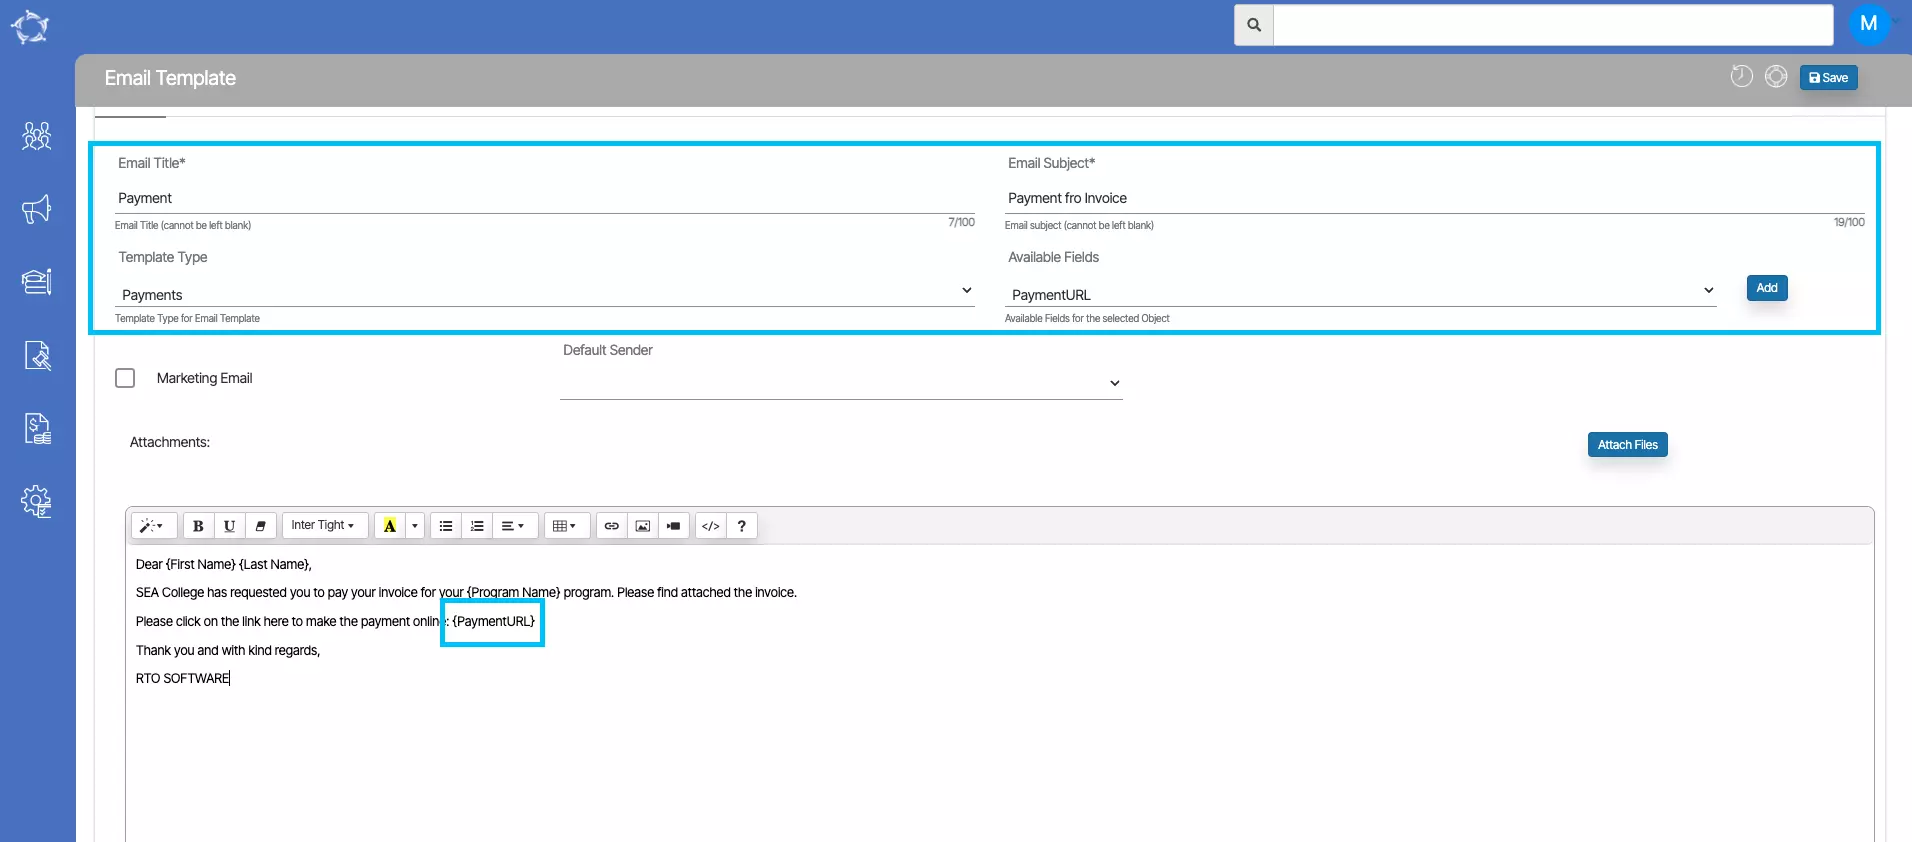
How to setup Pin Payment Email Template?
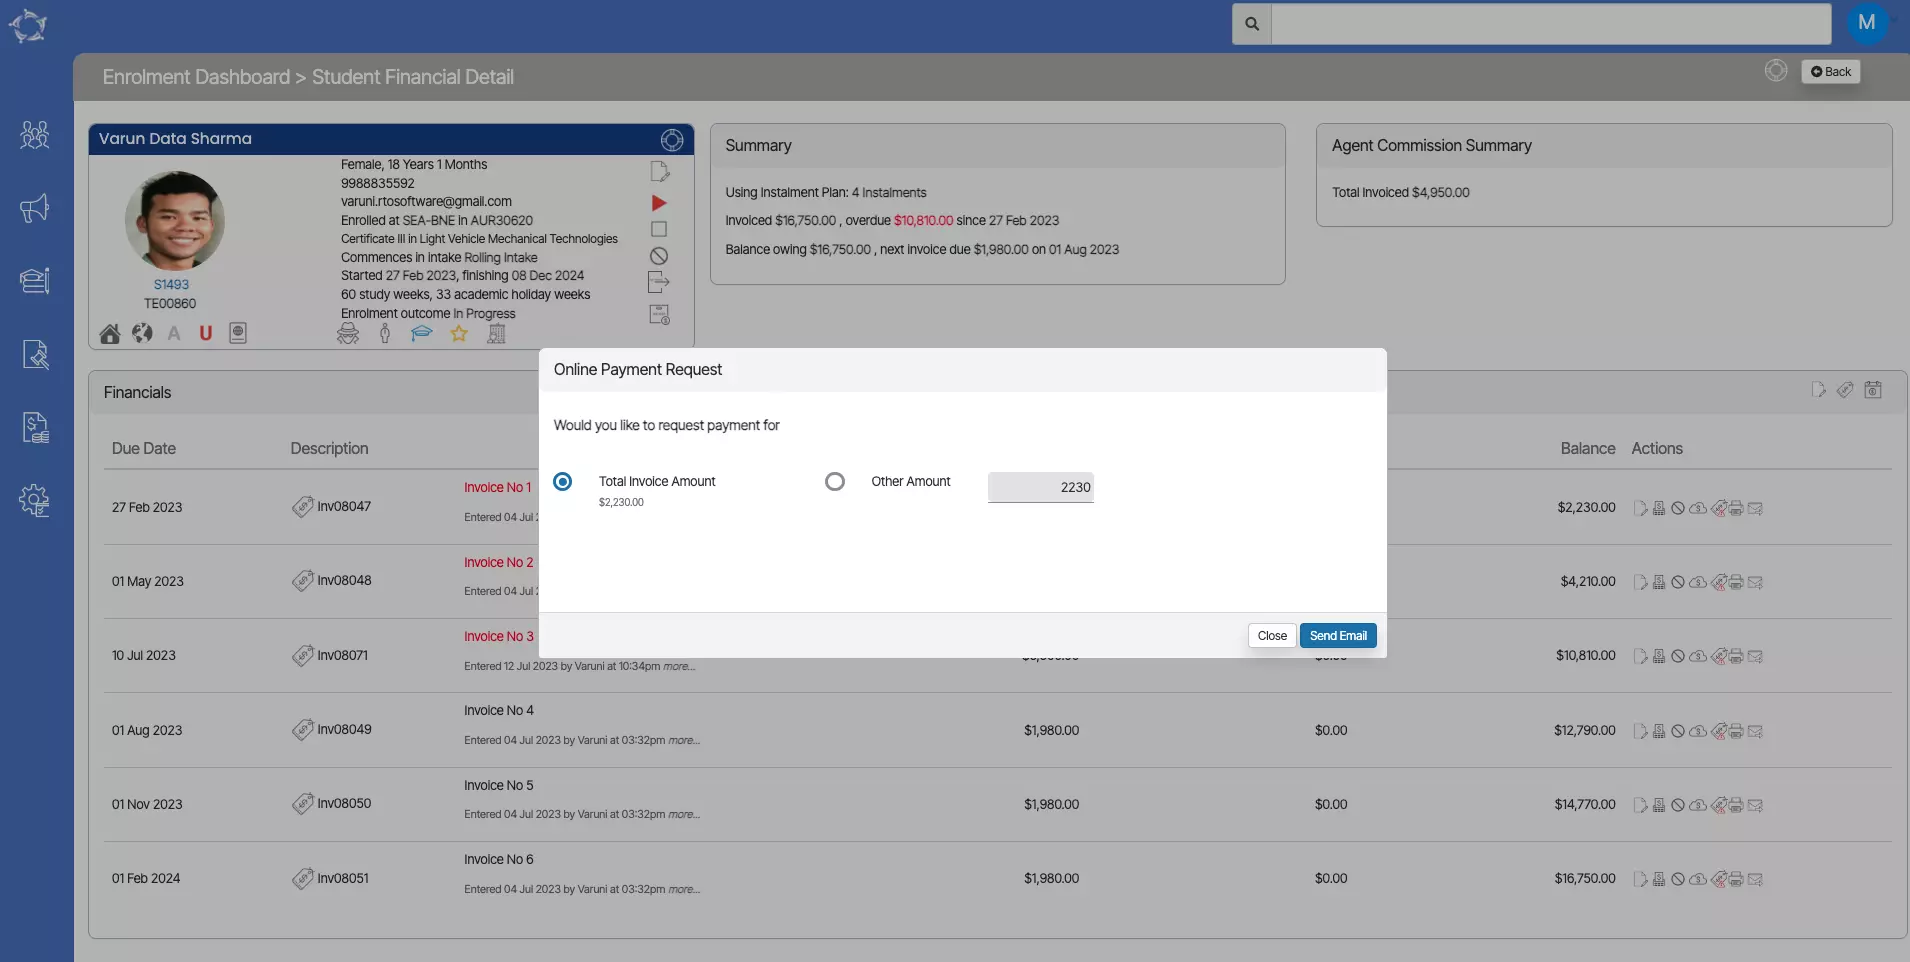
How to send Pay Request Email for Invoices?

 as shown below from the student financial screen.