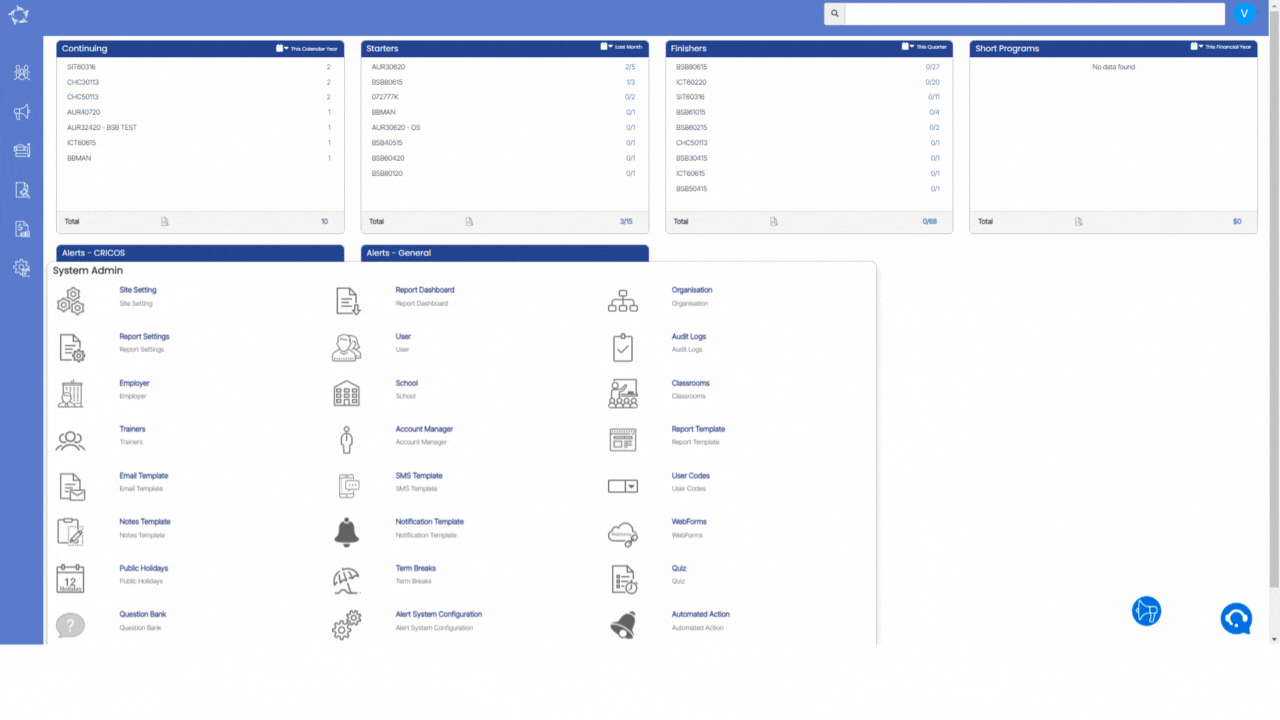
Main Dashboard > System Admin menu > Term Breaks
The Term Breaks screen allows you to manage and view information about term breaks. On this screen, there is a grid that displays the existing term breaks. Each term break is represented by a row in the grid.
To find specific term breaks, you can search by the name of the term break, the start and end dates of the break, and also filter by campus if applicable. Once the desired search criteria are entered, you can select the Apply button to filter the term break. This will update the grid to display only the term breaks that match the specified search criteria.
On the top right corner of the screen, Add button. By selecting this button, a popup window will appear. This popup window provides a set of fields where you can enter information to create a new term break.
Once all the necessary information is entered into the popup form, you can save the new term break by selecting the save button within the popup window. This action will add the new term break to the existing list in the grid on the Term Breaks screen.
If you have any queries, please do not hesitate to contact us on 1300 85 05 85 or email us on support@rtosoftware.com.au