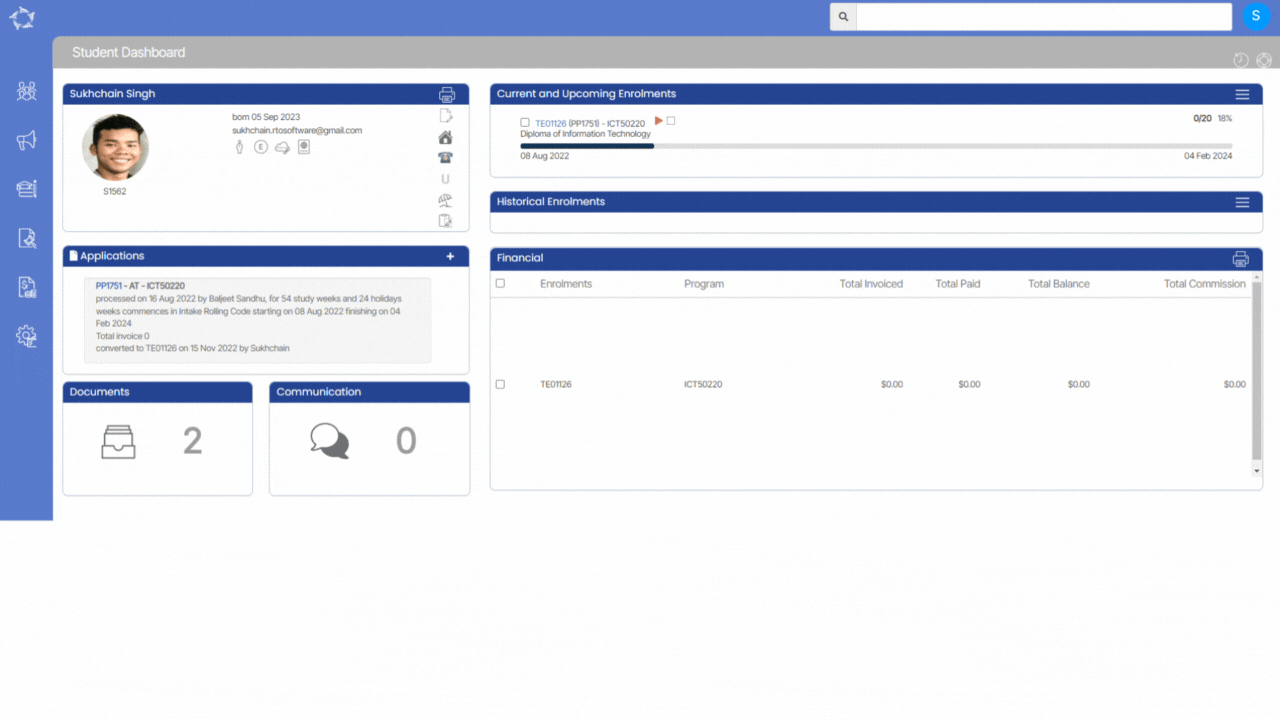
Student Dashboard > Student Profile Tile > Holiday Icon
You can add the holidays at the Student level from the Holiday icon as you can see below:
Once you select the Holiday icon on the Student profile tile, it will take you to the holiday screen and there you can add the Holidays by selecting the +Holiday button.
Note: Holiday type is a dropdown and if you want any holiday type to be set up on your TEAMS site then you need to go to the User Codes screen.
When you select the +Holiday button, the popup window will open on the screen and there you can add the holiday start date, and end date and select the holiday type from the dropdown. You can also add holiday notes as shown below.
Once you have selected all the above parameters then you need to select the tick boxes as per your requirements.
- Apply holidays to this Enrolment- If you select this tick then the added holidays will get linked to the enrolment.
- Extend Enrolment dates – If you select this tick box, the enrolment end date will get extended as per the selected date range for the holidays. If the enrolment start date is 08/05/2022 and the end date is 06/08/2023 and you have applied the holiday dates for 3 weeks, then the enrolment end date will extend to27/08/2023 as 3 weeks will get added to the enrolment.
- Extend Enrolment subject dates? – When you select this tick box, the Enrolment’s subject dates will get extended automatically.
When all the above steps are done then you will see the applied holidays on the holiday screen, also if you want to edit or delete the holidays then you can select the edit icon or delete icon.
NOTE – Once the holidays are applied to the Student, then the holiday’s icon will change to red color 
If you have any queries, please do not hesitate to contact us on 1300 85 05 85 or email us on support@rtosoftware.com.au