TEAMS gives you the functionality to send out SMS/s to students, employers, and agents. You will see this option on all the listing screens and in the communication tile. You either can send the SMS/s in Bulk by using the listing screens or you can send individual SMS by using the communication tile on different dashboards that we have such Applicant Dashboard, Student Dashboard, Application Dashboard, Enrolment Dashboard, Agent Dashboard, etc. No matter what screen you choose to send out the SMS/s, the steps to use this functionality are the same everywhere. This post will explain to you how you can use the “Send an SMS” option.
Select the “Send an SMS” option.
This will open a popup window.
Select your SMS template if you already have added to TEAMS, so that you do not have to manually type in your message. However, this is not a mandatory field to select, if you do not have an SMS template, you can leave it blank.
If you have selected the SMS template, the text message will be automatically updated in the message area. However, if you haven’t selected any SMS template, you can type in your text message manually.
This icon will display the name of the account manager. If you want to change the account manager then you can change it by clicking on the icon itself. This will open a popup window where you can enter the first two letters of the account manager and it will display all the account managers starting with those letters. Select the appropriate account manager and select the update button.
In the same way we have introduced a View icon for the Password field for the login screen, we have done the same in the User screen for the password field.
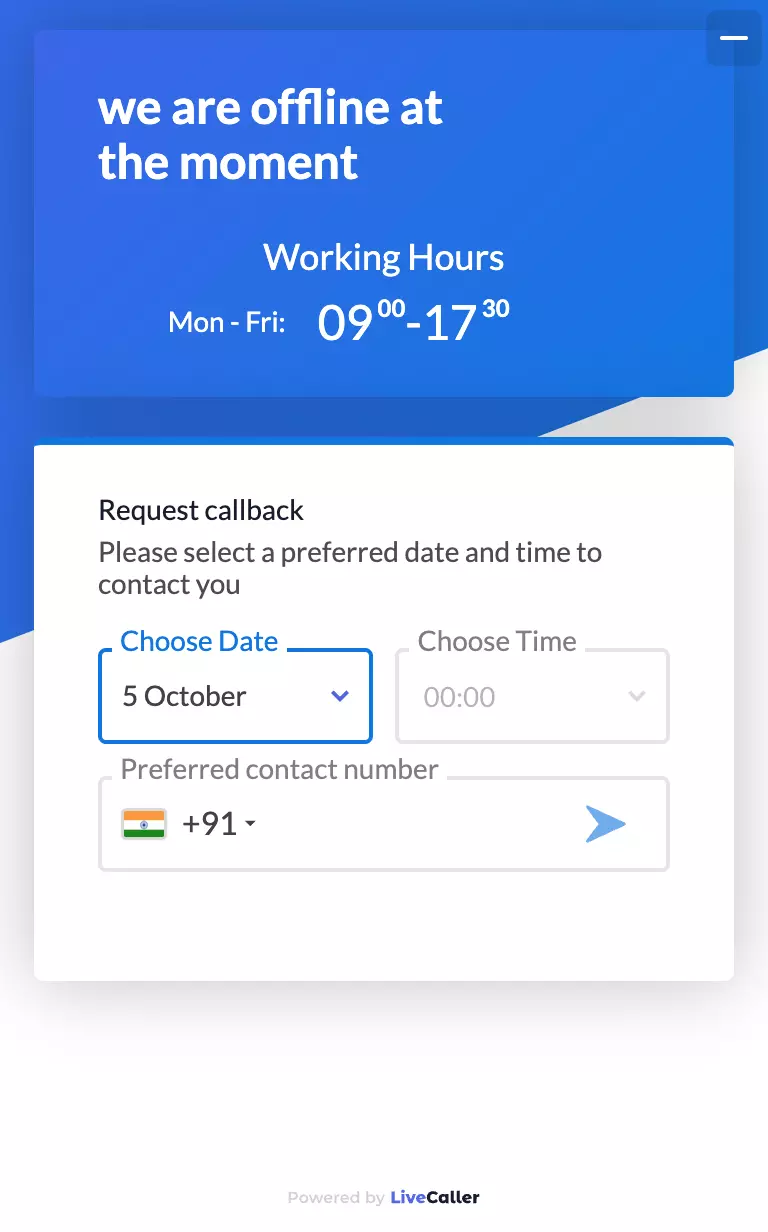
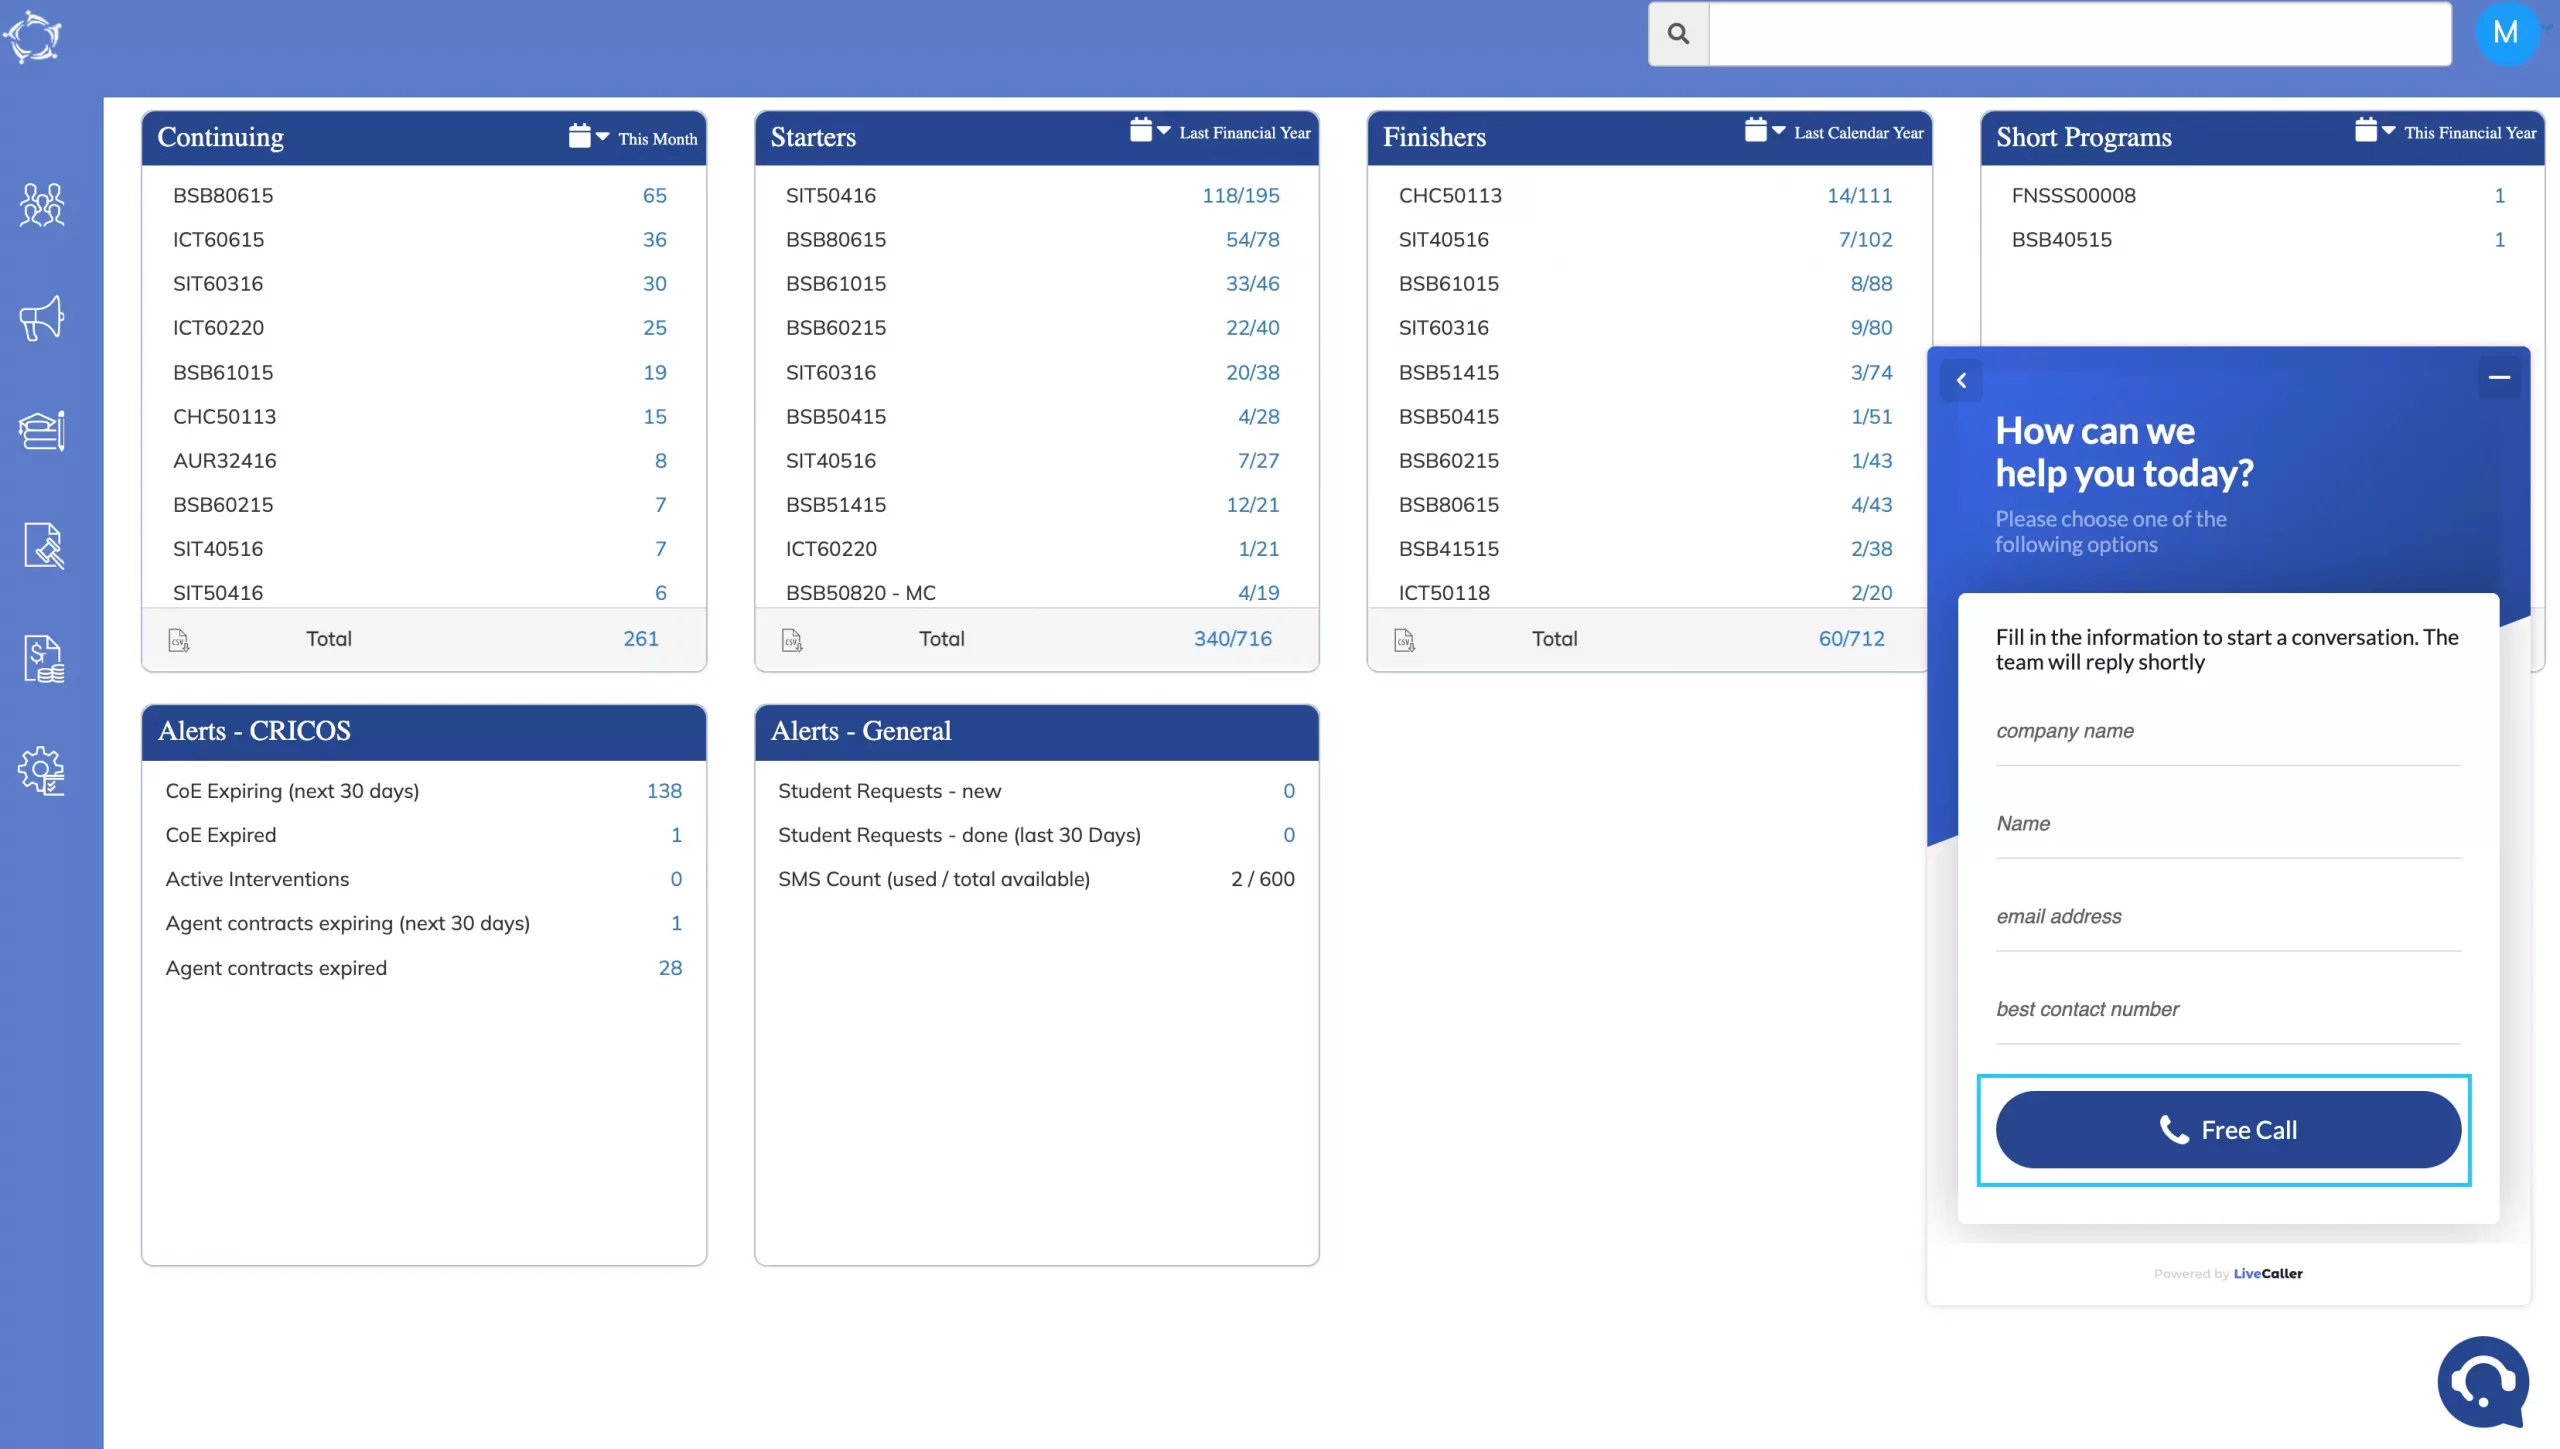
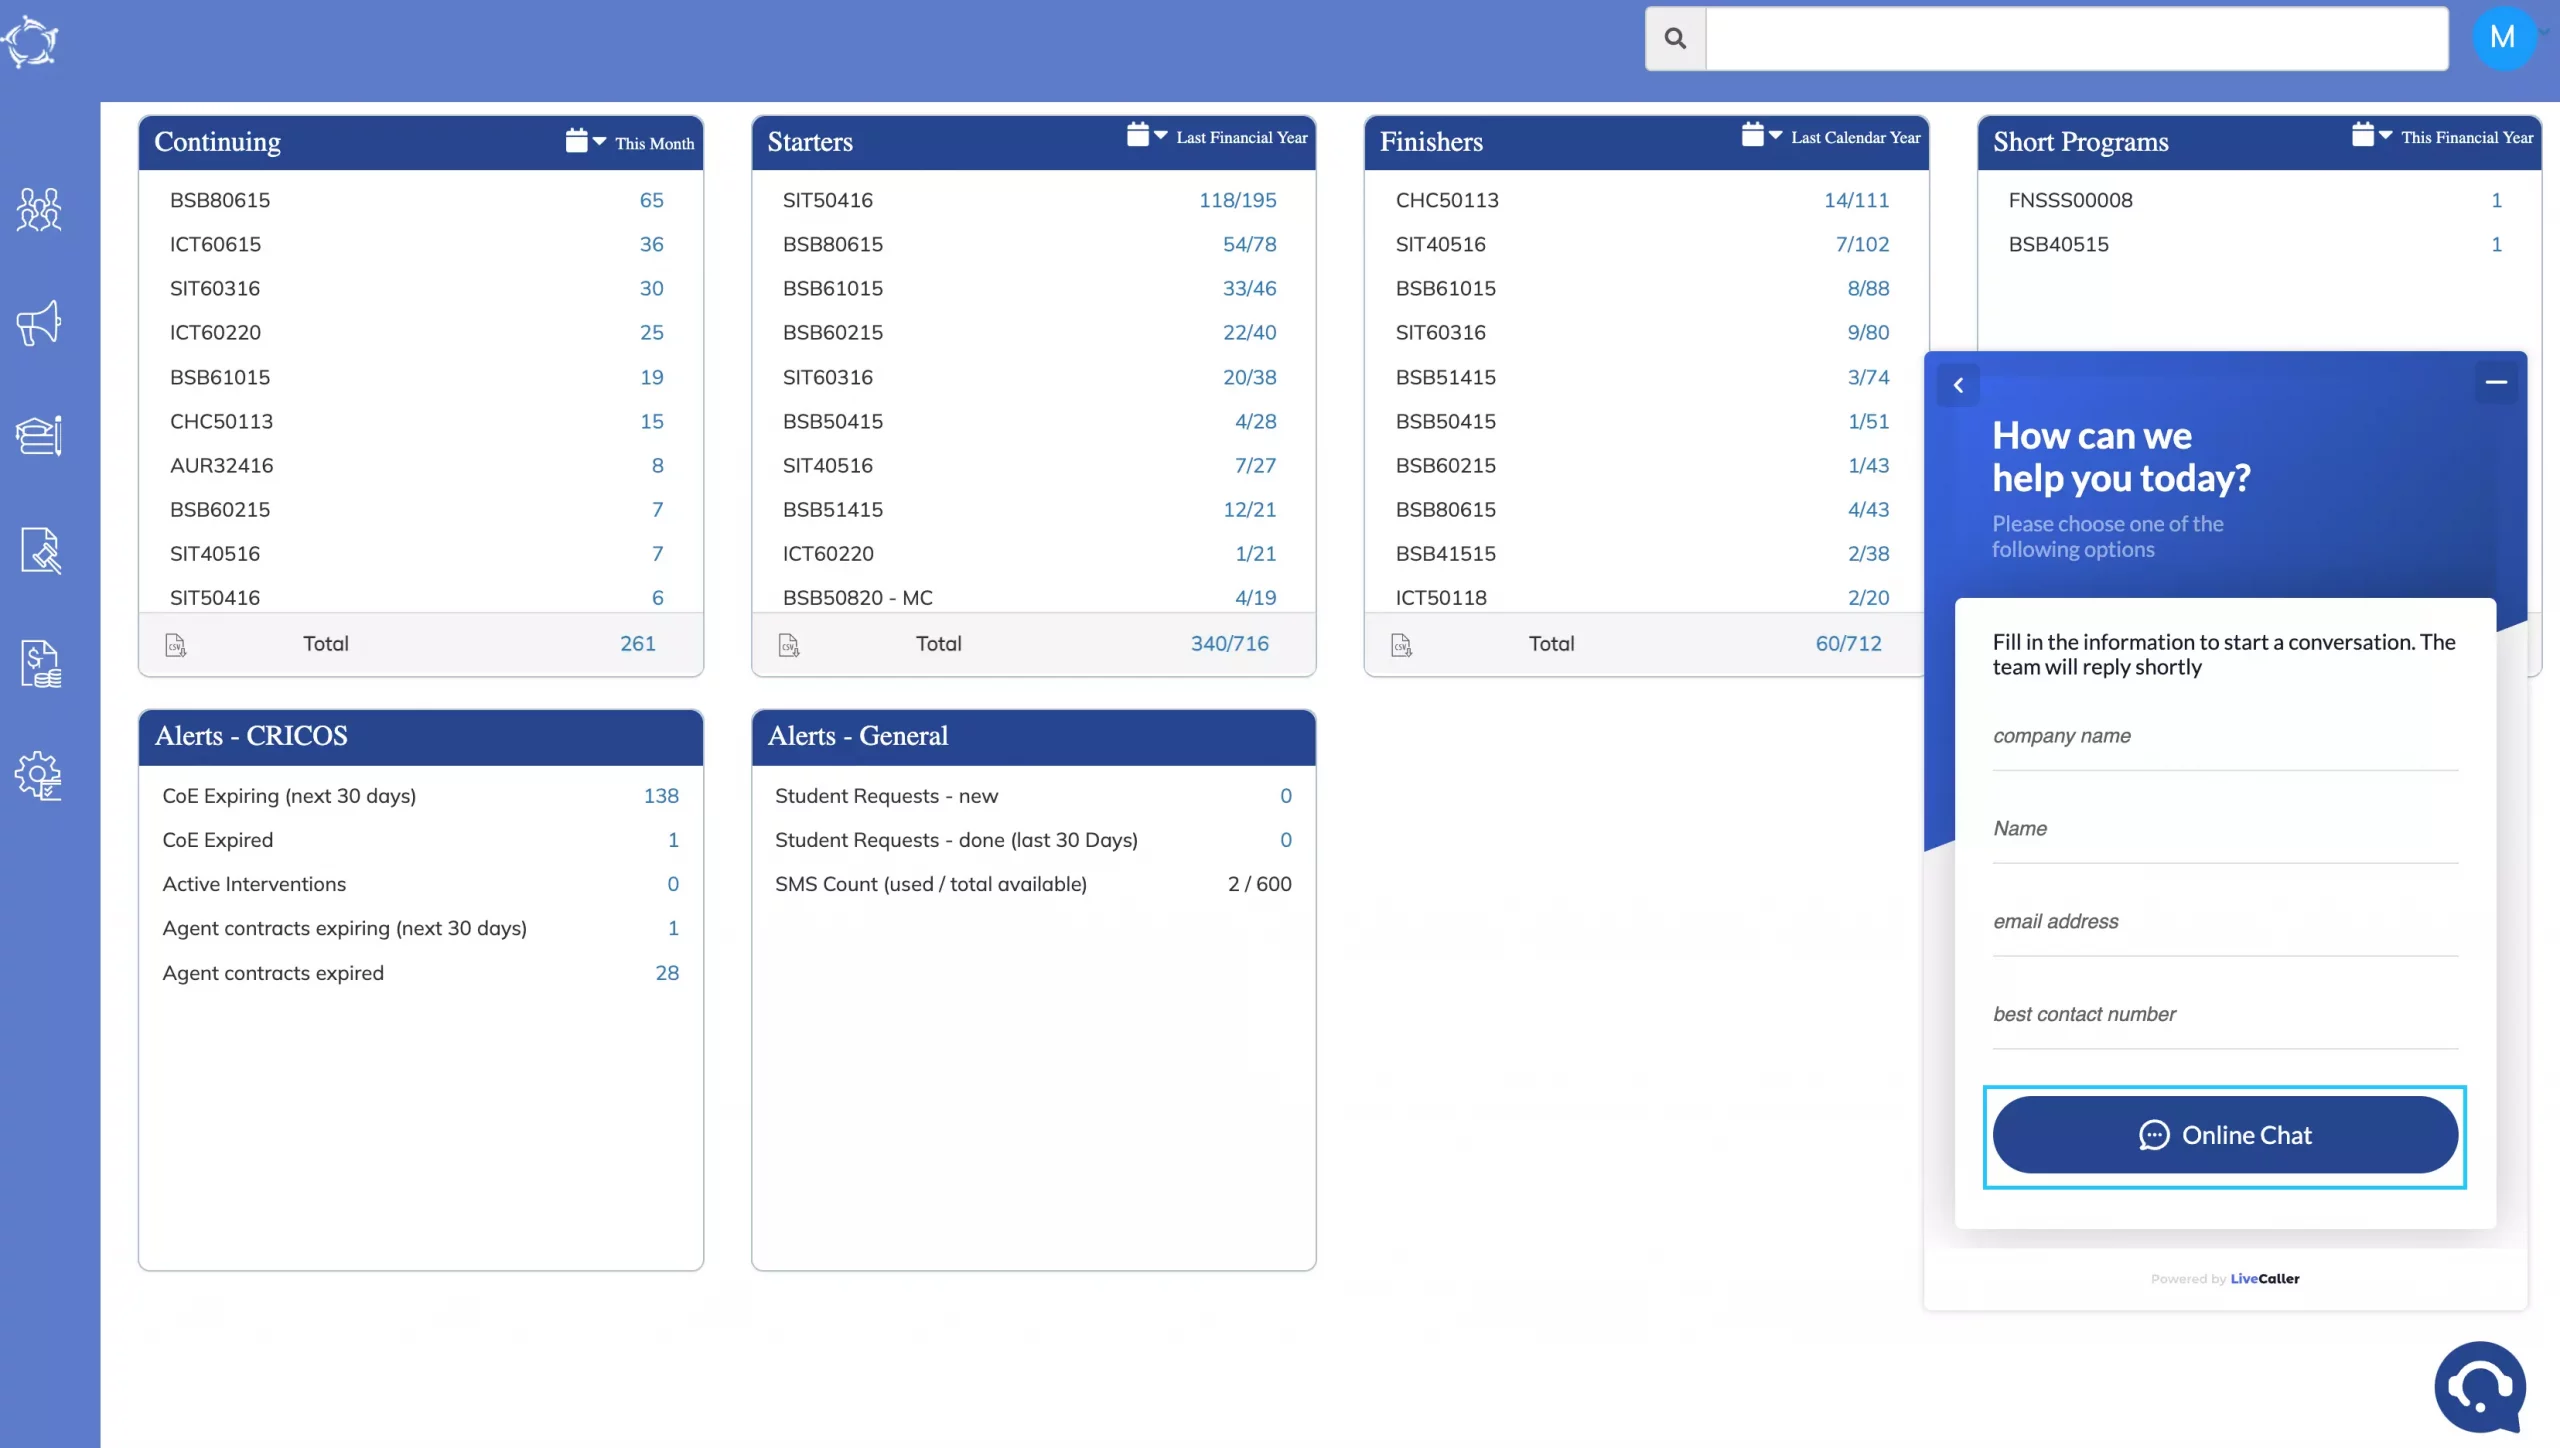
We have introduced a new feature called LiveCaller which will allow you to make a voice call or live chat directly with our support staff. The LiveCaller icon will be available from the main dashboard in TEAMS.
Note – if you are trying to use LiveCaller outside our working hours you will have an option to request a callback. You can enter a preferred date, time and number for us to call you back. If you send the callback request, then one of our support staff will call on that preferred date and time if it is during our working hours. If not, they will contact you to arrange a different date and/or time. Please Note our working hours are Monday to Friday. 09.00am – 5.00pm Queensland time.
When our support staff are online and you select the LiveCaller icon, you will see two options for Voice Call and Live Chat. You can choose to either start a call or chat with our team.
IMPORTANT – When you use LiveCaller for the first time you will be asked to enter your company name, name, email address and best contact number (please enter your direct line number or mobile number, where possible) so that our support staff knows who they are talking to. You should not be asked to do this again unless you change the device (laptop, desktop etc) that you start chat or call with our support staff.
IMPORTANT: For a Voice Call, you will be asked to grant permission for LiveCaller to access your microphone. If you do not grant this permission our staff will not be able to hear you.
Continuing on from our initial changes to the login screen back in August, we have made further improvements to this screen and the login process.
The main improvement we have done is where you enter the wrong password and how many attempts it will allow you to do this and what the system will do in each attempt scenario.
How many times can you enter your password incorrectly before you are locked out completely?
You are entitled to six (6) attempts before the system will lock you completely. However, based on a certain number of attempts the system will sequence lockouts as follows:
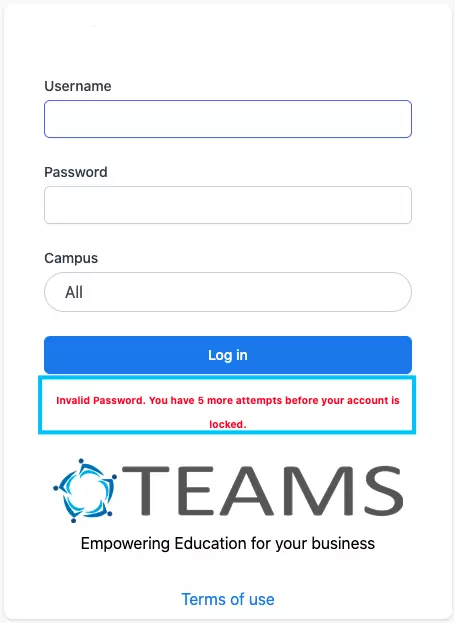
Attempt 1 – when you enter the wrong password for the first time, the system will show you an Invalid Password. You have 5 more attempts left before your account is locked as shown in the screenshot below.
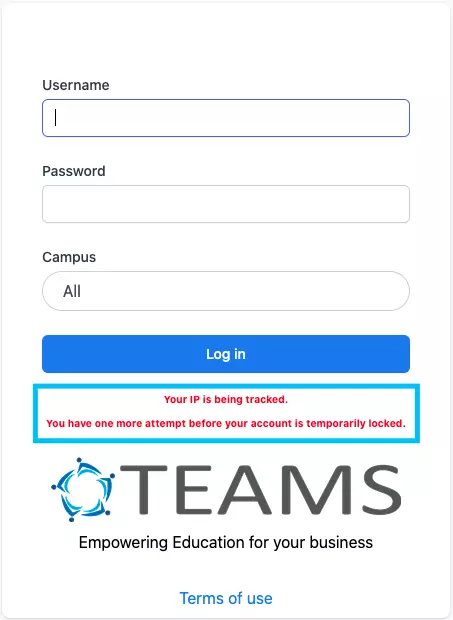
Attempt 2 – when you enter the wrong password for the second time, the system will warn you with the following message Your IP is being tracked. You have one more attempt before your account is temporarily locked.
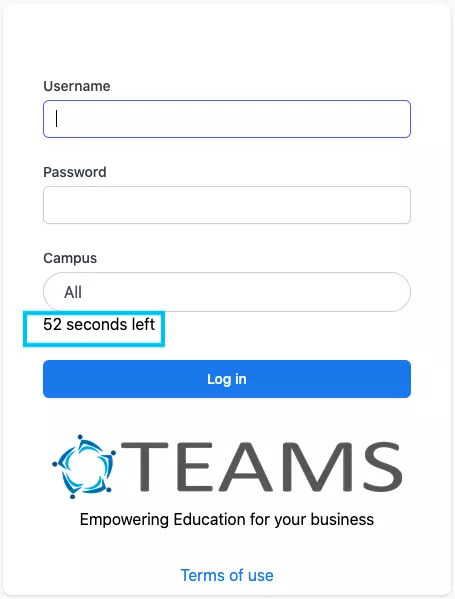
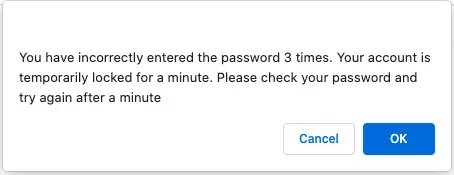
Attempt 3 – when you enter the wrong password for the third time, your account will be locked for 1 minute and the system will show you a countdown timer on the login screen as below. After the 1 minute is completed, the system will allow you to re-enter the password.
Note – the process of the attempt for three (3) attempts continues for attempts 4 and 5.
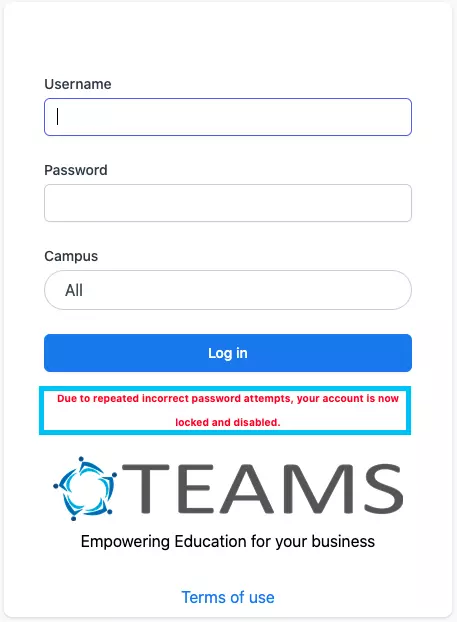
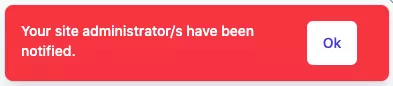
IMPORTANT – as you can see in the screenshots below, when you have entered the incorrect password for the sixth time, you will see the messages saying Due to repeated incorrect password attempts, your account is now locked and disabled. You will also see a popup on the screen saying Your site administrator/s has been notified.
When you select the OK button in the message above regarding your site administrator/s being notified, the system will then prompt you to reset your password as shown below.
Important – for you to be able to reset your password, your user account in the system must already have your email address and mobile phone number set against them. If it doesn’t then the system will not allow you to reset your password. You need to then speak to your manager to get this resolved and updated so you can come back and reset your password.
If your user has been set up in the system with your email address and mobile number, then you will be able to proceed with resetting your password. If none or one of the pieces of information is missing you will see one of the following messages below:
Where you have no mobile number: You do not have a valid mobile/email on file for your account.
Where you have no email or mobile number: Please contact your site Administrator/s.
Where you have no email address: Please ask them to update your email/phone number so that you can reset your password and access the system.
What happens when you have an email and mobile set for your account?
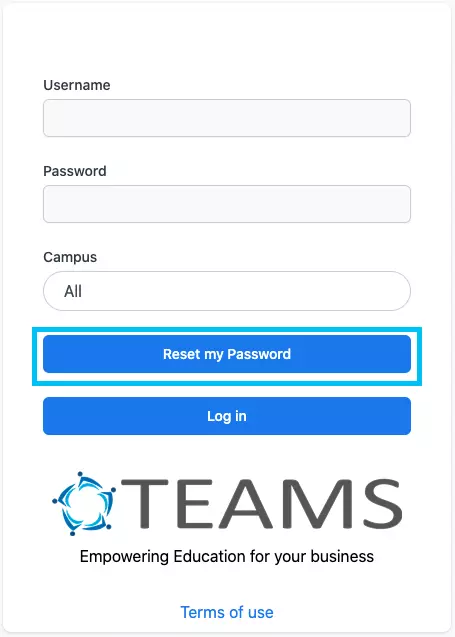
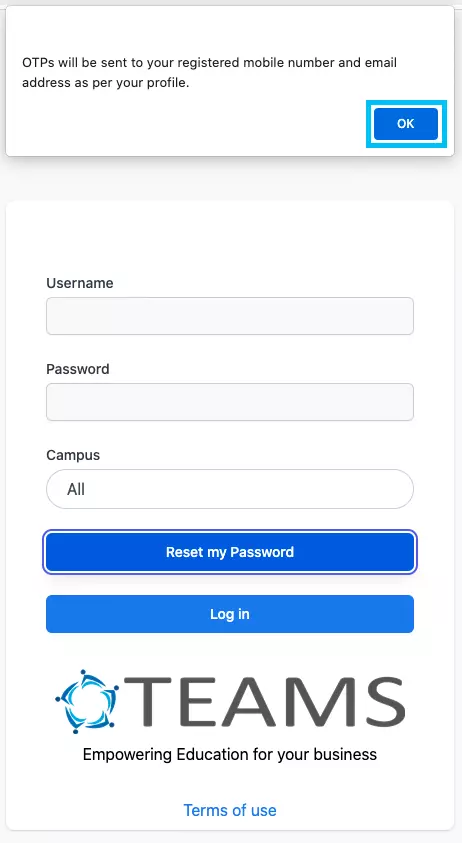
The system will show you a new button for Reset my password as below. When you select it you will see a popup message on top of the screen saying OTPs will be sent to your registered mobile number and email address as per your profile.
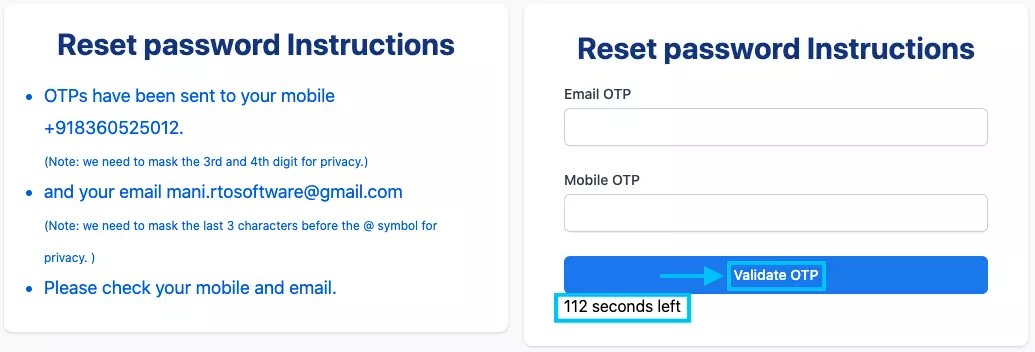
Important:For the below reset password process you have a timer of 120 seconds. When you receive the OPTs enter them into the relevant fields on the Reset password Instructions popup and select the Validate OTP button.
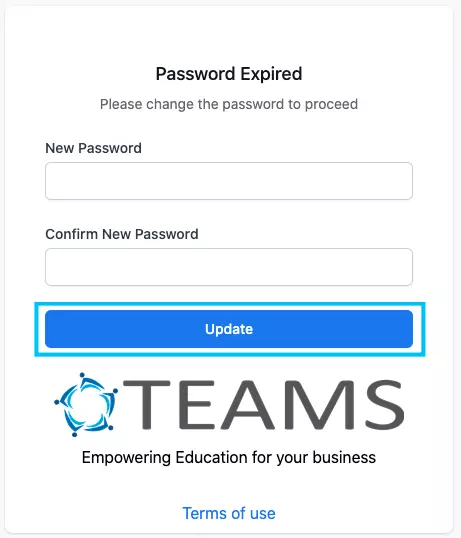
Once you validate the OTPs, You need to update your New Password and then Confirm the new Password in the fields. When you have updated, you will be taken back to the login page to access the system.
We have been introducing tightened security measures for all client sites and their users, to ensure their sites are secure.
For example, you can no longer use generic logins for multiple users to log into TEAMS. Each user must have a unique email address and mobile number.
Each user will now be forced to change their password and it will need to meet a new standard of password format for the system to save it. The new format will be along the same lines that most other online apps and software use which is that it will need to meet the following rules:
1. Must be at least 10 characters in length 2. Must have a mix of letters, numbers and special characters 3. Must have at least one letter that is in upper case
Every user’s password that is changed and saved will then be stored. Every 90 days, when you try to log in, you will be asked to change your password again. This is a mandatory requirement, you cannot choose not to change your password.
NOTE: It is important to know that no user will be allowed to re-use an already used password. This is standard practice and we want to ensure that your site remains secure.
As you know that TEAMS supports the date format as DD MMM YYYY i.e. 01 Jan 2022 for all of our clients. See below the example screenshot:
Based on our recent client interactions where a client wants DD/MM/YYYY format i.e. 01/01/2022 on every screen. We have done a system setting for it without impacting our clients who wants the current date format as DD MMM YYYY.
According to this system setting, if it’s set to the format as DD/MM/YYYY, then for that client on every screen, the date format will show as DD/MM/YYYY only.
Even the date entering fields will support DD/MM/YYYY format for those clients.
Note: By default, the date format will be DD MMM YYYY but if you wish to get it changed, please contact support.
Documents log screen is used to upload and check documents for a student that you and any other user have uploaded. We now have changed its look for you.
How it was before:
How it is now:
You will be able to see the documents in more sorted way. Also, the document type when you upload a document will be mandatory field for you to select. This way, the system will group all the documents according to the document type.
Moreover, now the system will show you processing bar when you upload a document.