Overview
We have student letters and warning report that is used to create student ID cards in TEAMS: There are different steps and scenarios that you must follow to create student ID cards.
Scenario 1
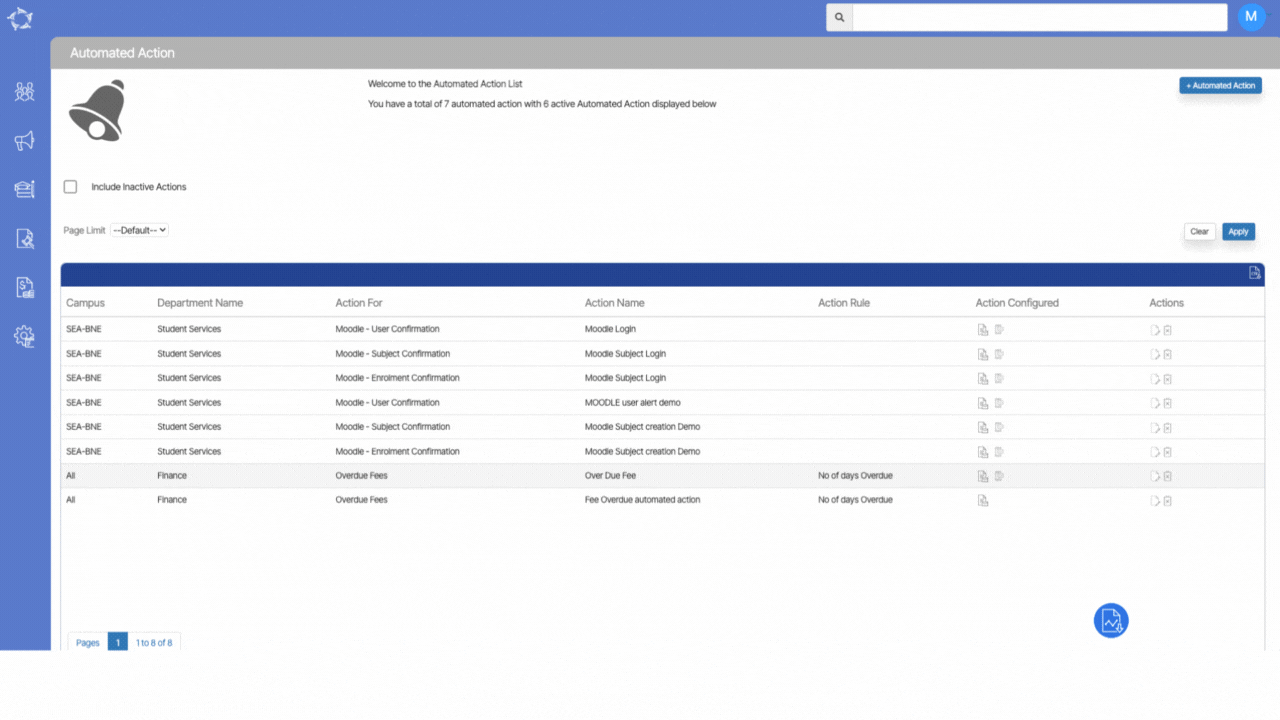
Step 1 – The very first step is to download the master template of student letters and warning reports from TEAMS. Without the master template, you won’t be able to customise your student ID cards in TEAMS. To download, go to Main Dashboard > System Admin > Report Template screen.
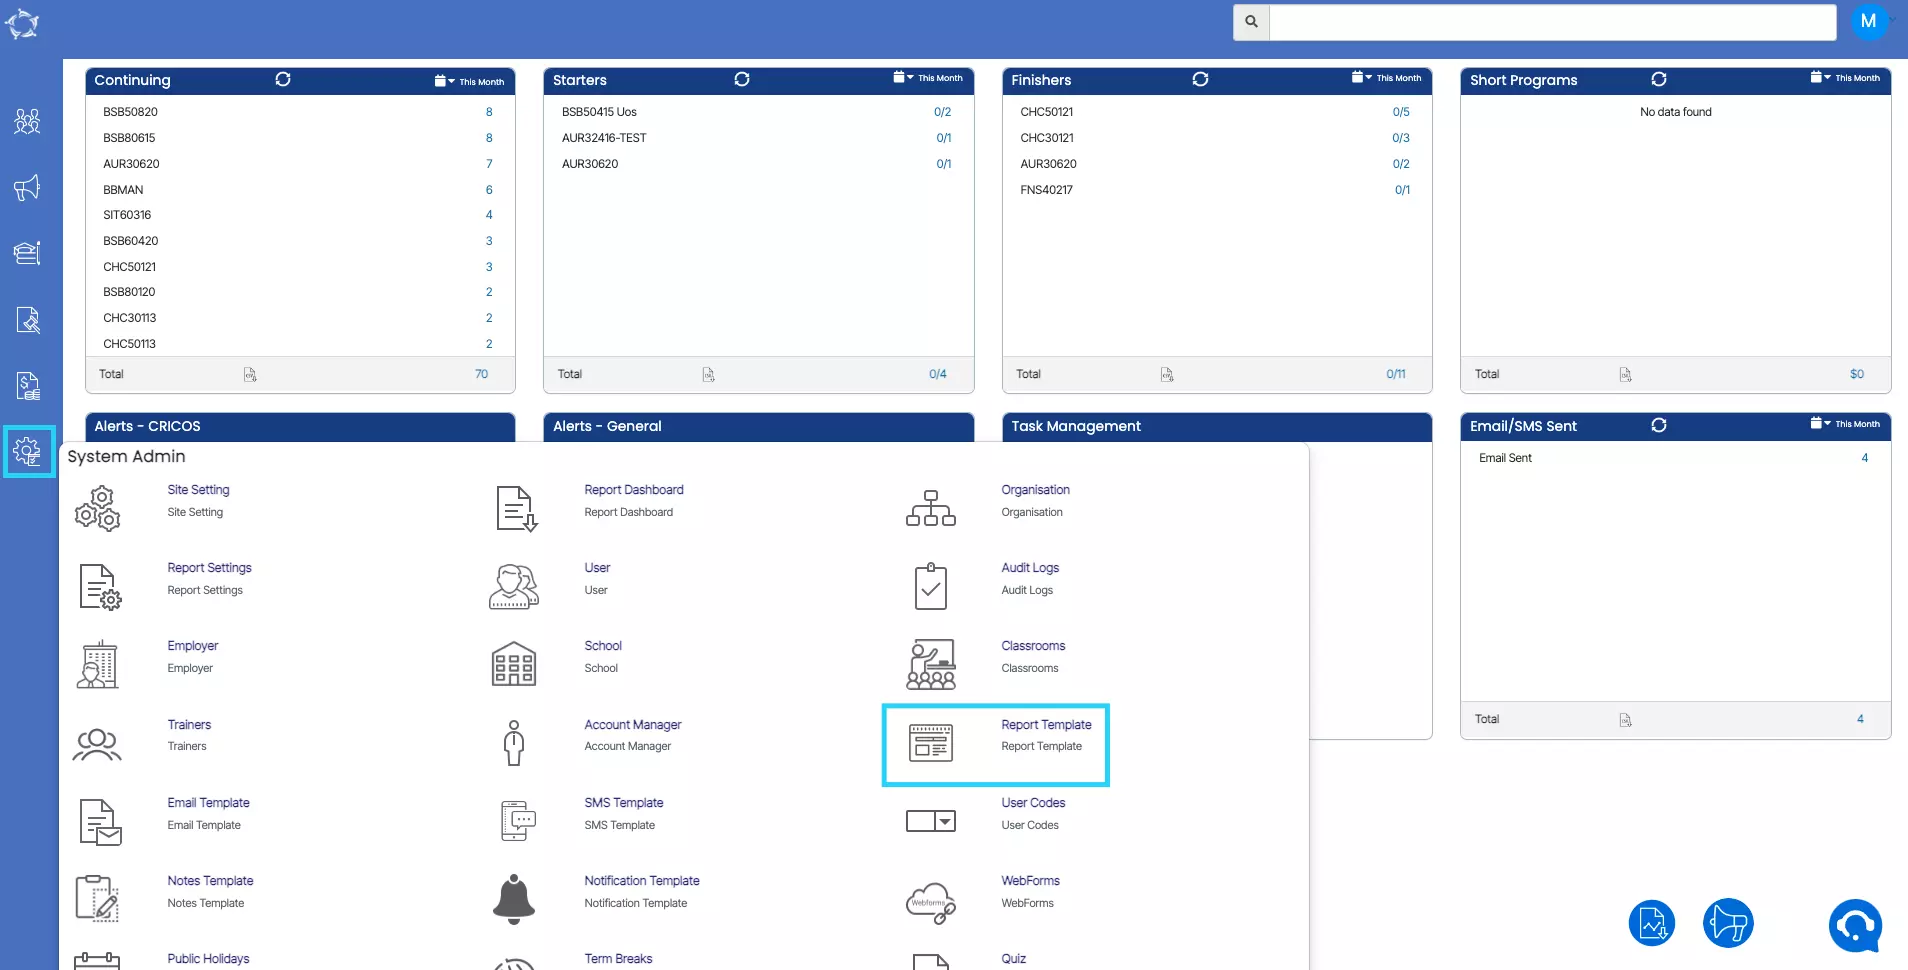
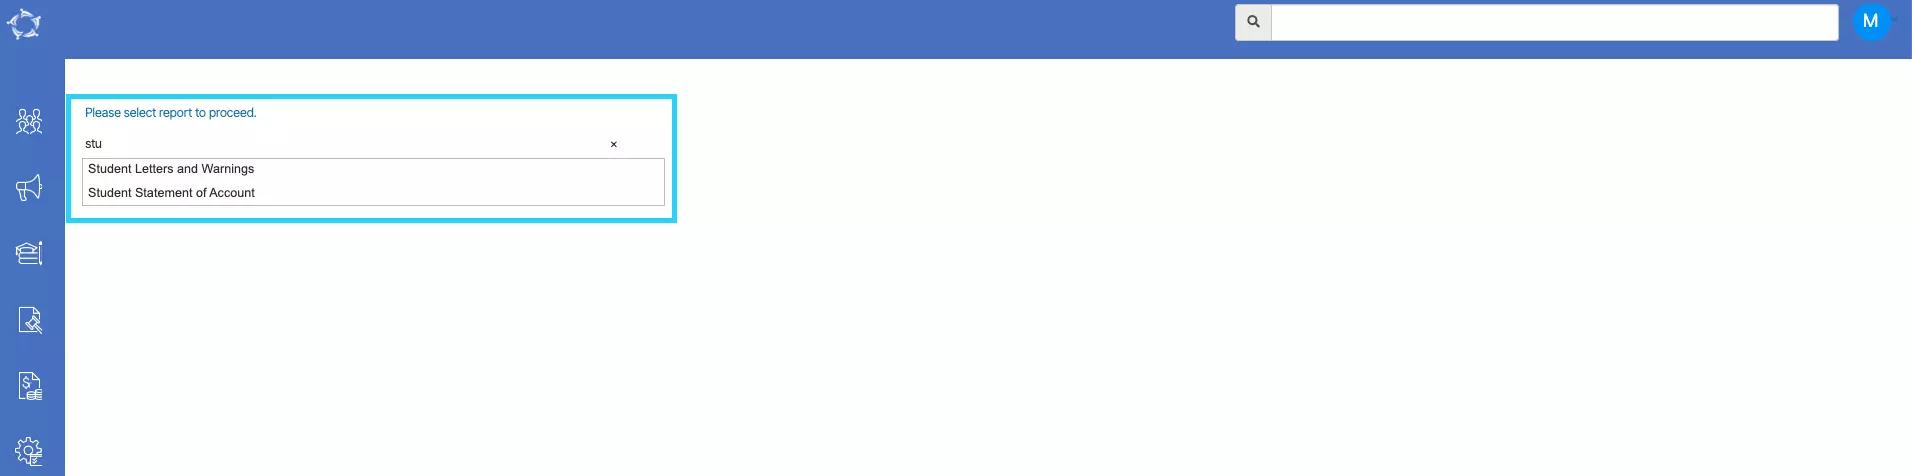
Step 2 – Select the report in the search field to proceed. For example, if you are going to search for student letters and warnings then try typing 3 initial letters of it and the system will show you all report templates starting with those 3 initials. Select the required one.
Step 3 – Once you select it, the screen will refresh and show you the customised templates in the grid.
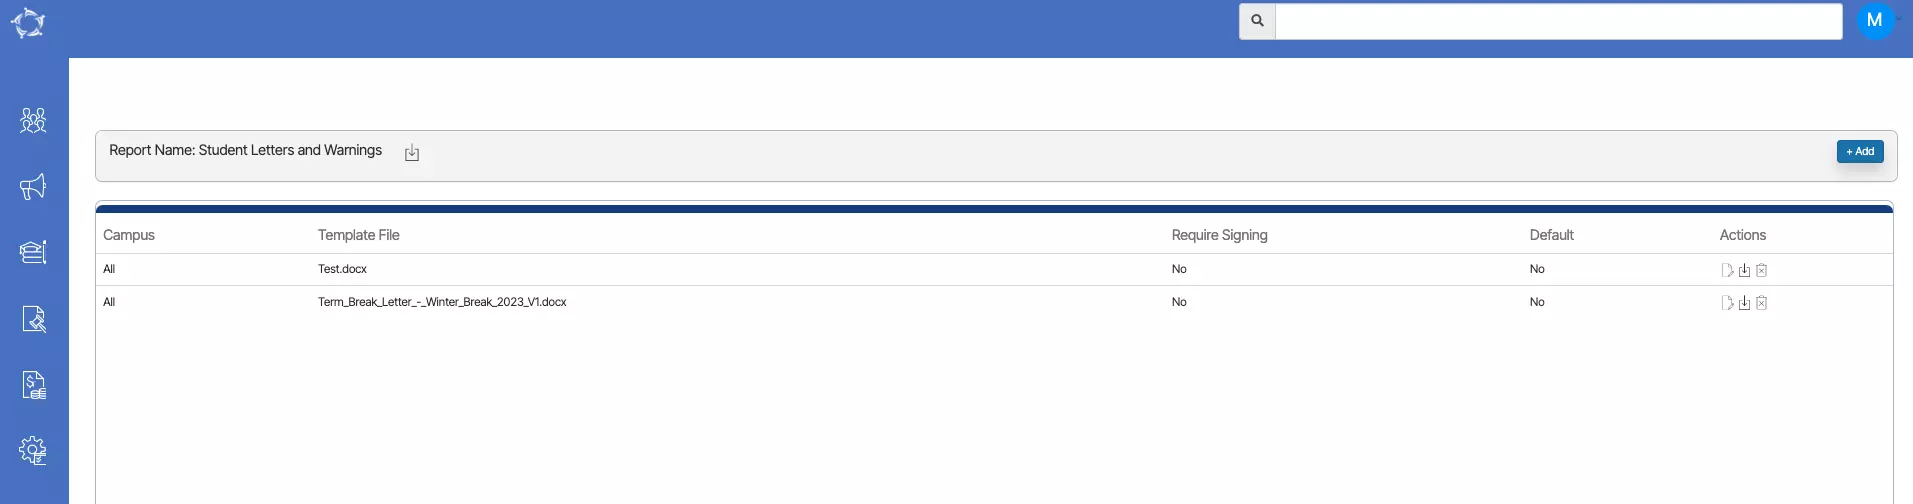
Step 4 – If you do not have any customised template then you need to select the download icon beside the report name. This will download the Master version of the student letters and warnings template which will help you to customise the student ID card for your RTO.
Scenario 2
When you have downloaded the student letters and warnings master template, it will show you some basic information about the template at the start and then show you different sections that we have in every word report. You will find two categories of merge fields.
- Individual Merge Fields
- Table Merge Fields
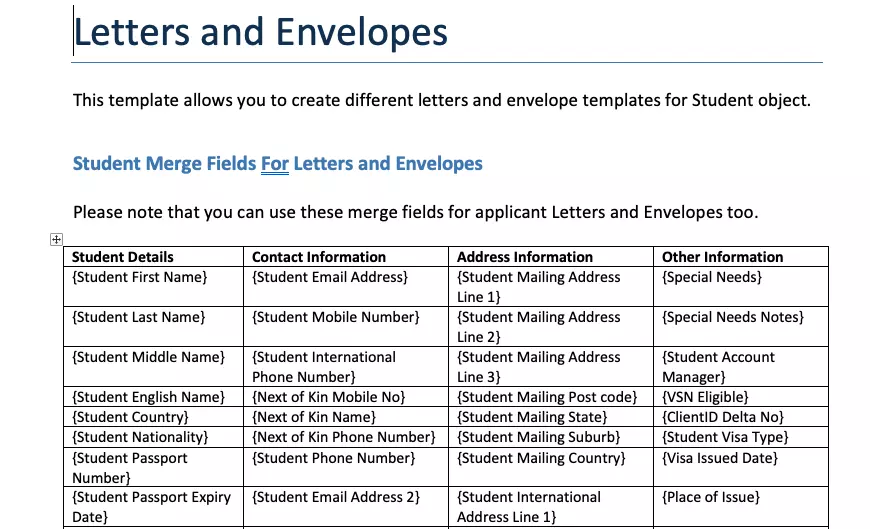
Individual Merge Fields
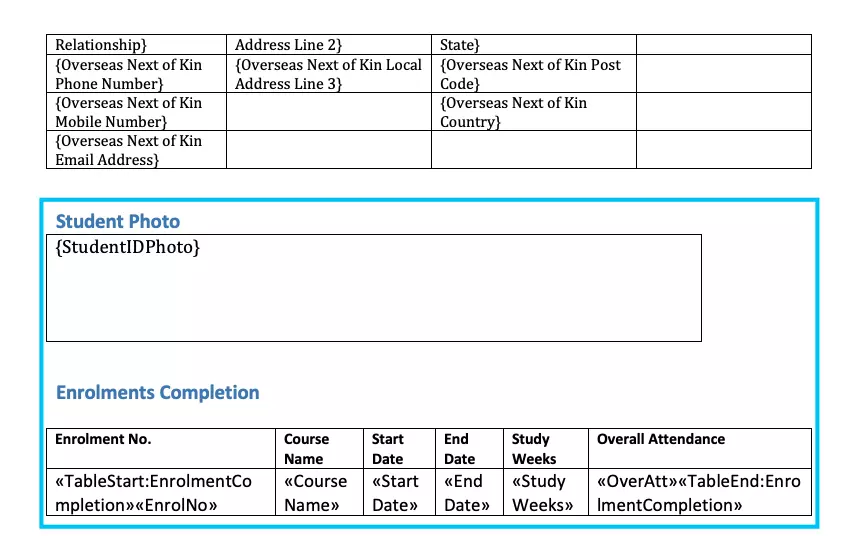
Table Merge Fields