Application Status Report Filters

The Application Status Report Filters screen will show you two different tabs General and Advance. Below tables will show you filters and their explanations.

General FiltersExplanation
Dates based onThe system analyzes Applications by Application Creation Date, Application Start Date, or Converted Date.
Choosing a specific date or date range in the “Report start date” and “Report end date” fields shows the number of applications accordingly.
Report start dateSpecify dates based on the selected option in the “Dates based on” field.
For example, if “Application Creation Date” is chosen and a date range is entered, the system will retrieve applications created within that range.
Report end dateSelect the report end date from the calendar icon
CampusYou can select a specific campus from the dropdown.
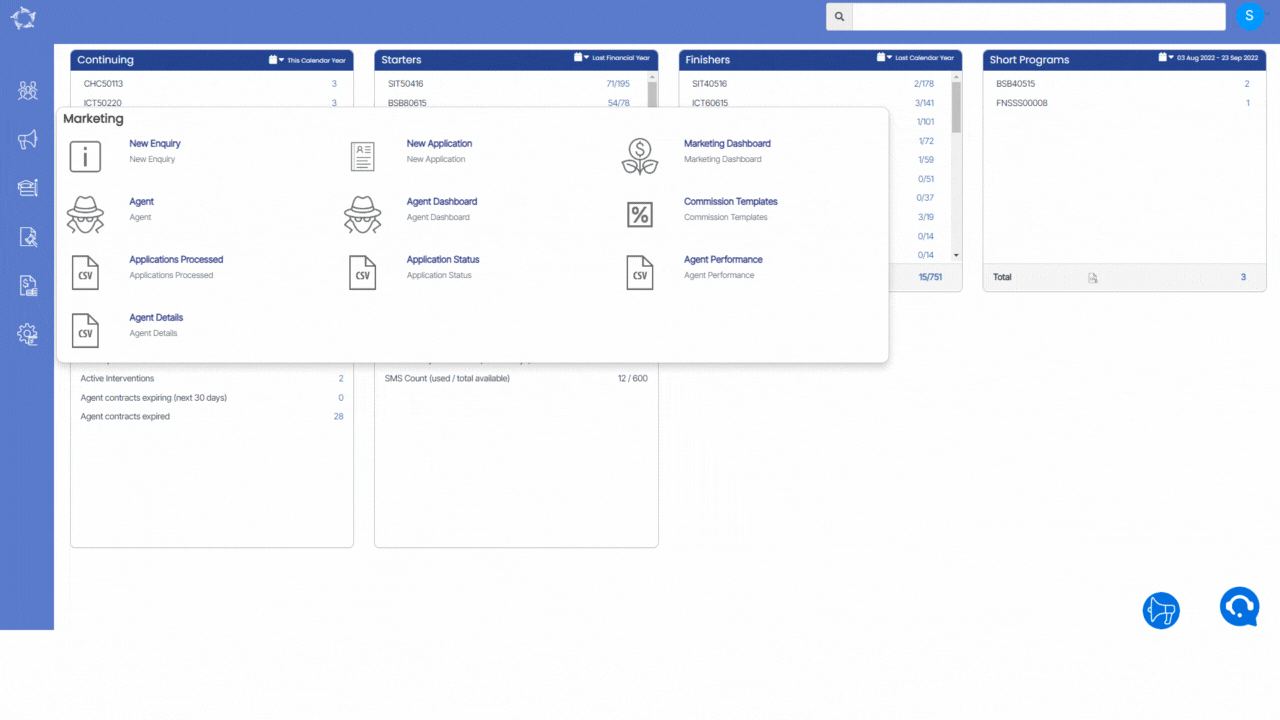
ProgramThis is a magic search field and you can search and select multiple programs
Application StatusSelect the Application Status (All, Current and Converted) from the dropdown.
Group ByPlease see TEAMS Basics
Sort ByPlease see TEAMS Basics
Asc/DescPlease see TEAMS Basics
Advance FiltersExplanation
Overseas/Local Student StatusThis dropdown has two different tick boxes overseas or local students. You can select them as you required
Application TypeThe dropdown will show you application type based on what you have added in the system from User Code screen
AgentSelect the specific agent
EmployerSelect multiple Employers from this dropdown field.
Account ManagerSelect multiple Account Managers from this dropdown field.
Marketing SourceSelect multiple Marketing source options from this dropdown field.
Nationality select Nationality from the dropdown field.

Select the “Print” Icon  to generate the report. After clicking on it, the system will direct you towards the report dashboard screen. You can see the report status over there if it’s generated or not. Once it’s generated, download the report.

Applications Processed Report

Main Dashboard > Marketing Menu > Applications Processed Report

The Applications Processed Report will show you the current status of all the applications in the selected date range whether the application is converted or not.

To know more about the Filter and columns and their explanations, please select the below links.

Applications Processed Report Filters

Applications Processed Report Data Columns

Agent Performance Report Data Columns

The below table will show you the columns and their explanation that will get printed in the report.

ColumnsExplanation
Agent NameThis column will show you the agent names
Account Managerit will show you Account managers linked to the agent
Student NoStudent numbers linked to the agent
Student NameStudent names linked to the agent
NationalityNationality of the student
Student StatusThis column will display the status of the student whether the enrolment is started, pending, finished or not yet started
CampusCampus name under which the student is enrolled
Enrolment DateThis column will display the processed date of the enrolment
Enrolment NoEnrolment number generated by the system
Application NoThe application number generated by the system 
CRICOS CodeCRICOS code entered updated on the program entry screen
ProgramProgram name under which the applicant/student is enrolled
WeeksThe total number of study weeks of the program
Start DateEnrolment Start Date
End DateEnrolment End Date
Tuition ReceiptedThe total receipted tuition fee will display under this column
Gross TuitionGross tuition amount of the student/applicant under this column
Agent CommissionThe total Agent commission amount will display under this column
Total Commission PaidThe total commission that has been already paid to the agent
Total Commission BalanceThe total balance of the Agent commission
Commission DueThe total due amount of the Agent commission
Discount notesDiscount notes for the agent
CountryThe country of the agent updated on the Agent screen
Agent RegionThe region of the agent
Agent IDThe agent ID generated by the system
Phone NoAgent’s phone number
Mobile NoAgent’s mobile number
Fax NoAgent’s fax number
Email AddressAgent’s email address
Web AddressAgent’s web address
Local AddressAgent’s local address
Mailing AddressAgent’s mailing address

Starters Report Filters

The Starters Report filters have two tabs General and Advance and the below table will show you Filters with their explanation.

General FiltersExplanation
Report Start & End DatesThe system will always look at enrolment start dates only to find enrolments between the date range.
CampusIf you have multiple campus then you can generate this report by selecting multiple campuses.
ProgramThis is a magic search field and you can search and select multiple Programs.
Enrolments to IncludeThis field has three radio buttons and you can select any of them one at a time. For example:
Show only Started – If you select this, it will only show you started students.
Show only to Start – It will show you students that are about to start.
Both – by selecting both the report will print Started and to start students.
Show only Overseas studentsBy selecting this tick box, the report will print overseas students only.
Include Cancelled EnrolmentsThe system will only consider enrolments with start dates within the specified report period that have been canceled using the cancel enrolment function. It will not include enrolment outcomes marked as canceled for this purpose.
Include ApplicationsThe system will always display enrolments in the report. If you choose this option, it will also include applications with a current status and an application start date within the specified report period.
Group ByPlease see TEAMS Basics
Sort ByPlease see TEAMS Basics
Asc and DescPlease see TEAMS Basics
Advance FiltersExplanation
Timetable and ClassesThis is magic search field and you can search and select multiple timetables.
Print class names for enrolments in report?To see the class names associated with enrolments in the report, select the tick box. Please note that generating the report may take longer because an enrolment can be linked to multiple classes, and the system will list all class names for each enrolment.
Enrolment TypeThis is a user code in TEAMS and one can create the user code in TEAMS as you required. You can select multiple enrolment type from the dropdown.
Enrolment OutcomeIf you have setup the enrolment outcome on the User Code screen then it will appear under this dropdown.
Visa TypesSelect the Visa type from the dropdown.
AgentSearch and select multiple Agents in this field.
EmployerSearch and select multiple Employer in this field.
Account ManagerSelect multiple Account Manager from the dropdown.
CountrySelect multiple Campus from the dropdown.
NationalitySelect multiple Nationality from the dropdown.
Marketing SourceSelect multiple Marketing Source from the dropdown.
Level Of StudentSelect multiple Level Of Student from the dropdown.

Click on the “Print” icon to generate the report. After clicking on it, the system will direct you towards the report dashboard screen. You can see the report status over there if it’s generated or not. Once it’s generated, download the report.

Agent Performance Report Filters

Agent Performance parameters/filters screen will show you two different tabs General and Advance. Below is the table that will show the filters and their explanation.

General FiltersExplanation
Report DatesThis field has two different radio buttons:
Enrolment Start / End Dates – when you select this radio button, the system will print the enrolment SD and ED in the columns
Enrolment Date – By selecting this radio button, the system will print the enrolment processed date in the enrolment date column.
Report Start DateSelect the start date of the enrolment from the calendar.
Report End DateSelect the end date of the enrolment from the calendar.
CampusYou can select multiple campuses from the dropdown.
Enrolments to IncludeThis dropdown will show you two different tick boxes (Current and Finished) and you can select them as you required.
Include Enrolments/ApplicationsIt will show you two different tick boxes (show applications and show enrolments) and you can select them as you required.
Include cancelled enrolmentsThe system considers only cancelled enrolments with start dates within the specified report period, excluding enrolment outcomes marked as cancelled for this option.
Include Declined ApplicationsSelect this tick box if you wish to print the declined applications in the report
Group ByPlease see TEAMS Basics
Sort ByPlease see TEAMS Basics
Asc/DescPlease see TEAMS Basics
Advance FiltersExplanation
Agent NameSelect multiple Agent
Account ManagerSelect multiple Account Managers
Agent RegionSelect multiple Agent Region

Select the “Print” Icon  to generate the report. After clicking on it, the system will direct you towards the report dashboard screen. You can see the report status over there if it’s generated or not. Once it’s generated, download the report.

Subjects – Funding Source National Missing

Compliance Dashboard > AVETMISS Subjects Tile > Funding Source National Missing

If you are 100% CRICOS for your VET subject you would select the funding source national as overseas 31 (International onshore client – other revenue). However, if you deliver offshore for student then you would change it from an Enrolment subject AVETMISS level.

The AVETMISS Subject Tile will show you the Funding Source national missing with the total count of the subjects as a link. To update the Funding Source National, you need to follow the below steps:

  • Select the Calendar year from the Calendar Icon.
  • Select the hyperlink next to the funding source national missing
  • You will be taken to the Subjects with no Funding Source National Setting listing screen. Select the Subject code, which will open the Subject entry screen.

Note – You can select the subject (which will take you to the subject entry screen and you can update the funding source national from there) or you can simply select the tick box against the subjects in bulk and then select the appropriate funding source national from the dropdown then select the update button.

When you have updated the AVETMISS Subject data for the Subject Descriptive Code then on the Compliance Dashboard, you need to refresh the screen to see the count of Descriptive Code missing.

Subjects – Nominal Hours Missing

Compliance Dashboard > AVETMISS Subjects Tile > Nominal Hours Missing

The Nominal Hours field is a mandatory field for the AVETMISS submission. This information comes from the subject level and if you do not have that information in your training package then you need to search and download the nominal hours from the NCVER site.

The AVETMISS Subject Tile will show you the Nominal Hours Missing with the total count of the subjects as a link. To update the Nominal Hours, you need to follow the below steps:

  • Select the Calendar year from the Calendar Icon.
  • Select the hyperlink next to the Nominal Hours missing.
  • You will be taken to the Subjects with no Nominal Hours listing screen.
  • Select the Subject code, which will open the Subject entry screen.
  • On this screen, select the Burger Menu > AVETMISS Settings option.
  • It will open the Subject AVETMISS screen, update the appropriate nominal hours and save the screen.

Note – When you have updated the Nominal Hours missing for the subjects than on the Compliance Dashboard, you need to refresh the screen to see the count of Nominal Hours missing.

Subjects – Descriptive Name Missing

Compliance Dashboard > AVETMISS Subjects Tile > Descriptive Name Missing

The Subject Descriptive Name is a mandatory field in TEAMS and you can update the correct descriptive Name from the TGA site (training.gov.au) and that’s what will print in a record of results. For the Subject Name field on the subject screen, you can have whatever you want as they are internal.

The AVETMISS Subject Tile will show you the Descriptive Name Missing with the total count of the subjects as a link. To update the Subject Descriptive Name in TEAMS, you need to follow the below steps:

  • Select the Calendar year 2024 from the Calendar Icon.
  • Select the hyperlink next to the Descriptive Name missing.
  • You will be taken to the Subjects no Descriptive Name listing screen.
  • Select the Subject code or Name, which will open the Subject entry screen.
  • On this screen, add the Subject Descriptive Name and Save the screen.

Note – When you have updated the AVETMISS Subject data for the Subject Descriptive Name then on the Compliance Dashboard, you need to refresh the screen to see the count of Descriptive Name missing.