Unit of Study – Documents

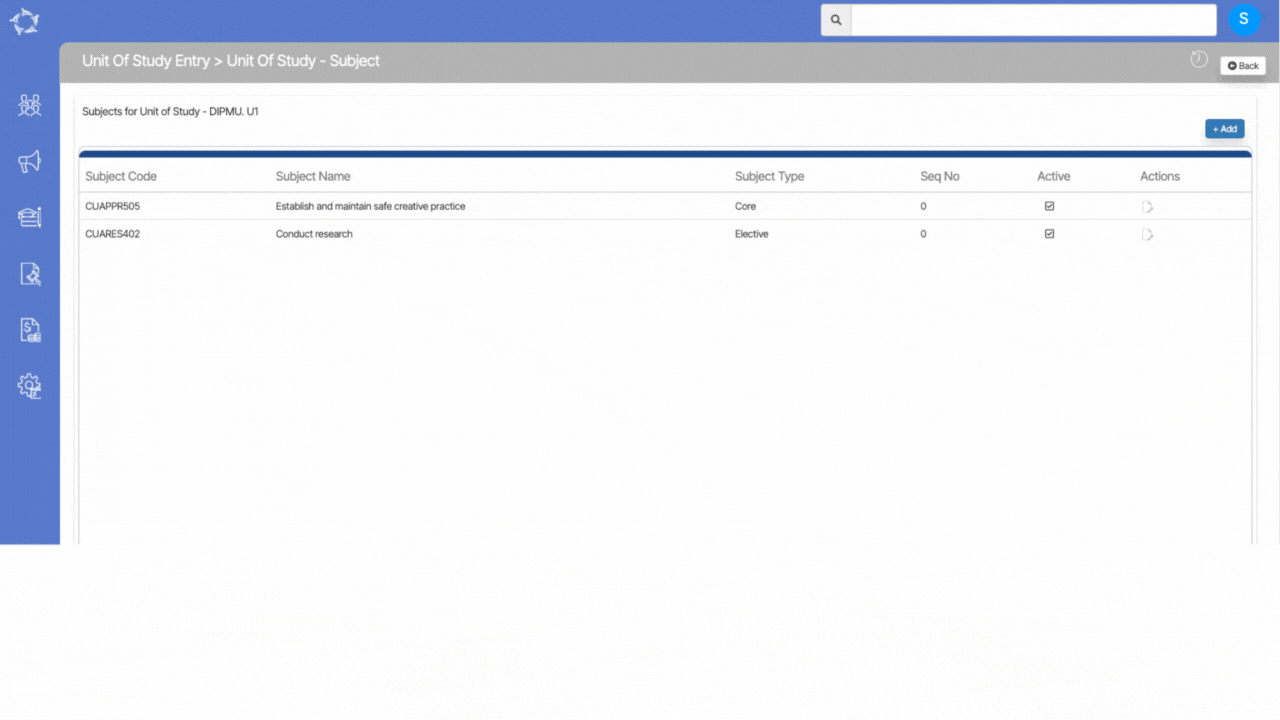
Unit of Studies > Unit of Studies Burger Menu > Documents

When you select the Documents option, the system will take you to Unit of Study Entry > Document screen will open, where you can add documents of the UoS.

When you select the +Add button, a popup window will appear where you can select the document which you want to upload for the unit of study.

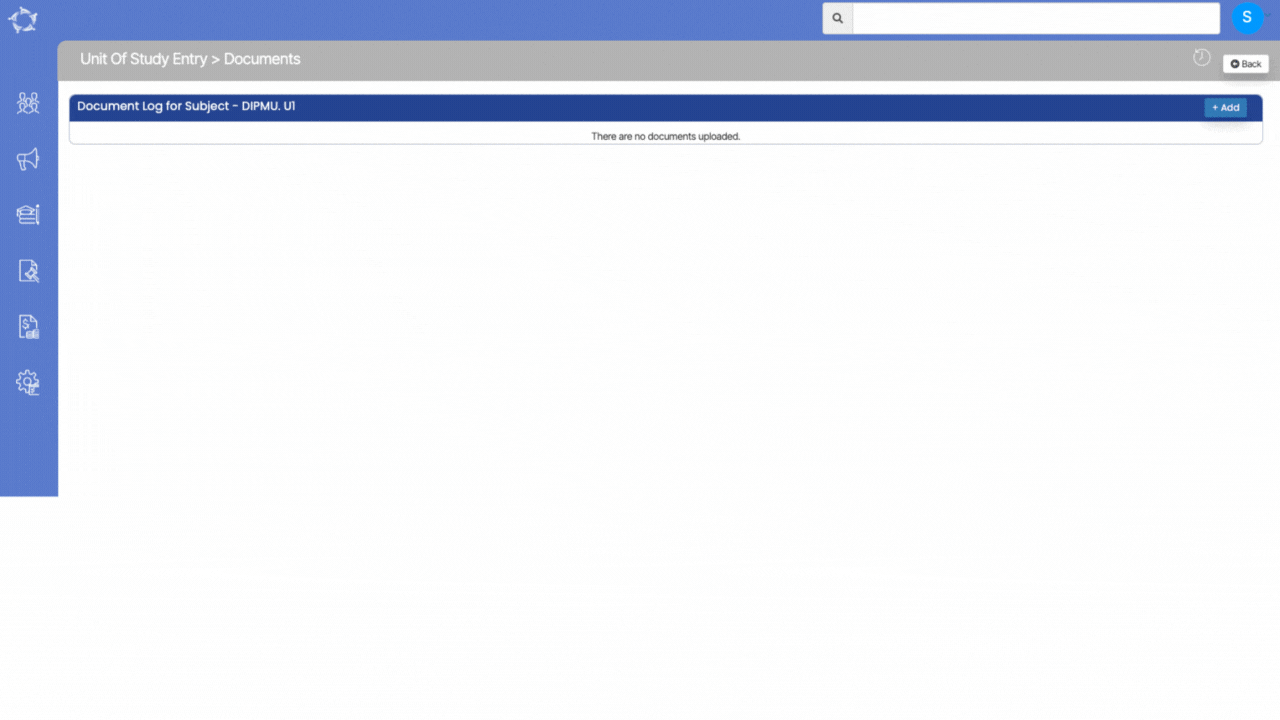
Explanation of the fields below:

FieldsExplanation
Upload DateThis is the read only field and it will show the current date as auto populated
NotesYou can write notes for your own reference by selecting the notes icon.
Document TypeThis is a user code and you can create a User Code as a document type in TEAMS.
Document NameIt will show the name of the document which you have selected.
Public DocumentSelect this box if you want to make the document public on the student portal.

Unit of Study – Subject

Unit of Studies > Unit of Studies Burger Menu > Subjects

The Unit Of Study screen will show you all the subjects in the grid that are already linked to the UoS. You can also edit the subject by selecting the edit icon under the actions column.

You can add the subjects to the UoS by selecting the +Add button. When you select the Add button, A popup window will appear, where you can add UoS of Studies Subject details in fields.

Explanations of the field below:

FieldsExplanation
Select the SubjectsIt is a magic search field, where you have to write the initials of the subject code and then you can select the subject code from the suggestions.
Select the Subject NameIt is a read-only field, which will be auto-populated when you select the subject code.
Seq NoHere you have to write the sequence number of the subject. for eg if x,y, and z are three subjects then you can write seq no as x as 1, y as 2, and z as 3.
Subject TypeSelect the radio buttons as core or elective.
ActiveSelect the tick box to make the Subject Active.

Unit of Study – Fee Help

Main Dashboard > Academics > Unit of Studies > Unit of Studies Burger Menu > Fee Help

In the Details tab, there will be a field for FEE HELP Availability and there are radio buttons for:

  • VET Student loan (VSL)
  • Higher Ed FEE HELP
  • Neither

IMPORTANT: A Unit of Studies can only be one of the FEE HELP options it cannot be both.

When you select the Fee Help option, A popup window will appear, where you can add Fee Help details in fields.

Attendance Code – A code that identifies the mode of attendance by which the student undertakes a unit of study OR the mode of attendance for a preference or offered course as indicated by an applicant

EFTSL – Equivalent full-time student load (EFTSL) is the measure used to determine a student’s study load. The college sets a unit value for each of its units. One EFTSL is the amount of student load determined by the college to be equal to a full-time load at 100% intensity for one student for one year.

Discipline Code – A code that uniquely identifies the discipline to which a unit of study is classified by the Provider

Student Holidays Report Data Columns

Student Holiday Report screen has General tab and the below table will show you filters with their explanation.

ColumnsExplanation
Enrolment #Enrolment Number generated by TEAMS
Student #Student Number generated by TEAMS
Student NameStudent’s (First name)(Middle name)(Last name
Visa TypeIt will show the Visa type selected at the Student and Enrolment level
Holiday TypeThe system will show the holiday type updated at the Student level on the student holiday screen
CampusThis will show the number of enrolments linked with the campuses
Start DateStart Date of the holidays
End DateEnd Date of the holidays
No Of WeeksTotal number of holiday weeks
TimetableTimetable linked to enrolments
AgentAgent name linked to enrolments
StatusStatus of the enrolment (Started, Not Started)

Results Achieved Report Filters

Dashboard > Student Management > Results Achieved

The results achieved report filters screen has General tab and Advanced tab. The below table will show you filters with their explanation.

General FiltersExplanations
Report Based onThis field has two radio buttons (Result Date and Subject End Date). Upon selecting any of these radio button the system will print the report for you.
Report Start DateBased on the radio buttons selection and when you select the start date the system will print the results lying under the start date selected.
Report End DateBased on the radio buttons selection and when you select the end date the system will print the results lying under the end date selected.
CampusYou can select the campus from the dropdown.
ProgramsThis is a magic search field and you cam search multiple programs in this filed.
SubjectsThis is a magic search field and you cam search multiple subjects in this filed.
Show inactive subjects and unit of studiesIf you wish to print the inactive subjects and UoS, you can select this tick box.
TrainerThis is a dropdown and it will allow you select the trainers which will get printed in the report.
Timetable SelectionYou can select the timetables from the dropdown.
Show TypesThis dropdown will allow you to select the results such as All, Successful and Unsuccessful.
Include Finished EnrolmentsSelect this tick box if you wish to print the finished enrolments in the report.
Enrolment with Selected Module/s but No resultsif you select this tick box, the report will show you enrolments that has subjects linked to them but the results are not updated for those subjects.
Group ByPlease see TEAMS Basics
Sort ByPlease see TEAMS Basics
Asc and DescPlease see TEAMS Basics

Student Holidays Report Filters

Student Holiday Report screen has General Filters tab and the below table will show you filters with their explanation.

General FiltersExplanations
Report IncludesThis field has three radio buttons: Holidays active Between, Starting Between, Either Starting or Ending Between
Based on selecting the radio buttons and then you select the SD and ED the system will show you holidays between the selected dates.
Report Start DateBased on selecting the radio buttons and then you select the Start Date the system will print the holidays lying in the selected start date
Report End DateBased on selecting the radio buttons and then you select the end Date the system will print the holidays accordingly
StudentThis is a magic search field and you can select specific students to print the report
Visa TypeThis is a user and one can create the user code in TEAMS and based on the visa type user code, you can select from the dropdown
Holiday TypeThere are two types of holidays (approved suspension of studies and STUPERLEAVE
Academic ScheduleThis is a magic search field and you can select multiple academic schedule
Print Timetable SessionsYou can select this tick box if you want to print the timetable sessions
Include EnrolmentsIt has three options (All, Current and Finished) and you can select them as you required
Sort ByPlease see TEAMS Basics
Asc and DescPlease see TEAMS Basics

Click on the “Print” Icon to generate the report. After clicking on it, the system will direct you towards the report dashboard screen. You can see the report status over there if it’s generated or not. Once it’s generated, download the report.

Student Holidays Report

Dashboard > Student Management > Student Holidays Report

history of changes

IMPORTANT – We believe that staying informed about the latest developments in our software is vital for optimising your experience and maximising the benefits of using our system. To view the latest updates and modifications on the Student Holidays Report and it’s screen, we kindly request you to navigate to the History icon history of changes showing above. By selecting this icon, you will gain access to a detailed log of all the recent changes made to the software.

Overview

This report shows you the list of those students who have their holidays updated in the system.

Student Holidays Report Filters

Student Holidays Report Data Columns in the Report

Class Roll Report Data Columns

Class Roll Report Columns has general tab. Below mentioned table is the explanation of columns.

ColumnsExplanations
Student NoStudent Number generated by TEAMS
Student NameStudent (First name)(Middle name)(Last name)
Enrolment NoEnrolment Number generated by TEAMS
Student TypeThis is the student type (New Student and Returning Student) selected at the Enrolment level
IntakeThis is the Intake name selected while processing the application
DatesEnrolment Start Date and End Date
Week NoThis is the total number of weeks (if the enrolment has a total duration of 52 weeks
and the class session is in week 12 then the system will show you the week no = 12/52

Class Roll Report Filters

Dashboard > Student Management > Class Roll

The Class Roll Report Filters has General Filters tab and the below table will show you filters with their explanation.

General FiltersExplanations
Week Starting DateSelect the week starting date from the calendar
Campus NameSelect the specific campus from the dropdown
TimetablesOnce you select the campus, the timetable dropdown will show you the timetable based on the selected campus
Students to includeThis field will show you two radio buttons (All Students and Only Started Students) and you can select them as you required
Sort by 1Please see TEAMS Basics
Asc/DescPlease see TEAMS Basics

Click on the “Print” icon to generate the report. After clicking on it, the system will direct you towards the report dashboard screen. You can see the report status over there if it’s generated or not. Once it’s generated, download the report.