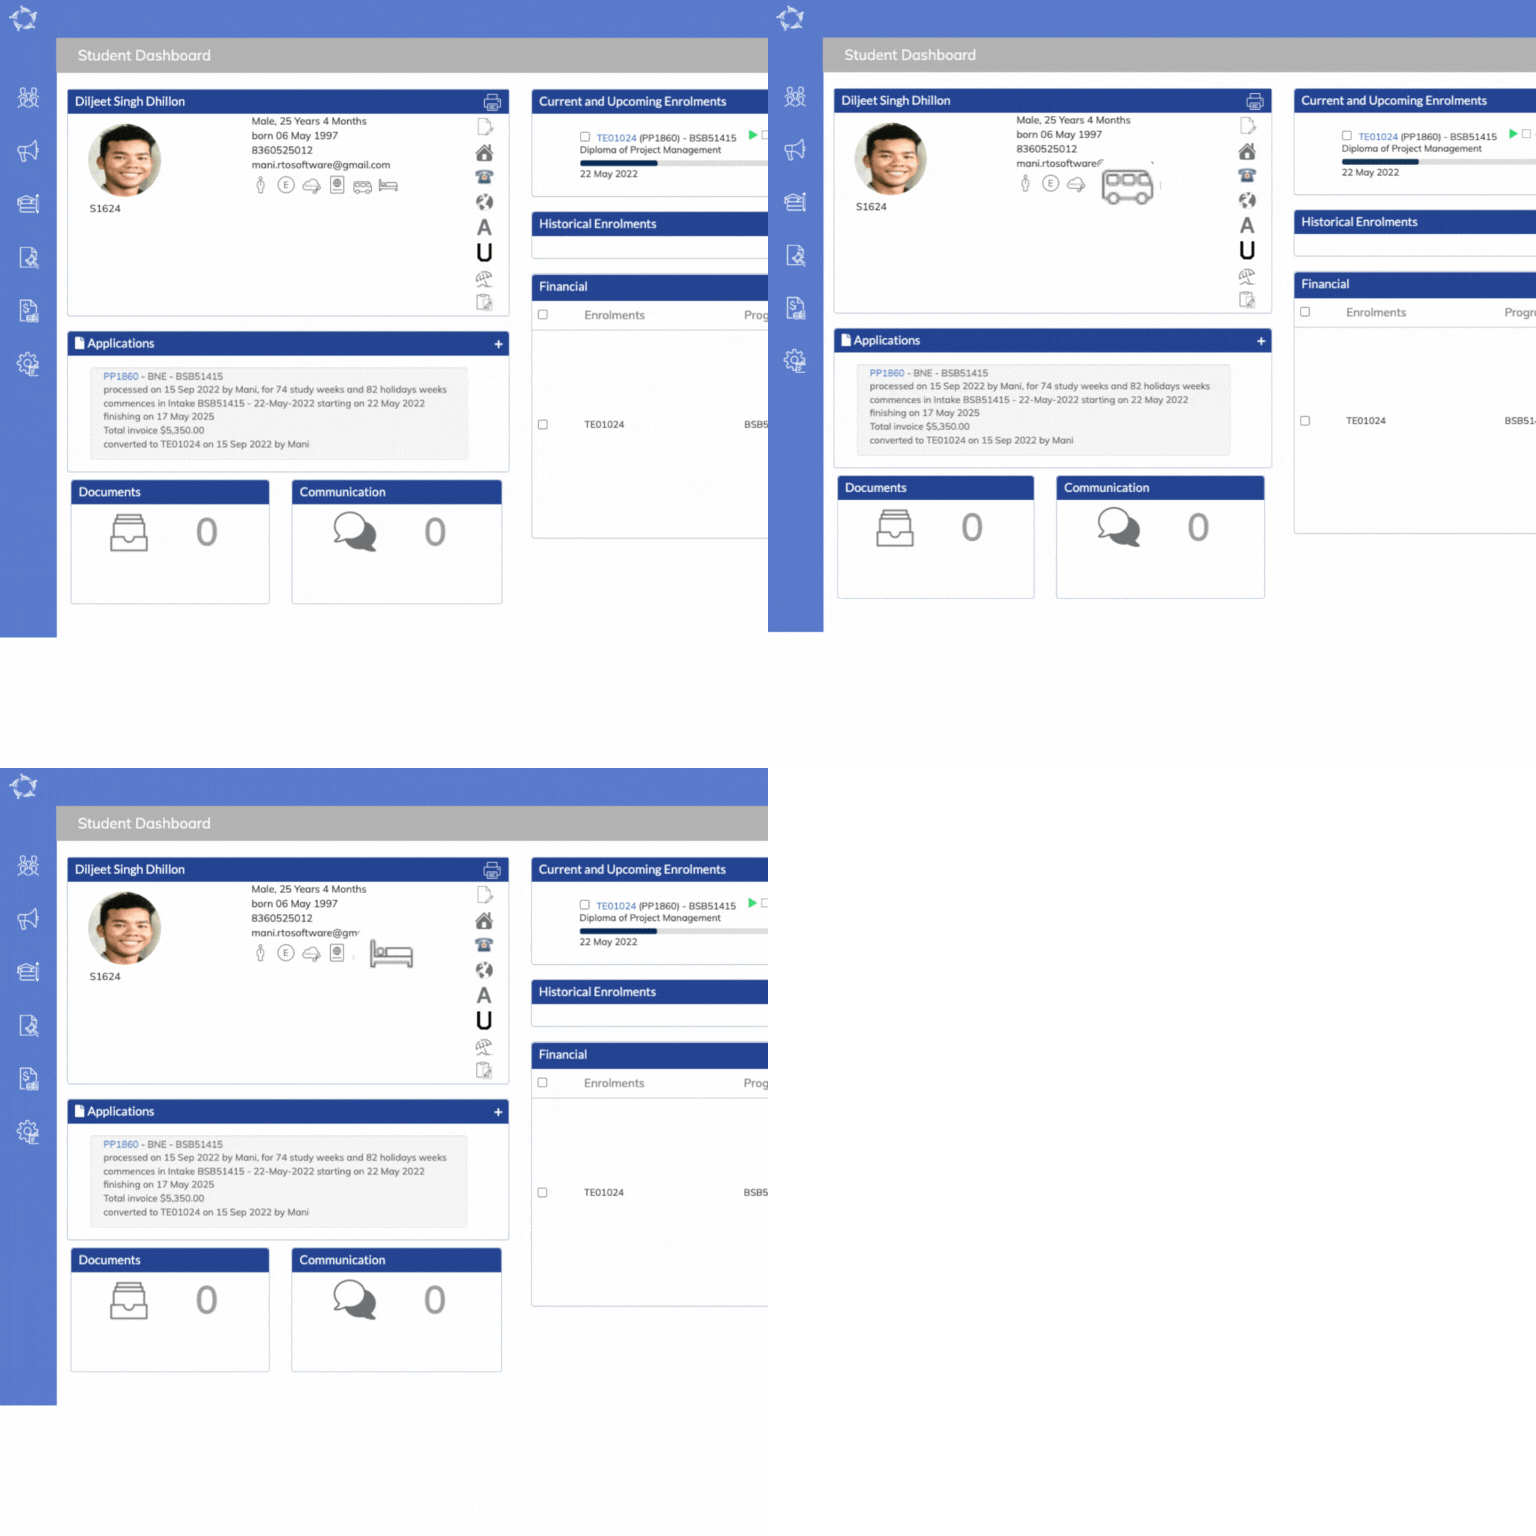
 | This icon indicates that the enrolment is a New Student |
 | This icon shows that the enrolment is a Returning Student |
 | This icon will show you the name of the Account Manager |
 | This icon will show you the overseas information of the student |
 | This will show you the Agent Name |
 | This icon will show you the overdue amount for the Students/Enrolments |
 | This icon will show you the tooltip as orientation required |
| Actions Column Icons | Their Use |
 | To edit the data. You will see this icon on many screens for editing. |
 | To approve/convert a pending application to enrolment. |
 | To decline a pending application. |
 | To reverse the declined application. |
 | To send out emails |
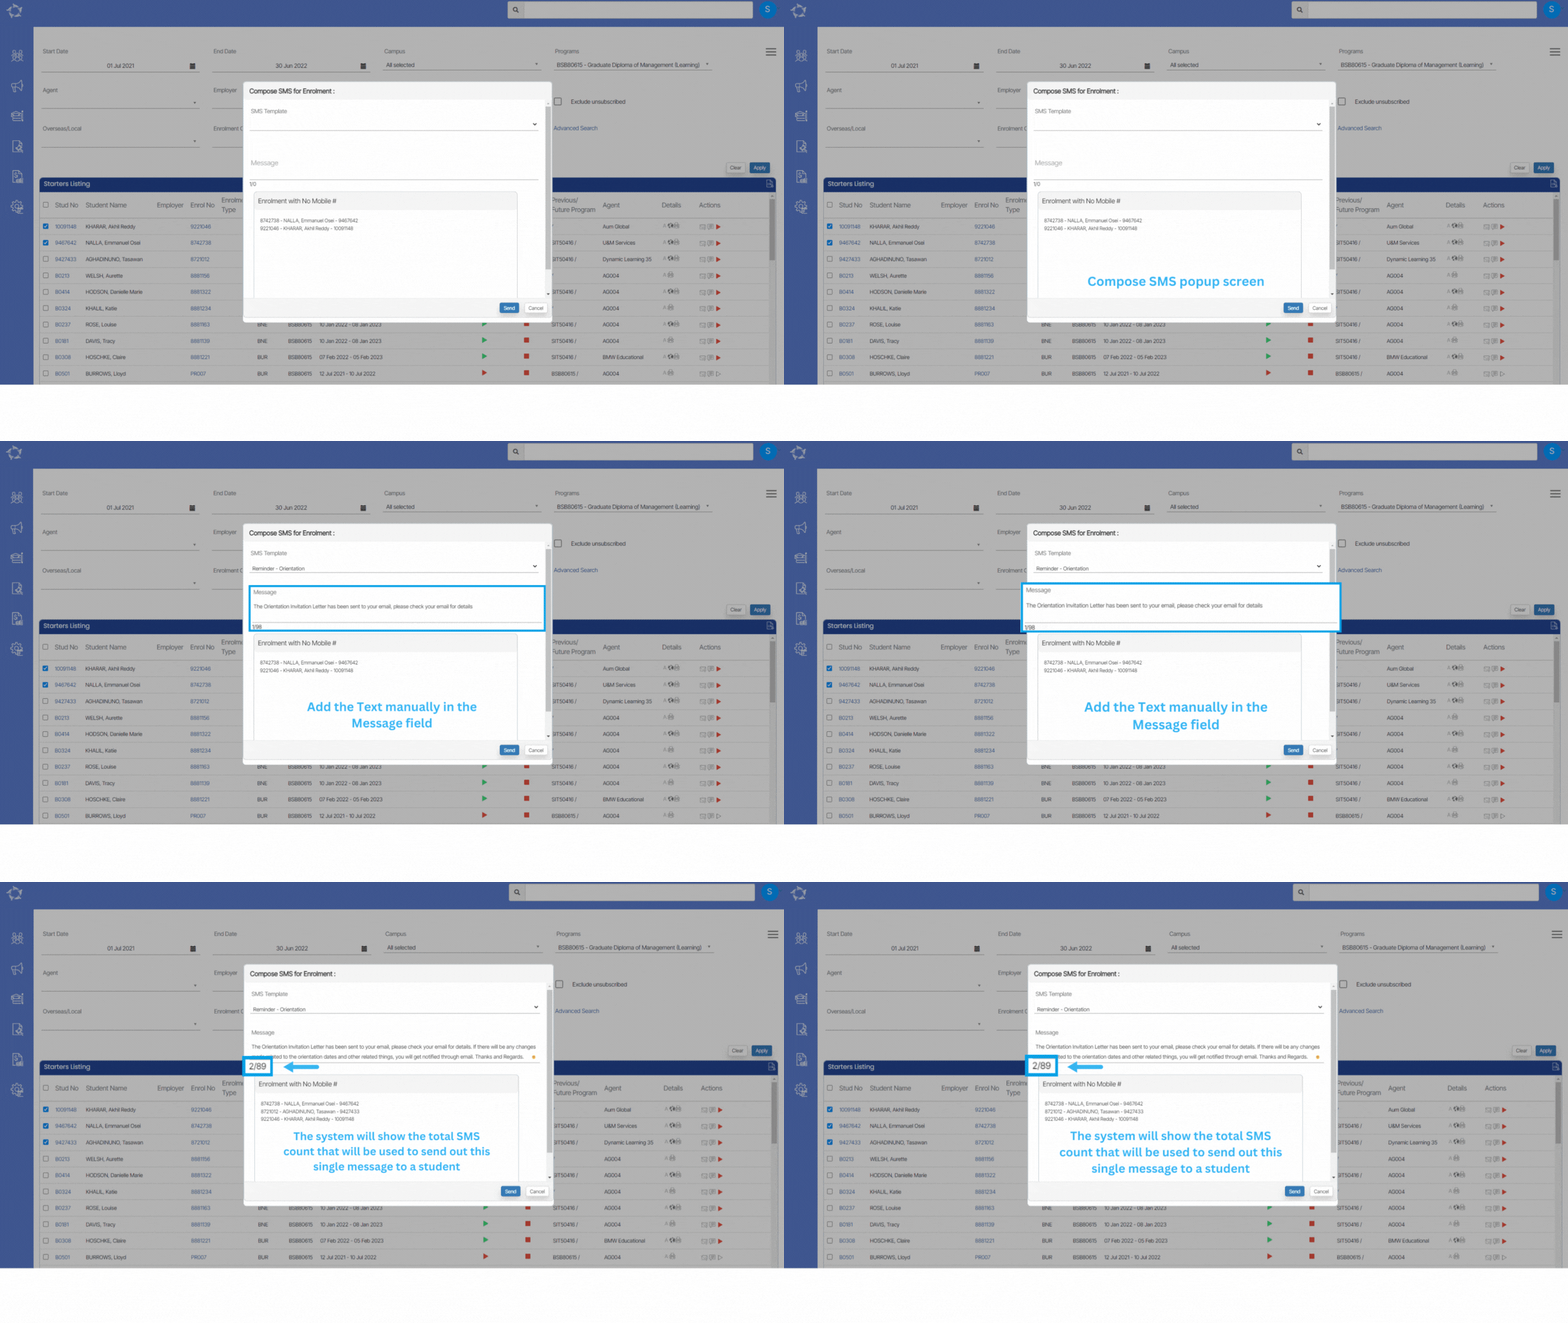
 | To send out SMS. |
 | To create contact logs. |
 | To delete an entry. |
 | To print reports. |
 | To cancel reports. |
 | To create New Invoice. |
 | To create Invoice Recreation. |
 | To Edit the receipt. |
 | To Transfer receipted money. |
 | To refund the receipted money. |
 | To send a pay request email for invoices. |
 | Subject Mapping |
 | To start an enrolment. |
 | To finish an enrolment. |
 | To Submission Review. |
 | To download the document. |
 | To Commence Subject. |
 | To Uncommence Subject. |
 | Subject Mark as inactive. |
| Main Menu’sand Sub Menu’s | Their Use |
 | Complicance main menu. |
 | Finance main menu. |
 | Navigate to Student Search sub menu. |
 | Navigate to Class Allocation sub menu. |
 | Navigate to Attendance sub menu. |
 | Navigate to Results sub menu. |
 | To generate CSV report |
 | To generate report in Excel. |
 | To generate report in word. |
 | Navigate to New Enquiry sub menu. |
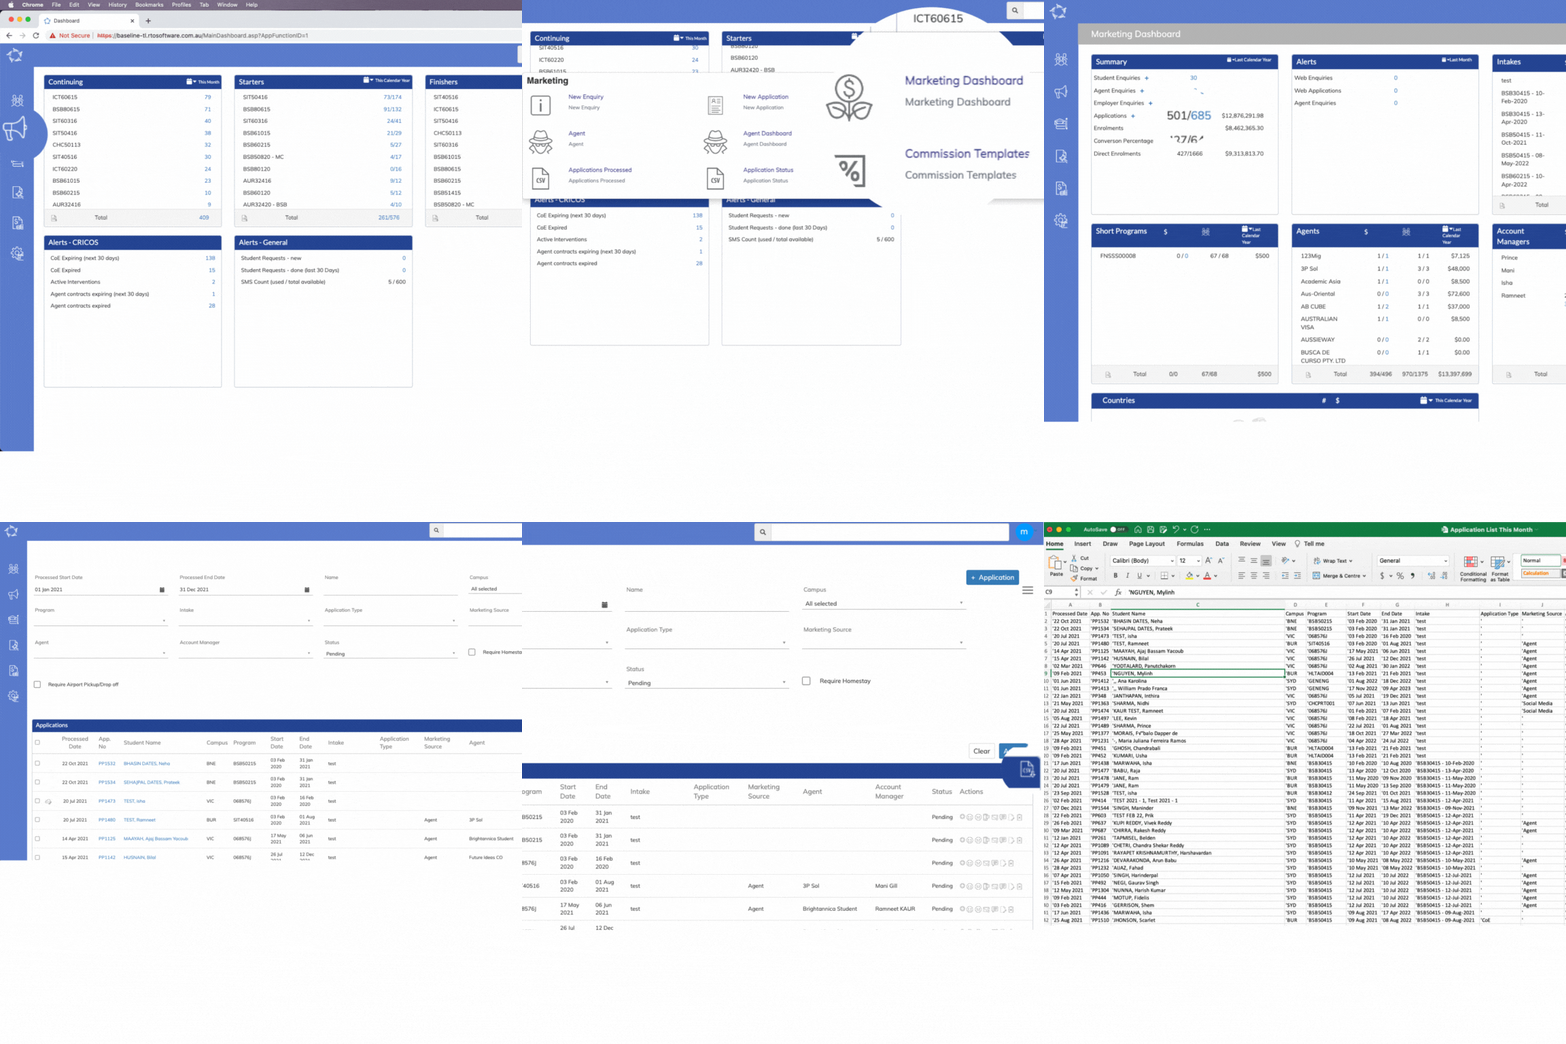
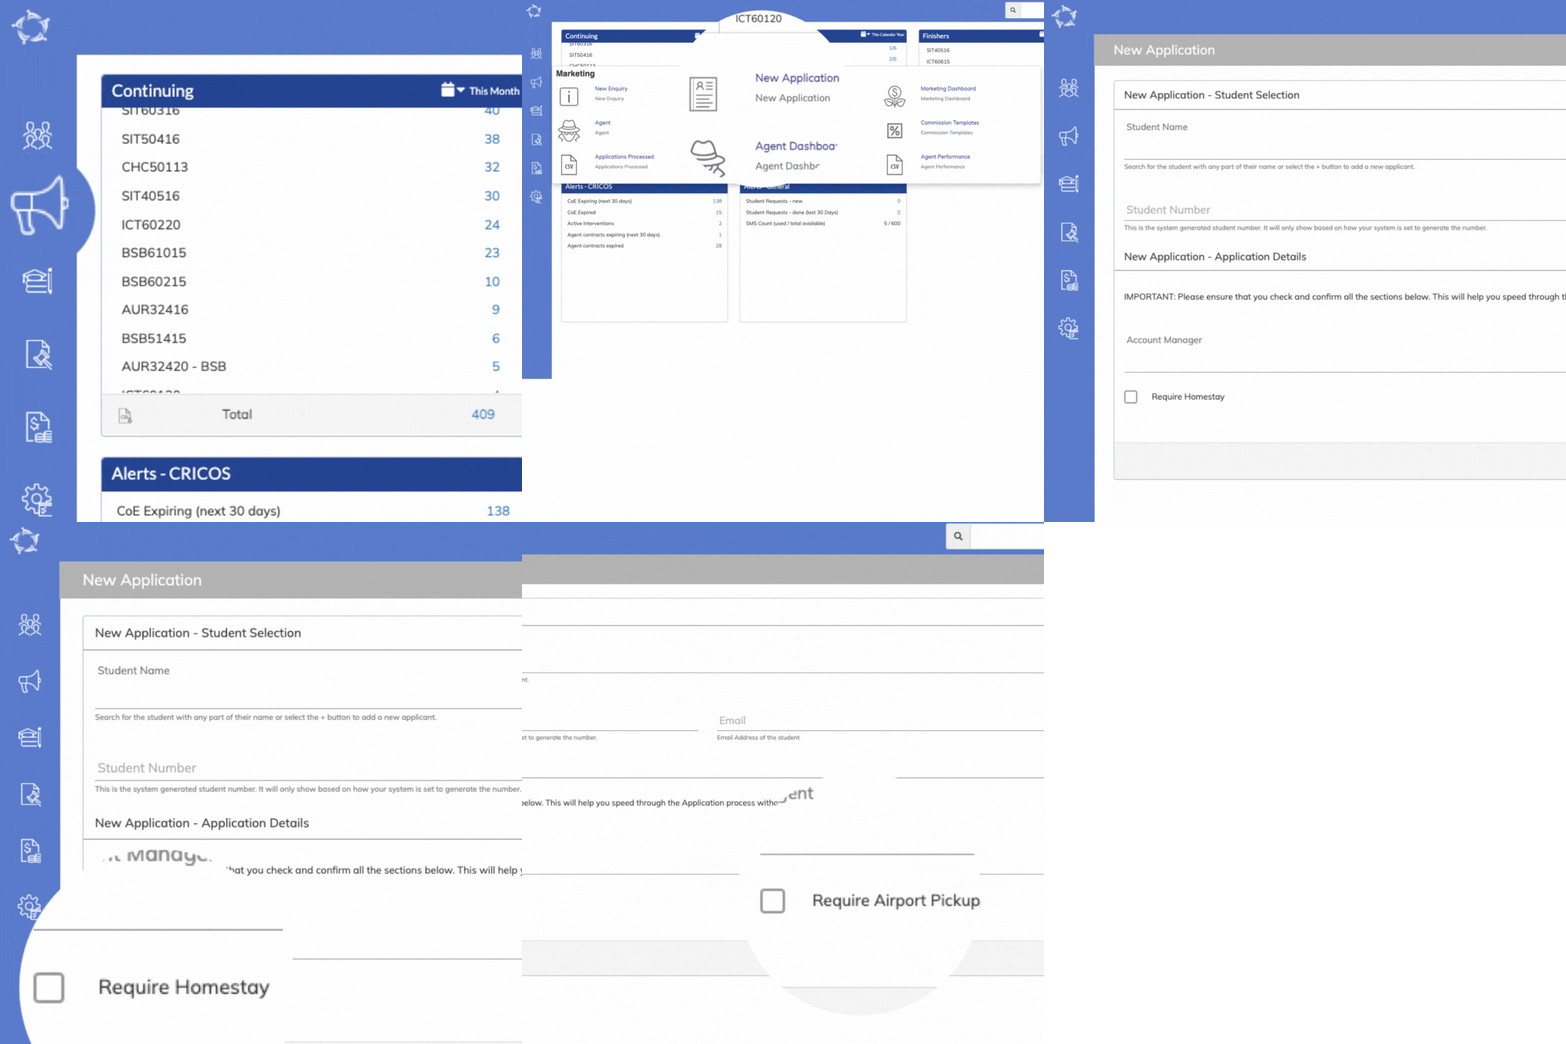
 | Navigate to New Application sub menu. |
 | Navigate to Marketing Dashboard sub menu. |
 | Navigate to Agent sub menu. |
 | Navigate to Agent Dashboard sub menu. |
 | Navigate to Commission Templates sub menu. |
 | Navigate to Campus sub menu. |
 | Navigate to Programs sub menu. |
 | Navigate to Unit of Studies sub menu. |
 | Navigate to Subjects sub menu. |
 | Navigate to Academic Template sub menu. |
 | Navigate to Group Training Plans sub menu. |
 | Navigate to Timetable sub menu. |
 | Navigate to Allocate Subjects/UoS sub menu. |
 | Navigate to GTP Allocation sub menu. |
 | Navigate to Intakes sub menu. |
 | Navigate to Submission Review sub menu. |
 | Navigate to Assessments sub menu. |
 | Navigate to Subject Dates sub menu. |
 | Navigate to USI Request sub menu. |
 | Navigate to Compliance Dashboard sub menu. |
 | Navigate to Avetmiss Export sub menu. |
 | Navigate to Avetmiss Export History sub menu. |
 | Navigate to Student Progress sub menu. |
 | Navigate to Attendance Monitoring. sub menu. |
 | Navigate to Training Location sub menu. |
 | Navigate to TPS History sub menu |
 | Navigate to Financial Dashboard sub menu. |
 | Navigate to Agent Transactions sub menu. |
 | Navigate to Instalment Plans sub menu. |
 | Navigate to Fee sub menu. |
 | Navigate to Site Setting sub menu. |
 | Navigate to Report Dashboard sub menu. |
 | Navigate to Organisation sub menu. |
 | Navigate to Report Settings sub menu. |
 | Navigate to User sub menu. |
 | Navigate to Audit Logs sub menu. |
 | Navigate to Employer sub menu. |
 | Navigate to School sub menu. |
 | Navigate to Classrom sub menu. |
 | Navigate to Trainers sub menu. |
 | Navigate to Account Manager sub menu. |
 | Navigate to Report Template sub menu. |
 | Navigate to Email Template sub menu. |
 | Navigate to SMS Template sub menu. |
 | Navigate to User Codes sub menu. |
 | Navigate to Notes Template sub menu. |
 | Navigate to Notification Template sub menu. |
 | Navigate to WebForms sub menu. |
 | Navigate to Public Holidays sub menu. |
 | Navigate to Term Breaks sub menu. |
 | Navigate to Quiz sub menu. |
 | Navigate to Question Bank sub menu. |
 | Navigate to Alert System Configuration |
 | Navigate to Automated Action sub menu. |
 | Navigate to Automated System Actions sub menu. |
| Student/Enrolment Dashboard Icons | Their Use |
 | To update student’s AVETMISS, Local and Mailing Addresses. |
 | To update student’s next of kin/emergency contact details. |
 | To show you that it’s an AVETMISS student and has a VET enrolment. |
 | To show you that the student has a VET enrolment but you haven’t set the it as AVETMISS student. |
 | To create/update the USI for a student when it is not updated. |
 | To show you that the USI is there in TEAMS for the student but it is not verified |
 | To show you that the USI is verified. |
 | For you to add student’s holidays. |
 | To show you that there are student’s holidays updated. |
 | To add or edit student’s conditions. |
 | To show that the conditions are updated for the student. |
 | To link/edit the account manager. |
 | To update/view student’s english proficiency. |
 | To update/view student’s visa details or CoE details. |
 | To show you that the visa has been expired for the student. |
| Application Dashboard | Their Use |
 | This icon navigate to edit Avetmiss Settings. |
 | This icon navigate to Training Plan and Results. |
 | This icon navigate to Fee Help Setting. |
 | This icon navigate to Employer Tracking. |
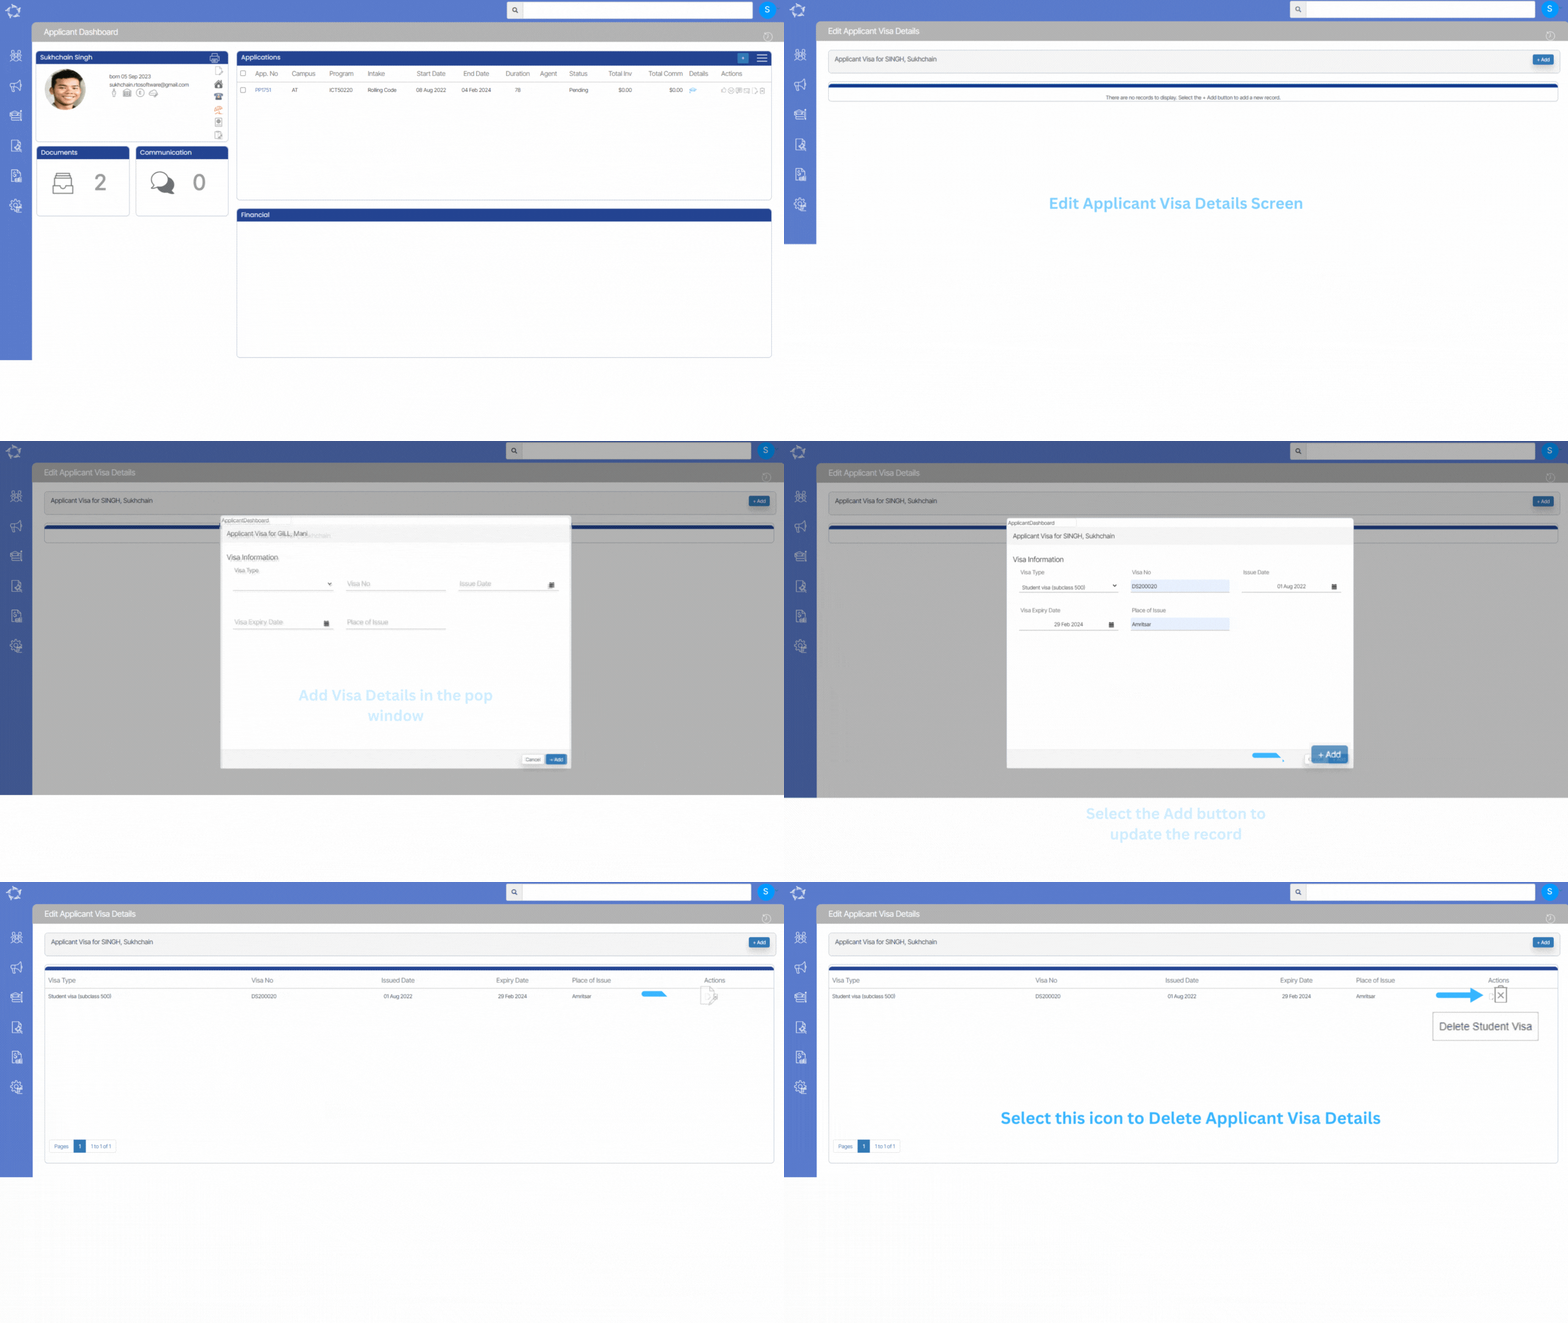
 | This icon navigate to Edit Applicant Visa Details. |
 | This icon will show local address of student when you hover mouse on that icon. |





 button to add the visa details of an applicant.