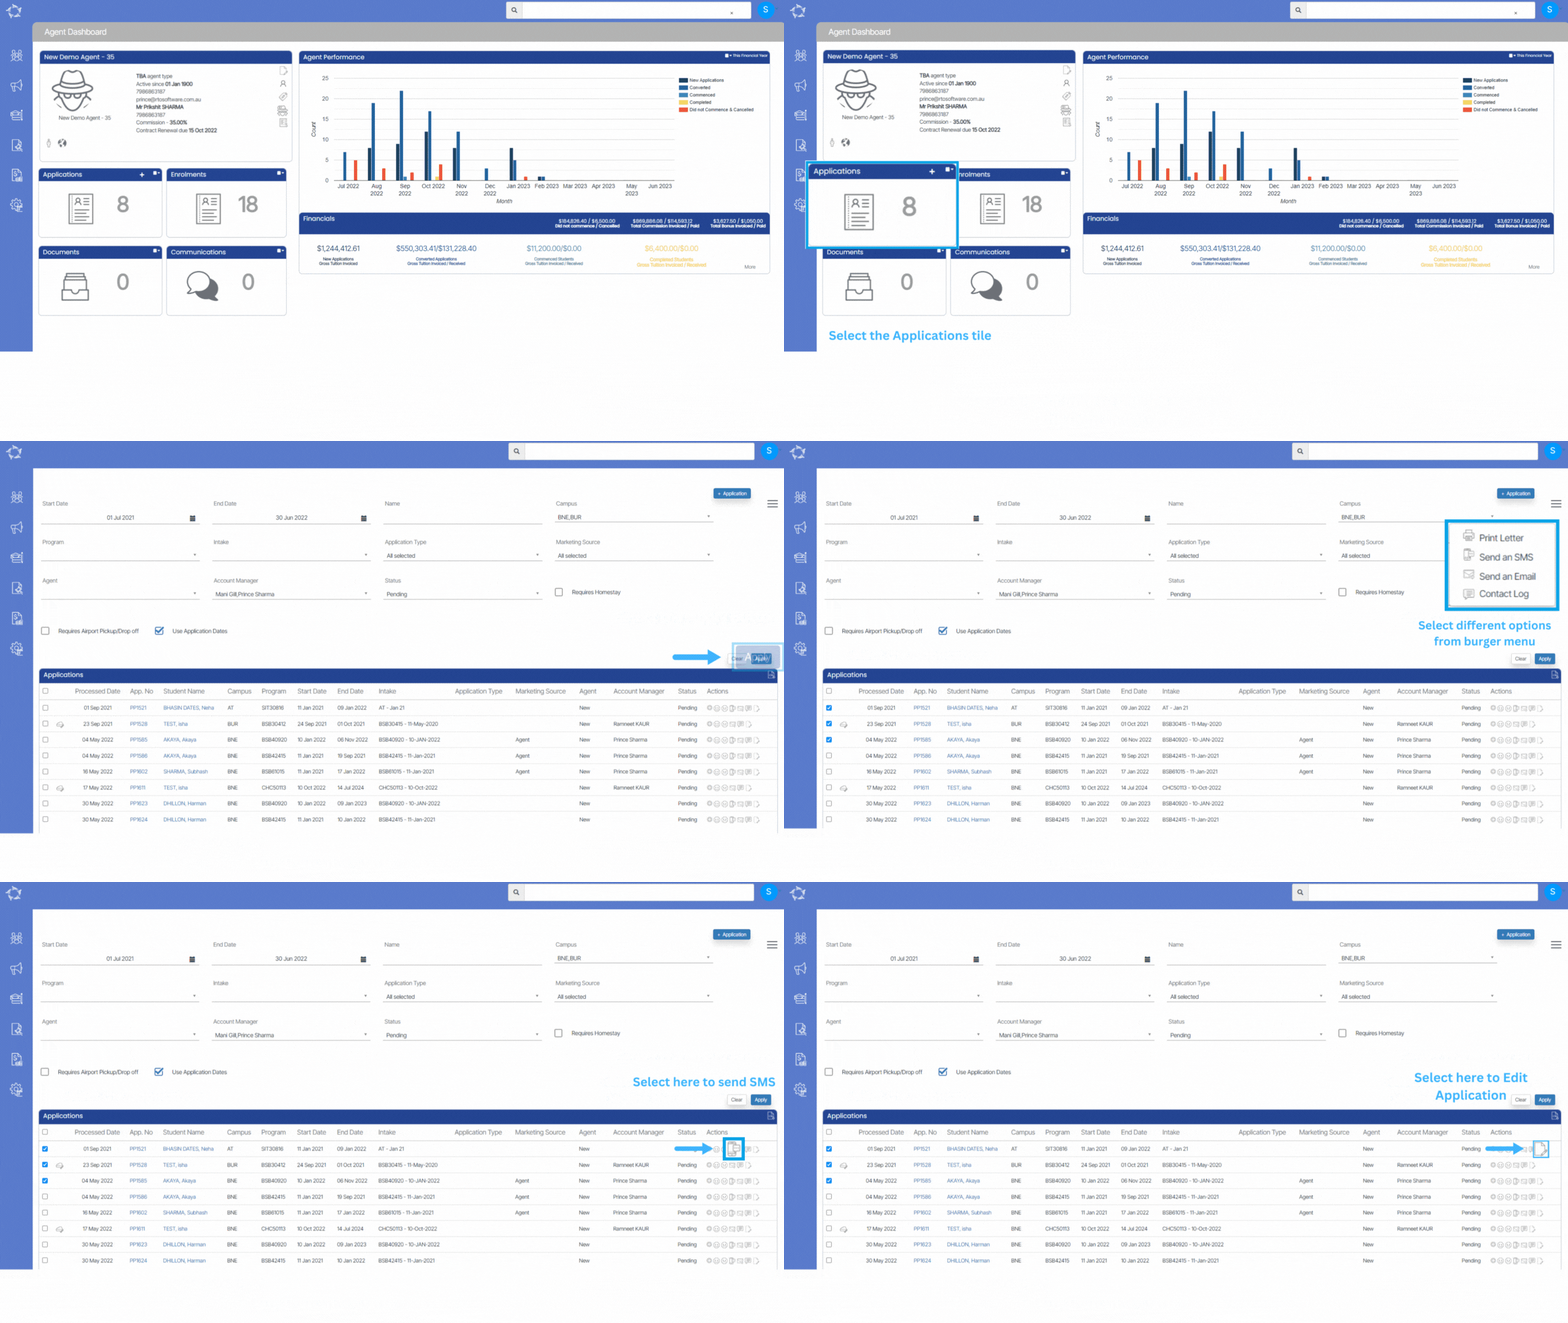
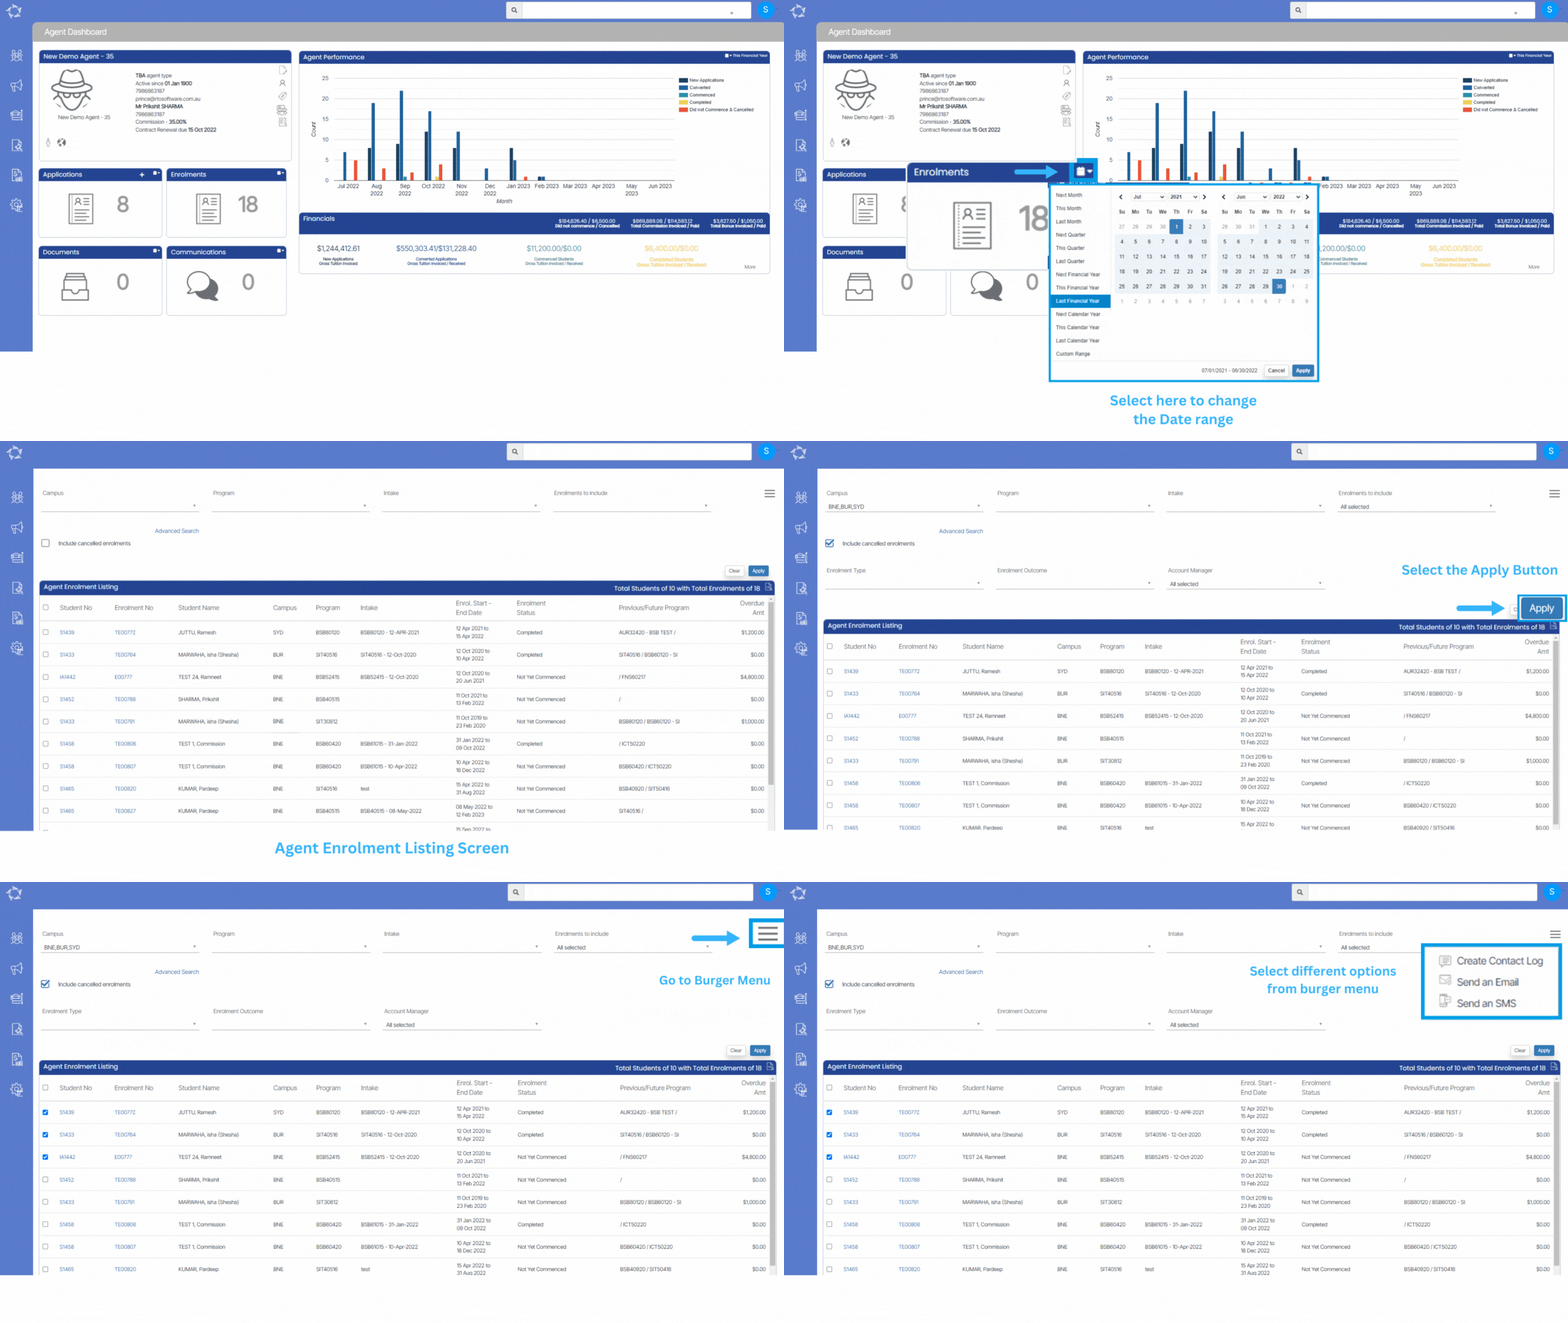
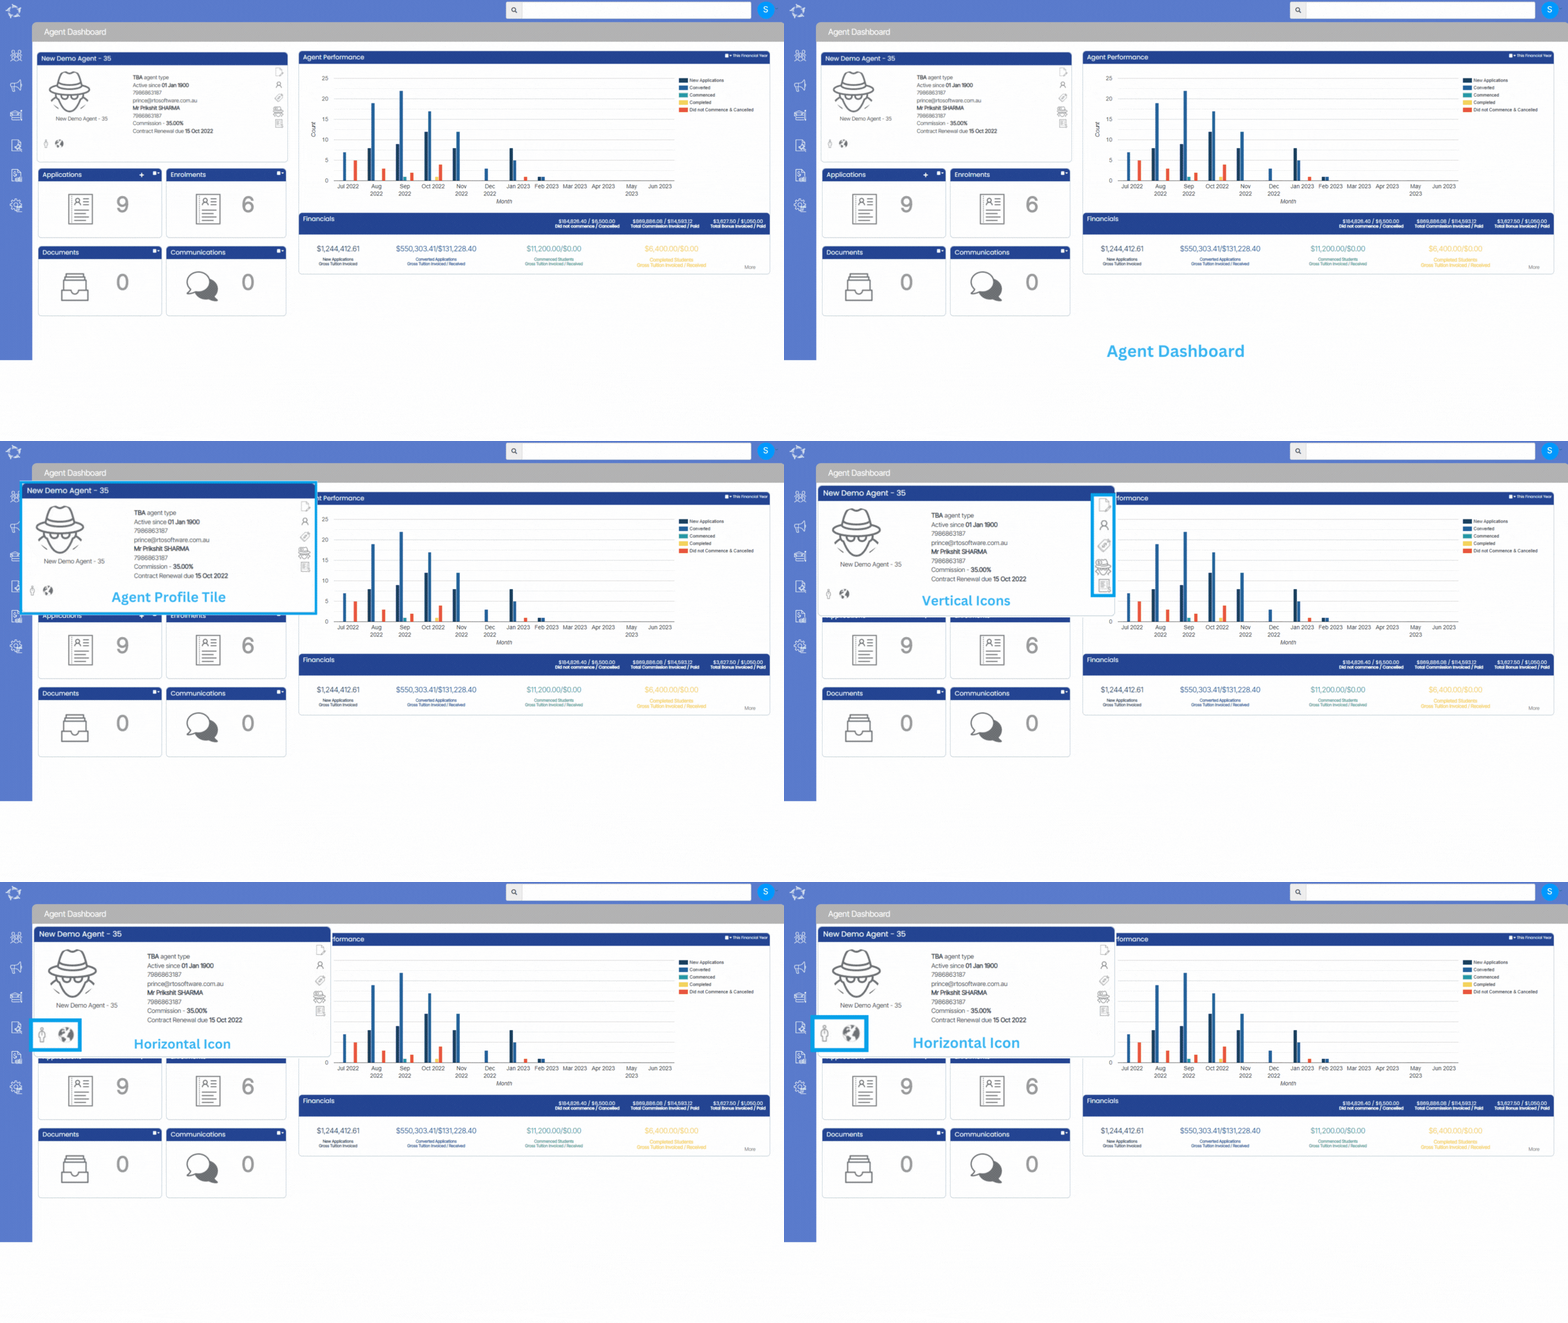
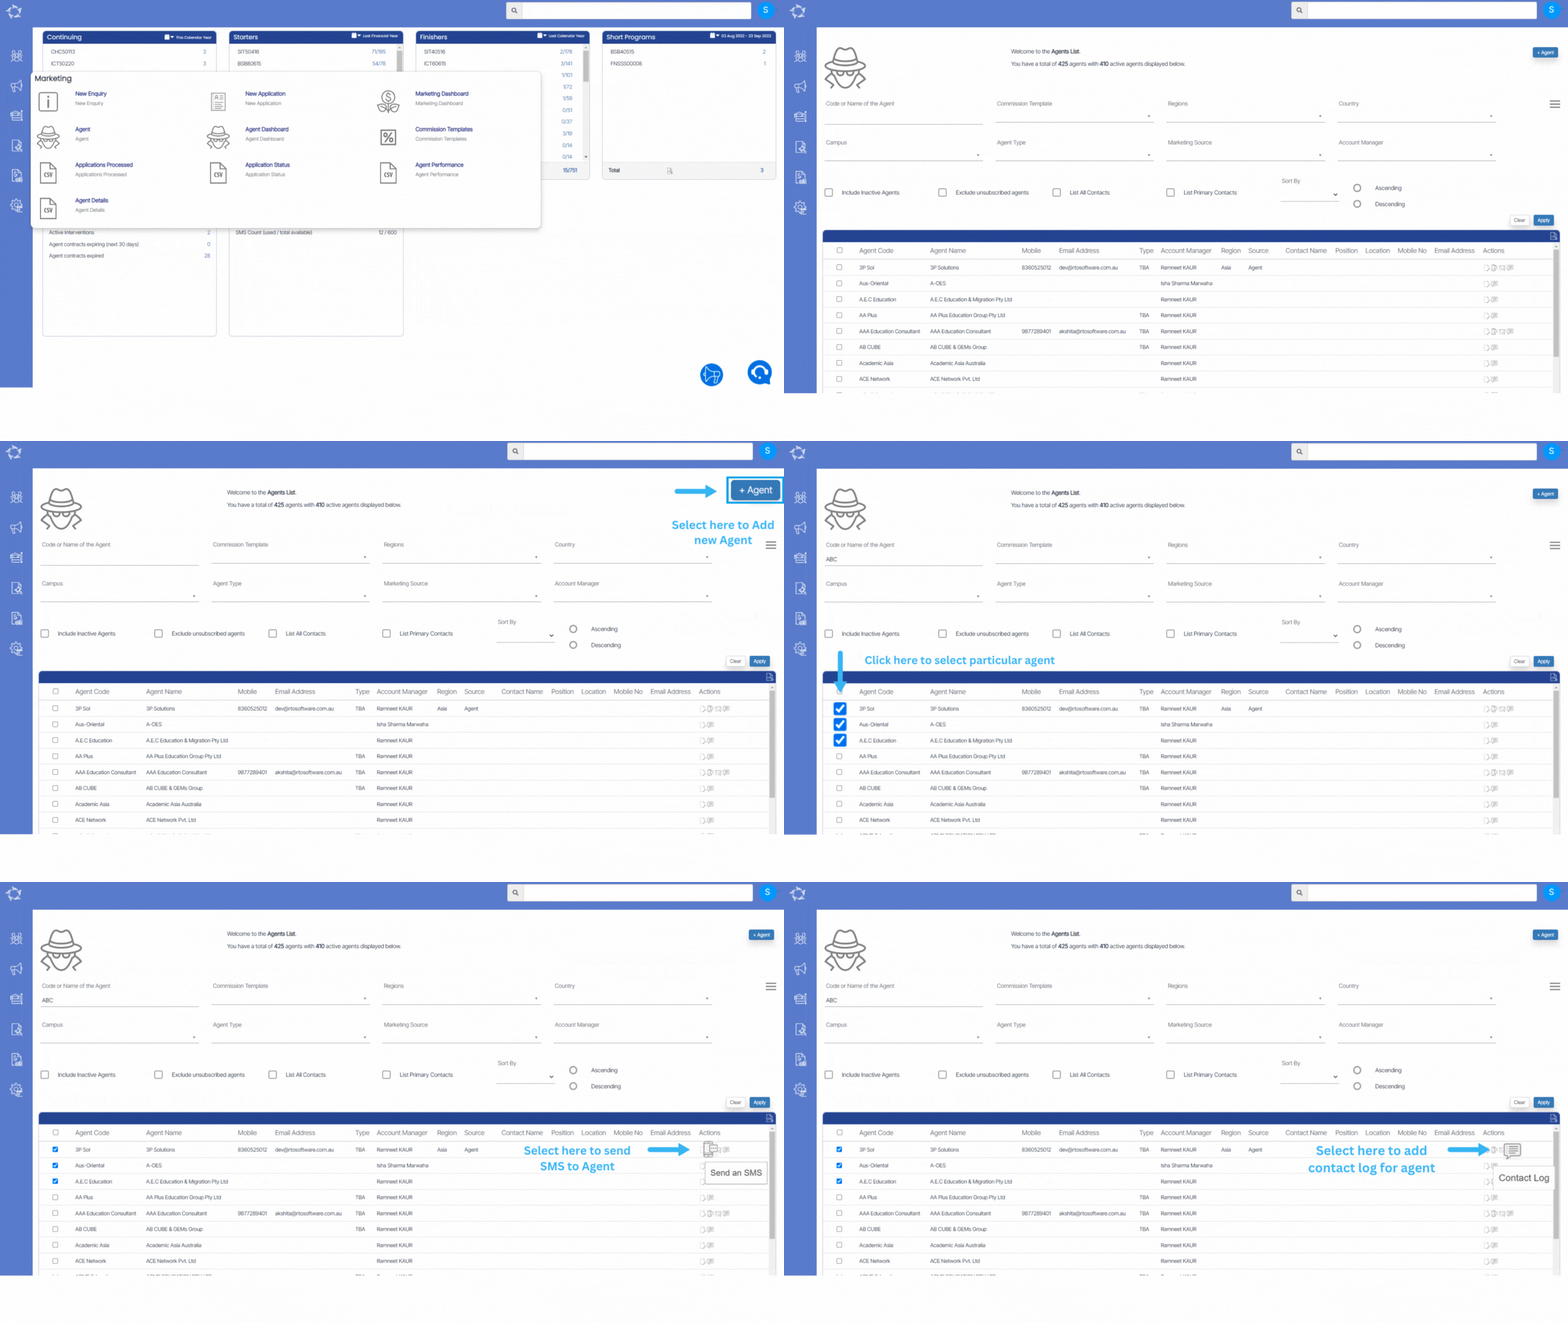
These screens will allow you to add/edit the information about the Agent. You can find these screens under:
Agent Dashboard > Agent Profile Tile > Edit Agent Details Icon
Marketing Menu > Agent Listing screen > +Agent Button
Note – When you select the Offshore Agent tick box, the Overseas address tab will get visible and you won’t be able to select the Local Address tab.
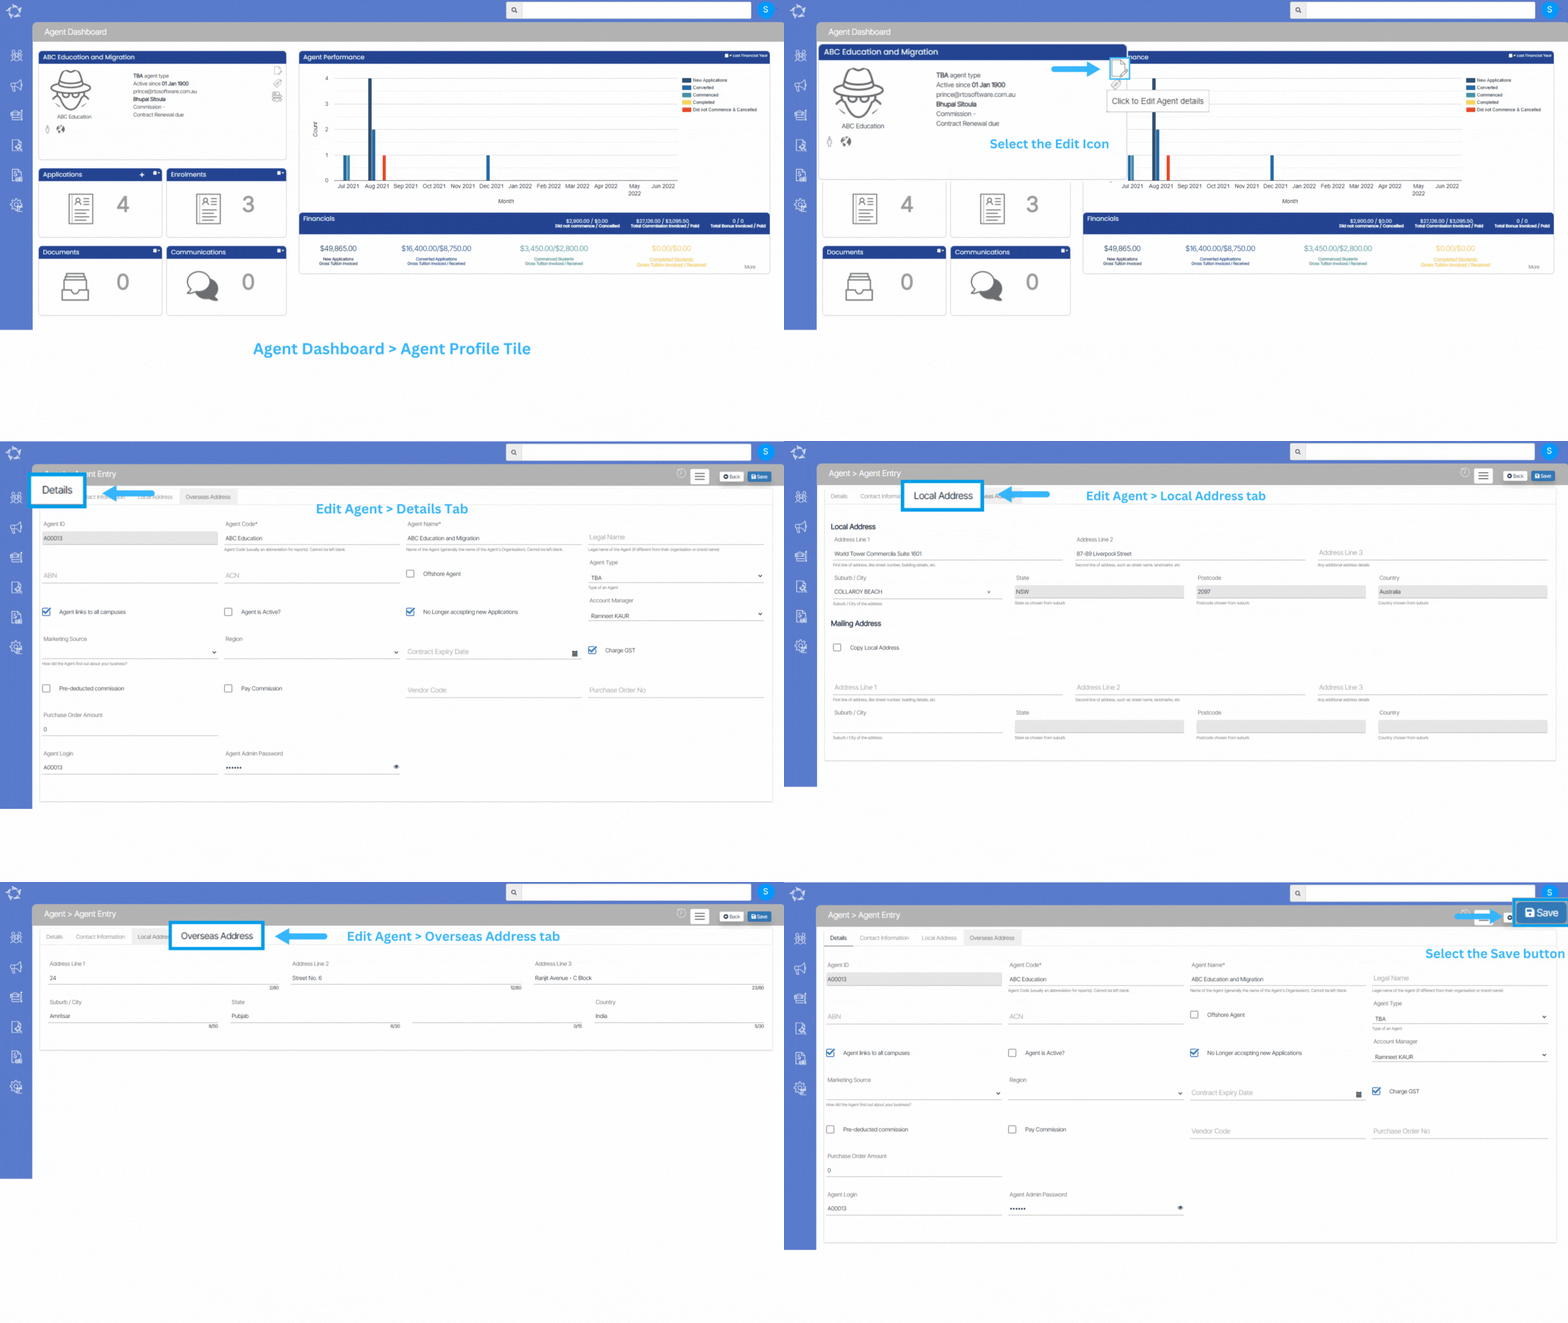
Note – Below tables will give you an explanation of details tab and other tabs(contact information, local address and overseas) are self explanatory tab where you add contact information and agent’s address
Details Tab
| Field | Explanation |
|---|---|
| Agent ID | It is a read-only system-generated field that will automatically populate Agent’s ID. |
| Agent Code | Agent Code (usually an abbreviation for reports). Cannot be left blank. |
| Agent Name | Name of the Agent (generally the name of the Agent’s Organisation). Cannot be left blank. |
| Legal Name | The legal name of the Agent (if different from their organisation or brand name). |
| ABN | You can enter the Australian Business Number in this field. |
| ACN | You can enter the Australian Company Number in this field. |
| Offshore Agent | Select this tick box if the agent is offshore (overseas). |
| Agent Type | This is user code and based on the user code created in TEAMS, you can select the agent type from dropdown. |
| Agent Links to all Campuses | If your RTO has multiple campuses then you can select this tick box. |
| Campus | You can select the specific campus from the dropdown field. This field will be visible if the Agent Links to all campuses check box is un-tick. |
| Agent is Active? | If you do not select this tick then the agent will not appear on the required screens. |
| No Longer accepting new Applications | By select this tick box, the agent will not appear for the new applications. |
| Account Manager | This is user code and based on the user code created in TEAMS, you can select the account manager from dropdown. |
| Marketing Source | This is user code and based on the user code created in TEAMS, you can select the marketing source from dropdown. |
| Region | This is user code and based on the user code created in TEAMS, you can select the region from dropdown. |
| Contract Expiry Date | Agent’s contract expiry date. |
| Charge GST | Select this tick box to charge GST on the agent’s commission. |
| Pre-deducted commission | Select this tick box if you wish to pre deduct the commission while creating the receipts for the students. |
| Pay Commission | If you select this tick box, the system will show different fields related to pay the commission Commission Template – This will be the default commission set for the agent Optional Commission templates – This will show you commission’s list from which you can select any optional commission. |
| Optional Commission Template | You can select optional commission template from the dropdown field |
| Vendor Code | Enter the Vendor code of the agent in this field |
| Purchase Order No | Enter the Purchase order number of the agent in this field |
| Purchase Order Amount | You can enter the Purchase order amount in this field |
| Agent Login | You can enter the Agent Login ID in this field |
| Agent Admin Password | You can enter the Agent Admin password in this field |

