Agent Performance Report Filters

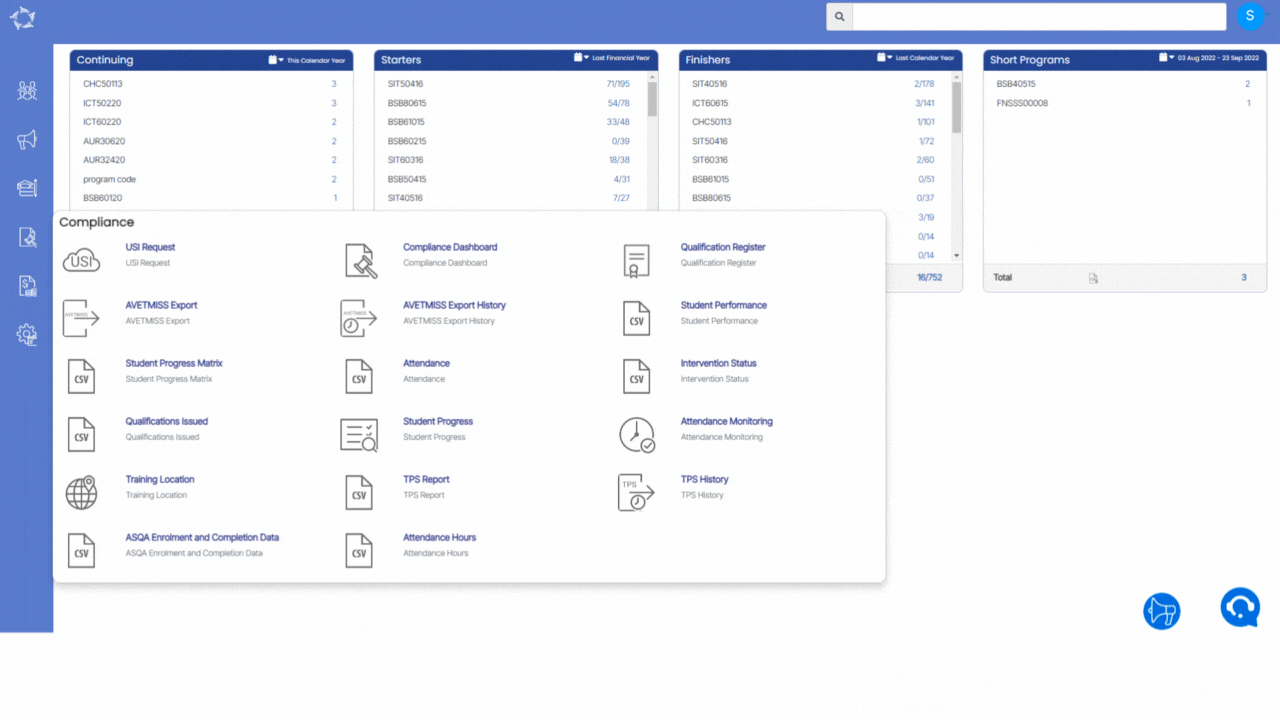
Agent Performance parameters/filters screen will show you two different tabs General and Advance. Below is the table that will show the filters and their explanation.

General FiltersExplanation
Report DatesThis field has two different radio buttons:
Enrolment Start / End Dates – when you select this radio button, the system will print the enrolment SD and ED in the columns
Enrolment Date – By selecting this radio button, the system will print the enrolment processed date in the enrolment date column.
Report Start DateSelect the start date of the enrolment from the calendar.
Report End DateSelect the end date of the enrolment from the calendar.
CampusYou can select multiple campuses from the dropdown.
Enrolments to IncludeThis dropdown will show you two different tick boxes (Current and Finished) and you can select them as you required.
Include Enrolments/ApplicationsIt will show you two different tick boxes (show applications and show enrolments) and you can select them as you required.
Include cancelled enrolmentsThe system considers only cancelled enrolments with start dates within the specified report period, excluding enrolment outcomes marked as cancelled for this option.
Include Declined ApplicationsSelect this tick box if you wish to print the declined applications in the report
Group ByPlease see TEAMS Basics
Sort ByPlease see TEAMS Basics
Asc/DescPlease see TEAMS Basics
Advance FiltersExplanation
Agent NameSelect multiple Agent
Account ManagerSelect multiple Account Managers
Agent RegionSelect multiple Agent Region

Select the “Print” Icon  to generate the report. After clicking on it, the system will direct you towards the report dashboard screen. You can see the report status over there if it’s generated or not. Once it’s generated, download the report.

Agent Details Report Columns

ColumnsExplanation
Agent CodeAgent’s Code entered in the system.
Agent NameAgent’s Name entered in the system.
Agent TypeIt is a user code dropdown field. One can create multiple agent types in the system and can use them while creating agents.
Comm. PaidIf the Pay Commission tick box is selected on the agent Entry screen then the report will show you Yes otherwise the report will show you No.
Commission TemplateIt will show the default commission template selected on the agent entry screen.
Contract Renewal DateIt will show you the Contract Expiry Date selected on the Agents entry screen > Details tab.
loginAgent login is present on the agent entry details tab. This is used as the username in the agent portal.
Agent PasswordThe agent admin password is present on the agent entry details tab. This is used as the password in the agent portal.
Vendor CodeVendor Code of the Agent.
Purchase Order AmountIt will show you the Purchase Order Amount selected on the Agents entry screen > Details tab
ActiveIt will show you Y if the agent is active and N if the agent is inactive.
CampusIf the Agent is linked to more than one campus then this column will show you all linked campuses as comma separated. And if all campuses are linked to the agent then the system will show you “All” in the column.
Pre-deducted CommissionIf the Pre-deducted Commission tick is selected for the Agent on the agent entry screen > details screen then it will show you Y otherwise It will show you N.
Charge GSTIf the Charge GST tick box is selected on the Agent Entry screen then it will show you Y otherwise it will show you N.
Phone #Agent’s Phone number.
Mobile #Agent’s Mobile number.
Fax #Agent’s Fax number.
Email AddressThis column will show all the Email Addresses as comma separated i.e primary email, secondary, and additional email addresses.
Web AddressWebsite address of the Agent.
Local AddressThe local Address of the Agent added on the Agent Entry screen > Local Address Tab.
Mailing AddressThe Mailing Address of the Agent added on the Agent Entry screen > Local Address Tab.
CountryCountry of the Agent.
ContactThis column will show you the contacts added in the burger menu on the agent entry screen.
Email AddressEmail Address of the Agent
ABNABN details added on the Agent Entry screen.
Total StudentsTotal Students linked to the agent.
Total EnrolmentsTotal Enrolments linked to the agent.
Acct ManagerAccount Manager linked to the agent on the agent entry screen.
RegionRegion of the Agent.
Agent IDThis is a system-generated field

Agent Details Report Filters

Below are the filters and their explanation for the Attendance Hours Report.

General FiltersExplanations
PrintThis label has three Radio Buttons:

Show All – if you select this radio button the system will show you all the active and inactive agents in the system.

Show Active only – This will show you only the Active agents.

Show Inactive Only – This will show you only the inactive agents.
Print Based onThis label has two radio buttons:

Agent – By default, the Agent radio button is selected and if you want to print the report based on the agent name then you can select the agent name in the magic search field.

Agent Type – If you wish to print the report based on the Agent Type then you can select the agent type from the drop-down. (Agent Type is a user code and you can create the agent type from the User Code screen.
Account Manager NameThis is a magic search field and you can select multiple account managers in this field.
CampusYou can select multiple campuses from the dropdown.
CountryIf you select any country or countries from the dropdown then the system will pull out the agents that are linked to the selected country or countries
Exclude UnsubscribeThis filter will exclude all the agents that have unsubscribed tick box selected on the agent entry screen > Contact Information Tab.
Only Display Default ContactsThe system will display all the agents with their primary contacts only. It will exclude all the contacts who are not selected as primary contacts for those agents.
Group ByGroup by is used to group the report according to Group by selected for example Country, Agent Type, Commission Paid etc.
Sort BySort by is used to sort the report according to Sort by selected for example County, Agent Name, Agent Type etc.
Asc/DscSelect the Ascending or Descending radio button.

Select the “Print” Icon  to generate the report. After clicking on it, the system will direct you towards the report dashboard screen. You can see the report status over there if it’s generated or not. Once it’s generated, download the report.

Attendance Hours Report Data Columns

Below is the list of the columns and their explanations for the report.

ColumnsExplanation
Student NoStudent Number generated by TEAMS
Student NameStudent (First name)(Middle name)(Last name).
Enrolment NoEnrolment Number generated by TEAMS.
Program CodeProgram Code under which the student is enrolled.
Program NameProgram Name under which the student is enrolled.
CampusThe system will show you the campus of the student.
Start DateStart date of the enrolment.
End DateEnd date of the enrolment.
Enrolment TypeThis is the enrolment type selected on the edit enrolment screen.
TimetableThe system will show the current timetable allocated to the enrolment.
Attendance TimeThe system will show you the total attended hours of the student within the selected date range.
Absence TimeThe system will show you the total absent hours of the student within the selected date range.

Attendance Hours Report Filters

Below are the filters and their explanations for the Attendance Hours Report.

General FiltersExplanations
Report Start DateSelect the Start Date from where you want to start calculating the attendance for the enrolment
Report End DateSelect the Date when you want to finish calculating the attendance for the enrolment.
Enrolments to includeIt let you choose current enrolments or finished enrolments. (By default both the tick boxes will be ticked). You can select/unselect as you required.
CampusIf you have multiple campuses then this dropdown will show more than one campus. You can select the campus/es as you need.
ProgramThis is a magic search and multi-select field and you can search for multiple Programs by typing the Program Code.
Sort BySort by is used to group students in the report according to the selected option in Sort by for e.g – Student No & Enrolment No, Program and Student Name.
Asc/DescSelect the Ascending or Descending radio button.

Select the “Print” Icon to generate the report. After selecting it, the system will direct you to the report dashboard screen. You can see the report status over there if it’s generated or not. Once it’s generated, download the report.

Attendance Hours Report

Main Dashboard > Compliance Menu > Attendance Hours Report

We have added a new report Attendance Hours Report under the Compliance Menu. This report will show you the Attended and Absent hours for each enrolment of the student for a selected period.

To know more about the Filters/Parameters, Columns, and explanations, please select the below links.

Attendance Hours Report Filters

Attendance Hours Report Data Columns

Agents Merge Fields

Merge FieldsObjectsExplanation
{Agent Code}
{Agent Name}
{Agent Phone Number}
{Agent Mobile Number}
{Agent Fax Number}
{Agent Email Address}
{Agent Legal Name}
{Agent ABN}
{Agent Default Commission}
{Agent Vendor Code}
{Purchase Order Number}
{Purchase Order Amount}

Application/Enrolment Merge Fields

Merge FieldsObjectsExplanation
{Orientation Date}
{Enrolment Start Date}Enrolment’s Start Date
{Enrolment End Date}Enrolment’s End Date
{Enrolment Finished}Enrolment’s Finish Date
{Enrolment Started}This field will show you Started
{Enrolment Outcome}
{Enrolment Duration}The system will show you the total number of the Enrolment week i.e. the sum of study and academic holiday weeks
{Enrolment Study Weeks}
{Program Name}
{Enrolment Number}
{Program Code}This field will show you the Program Code updated on the program entry screen
{Program Descriptive Code}This field will show you Program Descriptive code updated on the profram entry screen
{Enrolment Type}
{Program Descriptive Name}This field will show you the Program code updated on the Program entry screen
{Program CRICOS Name}
{Intake}
{Campus Name}
{External Package Name}
{External Package Start Date}
{Internal Package Name}
{CoE No}
{CoE Start Date}
{CoE End Date}