AVETMISS
How to do Machine credentials
The Keystore file can be downloaded upon completion of machine credentials. The person with the My Gov ID access must do the Machine credentials. To initiate the machine credentials, please follow the steps outlined below:
Navigate to – https://info.authorisationmanager.gov.au/
- Click on Login with My GovID.
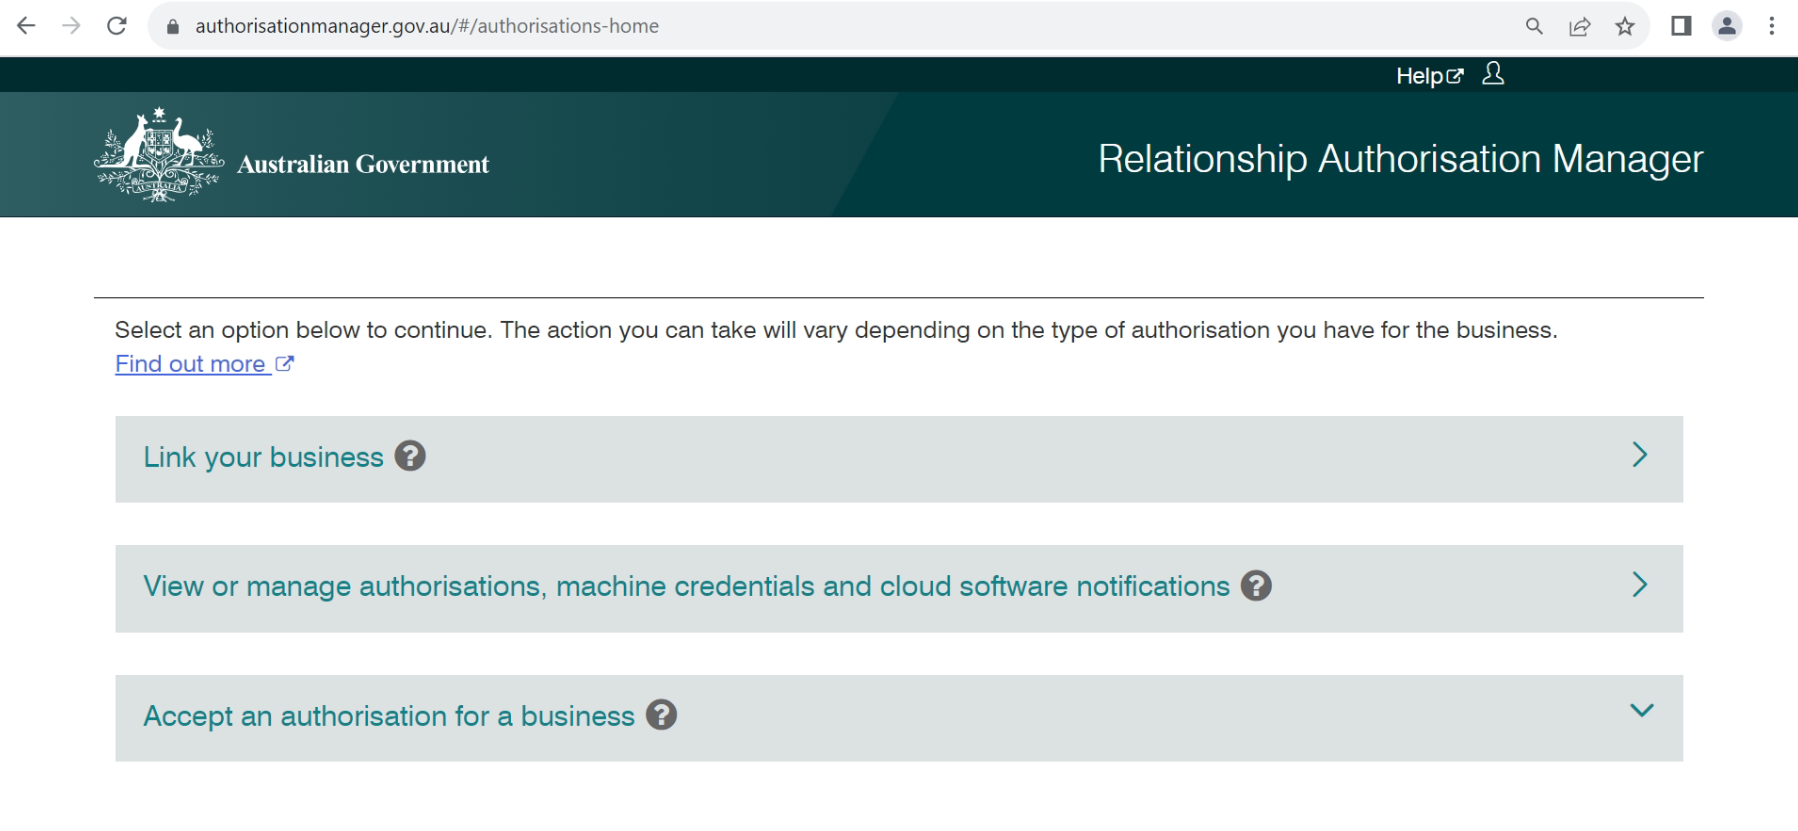
2. Once you log in to the RAM (Relationship Authorisation Manager), click on the “View or Manage authorisation, machine credentials and cloud software notification“.
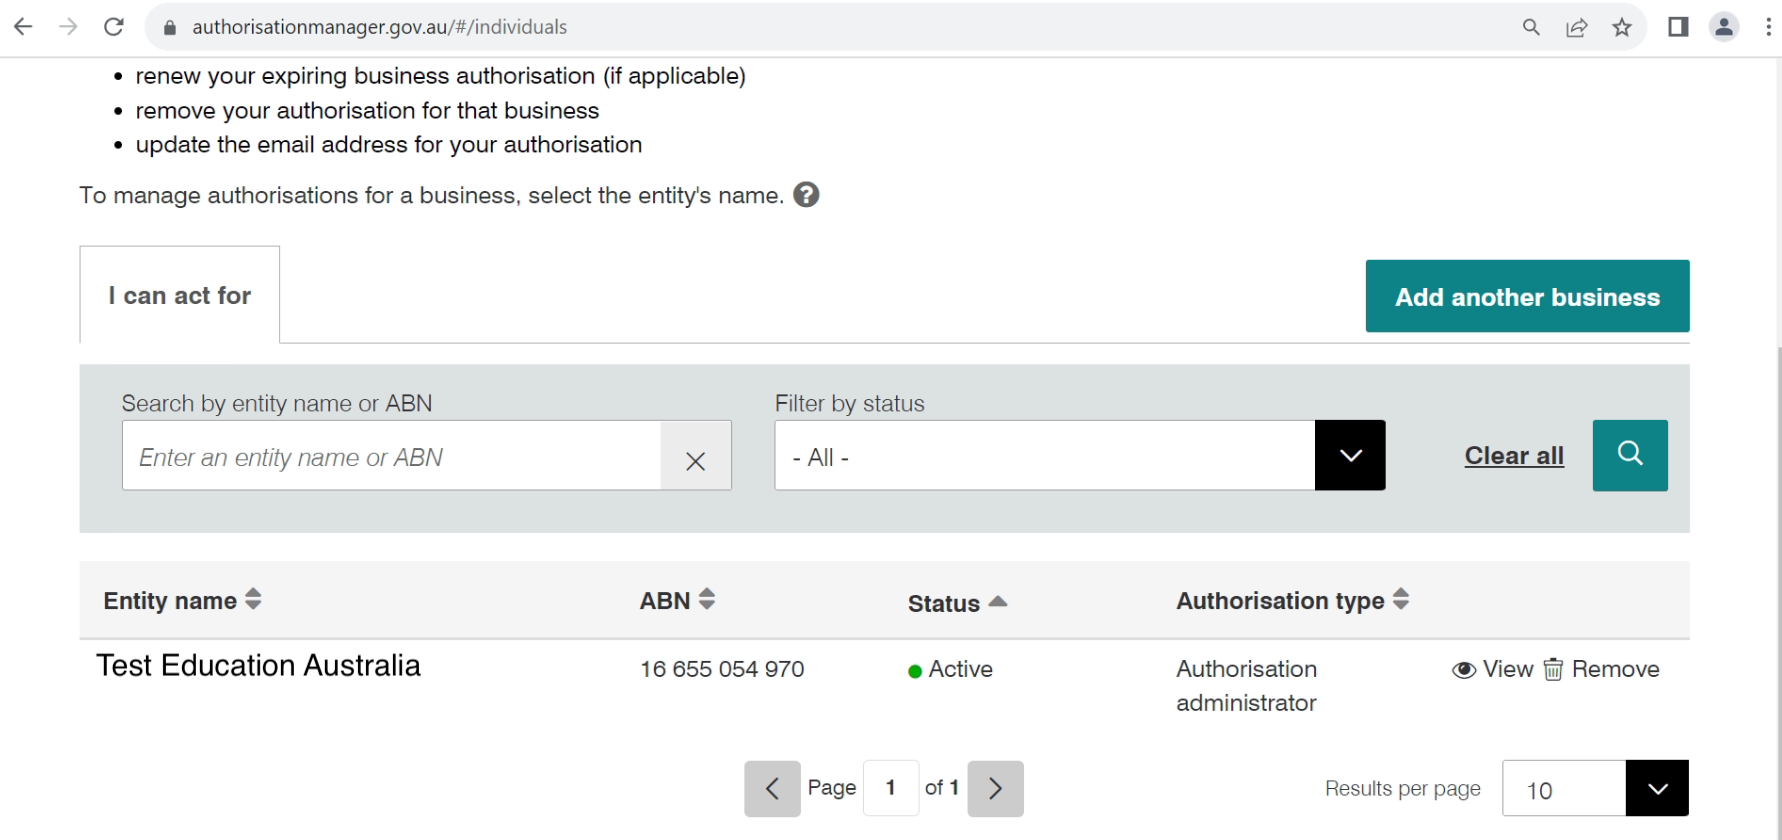
3. Select your Institute entity from the grid.
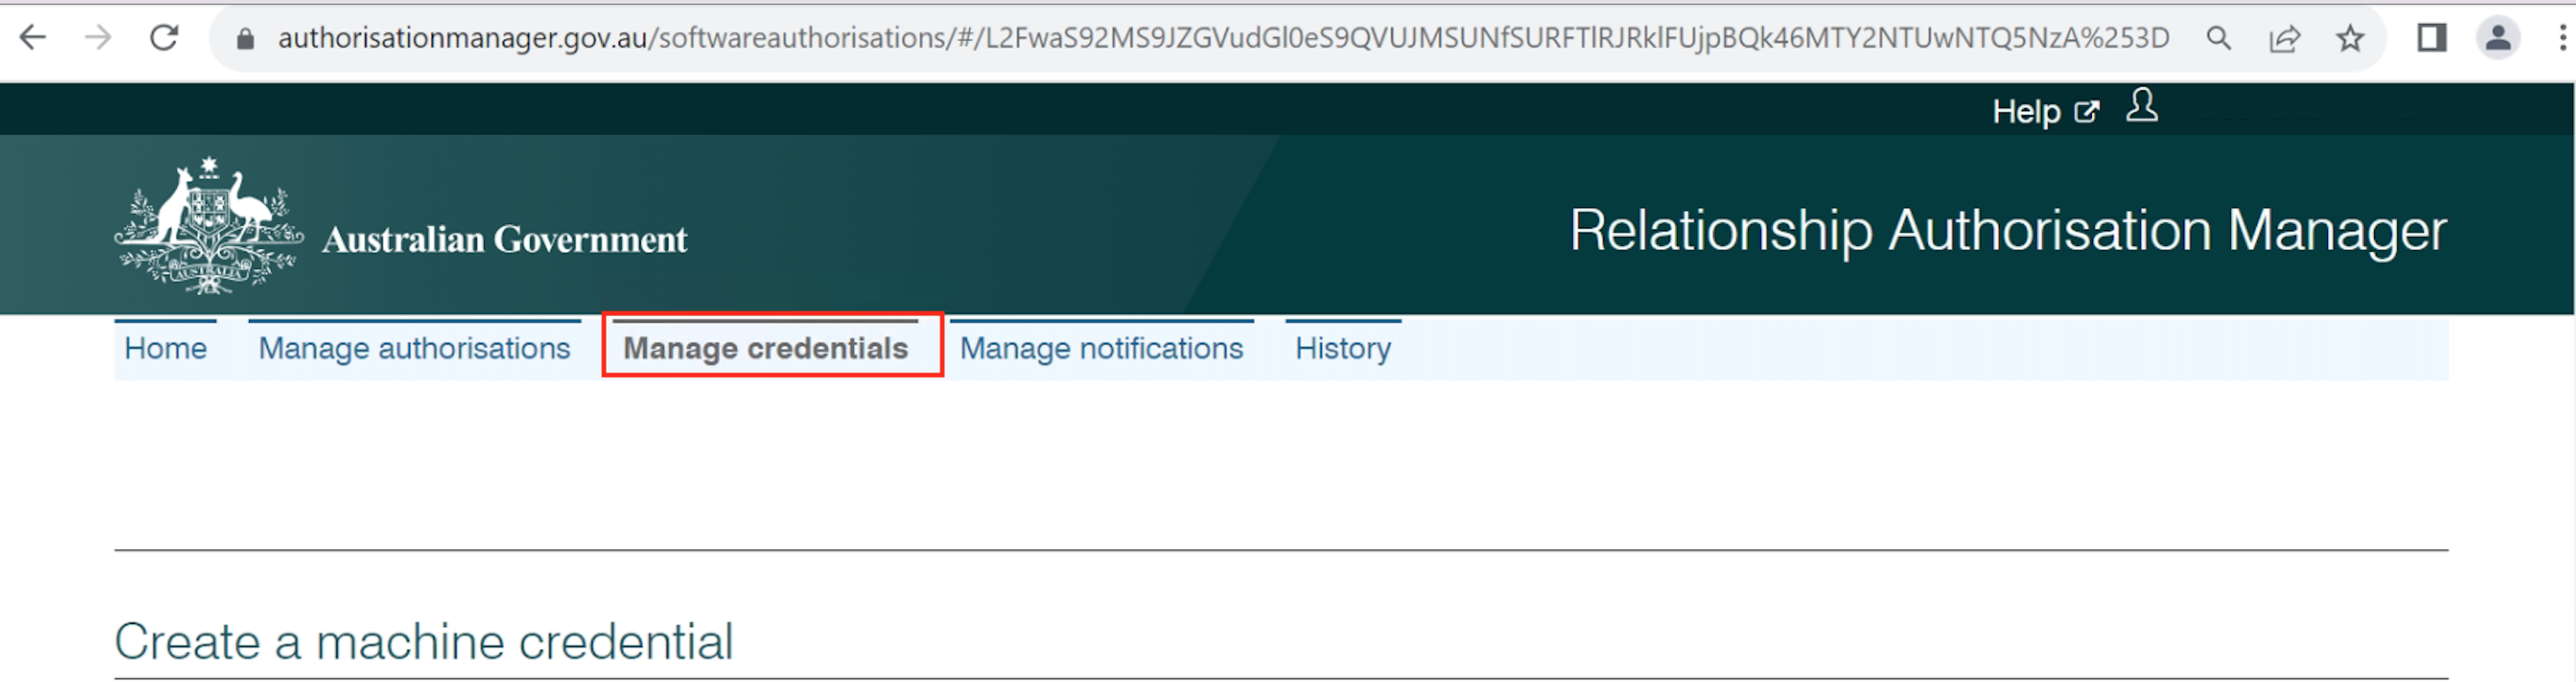
4. Click on the “Manage Credentials” menu from the top of the screen.
5. Click on the “Machine Credentials download” link.
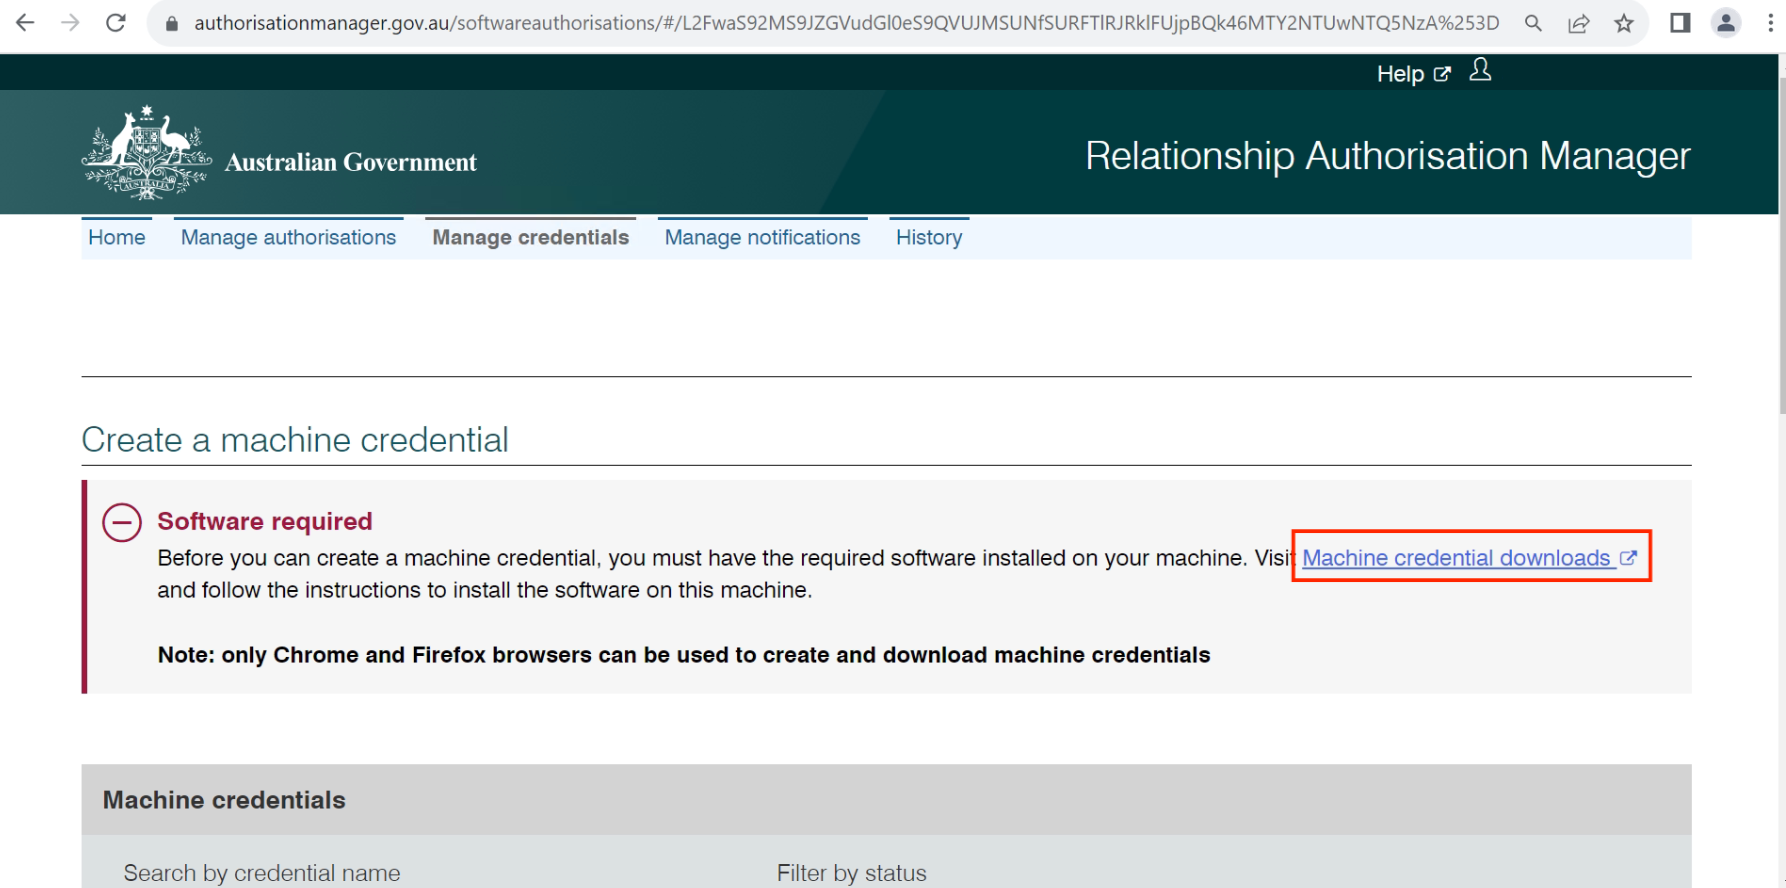
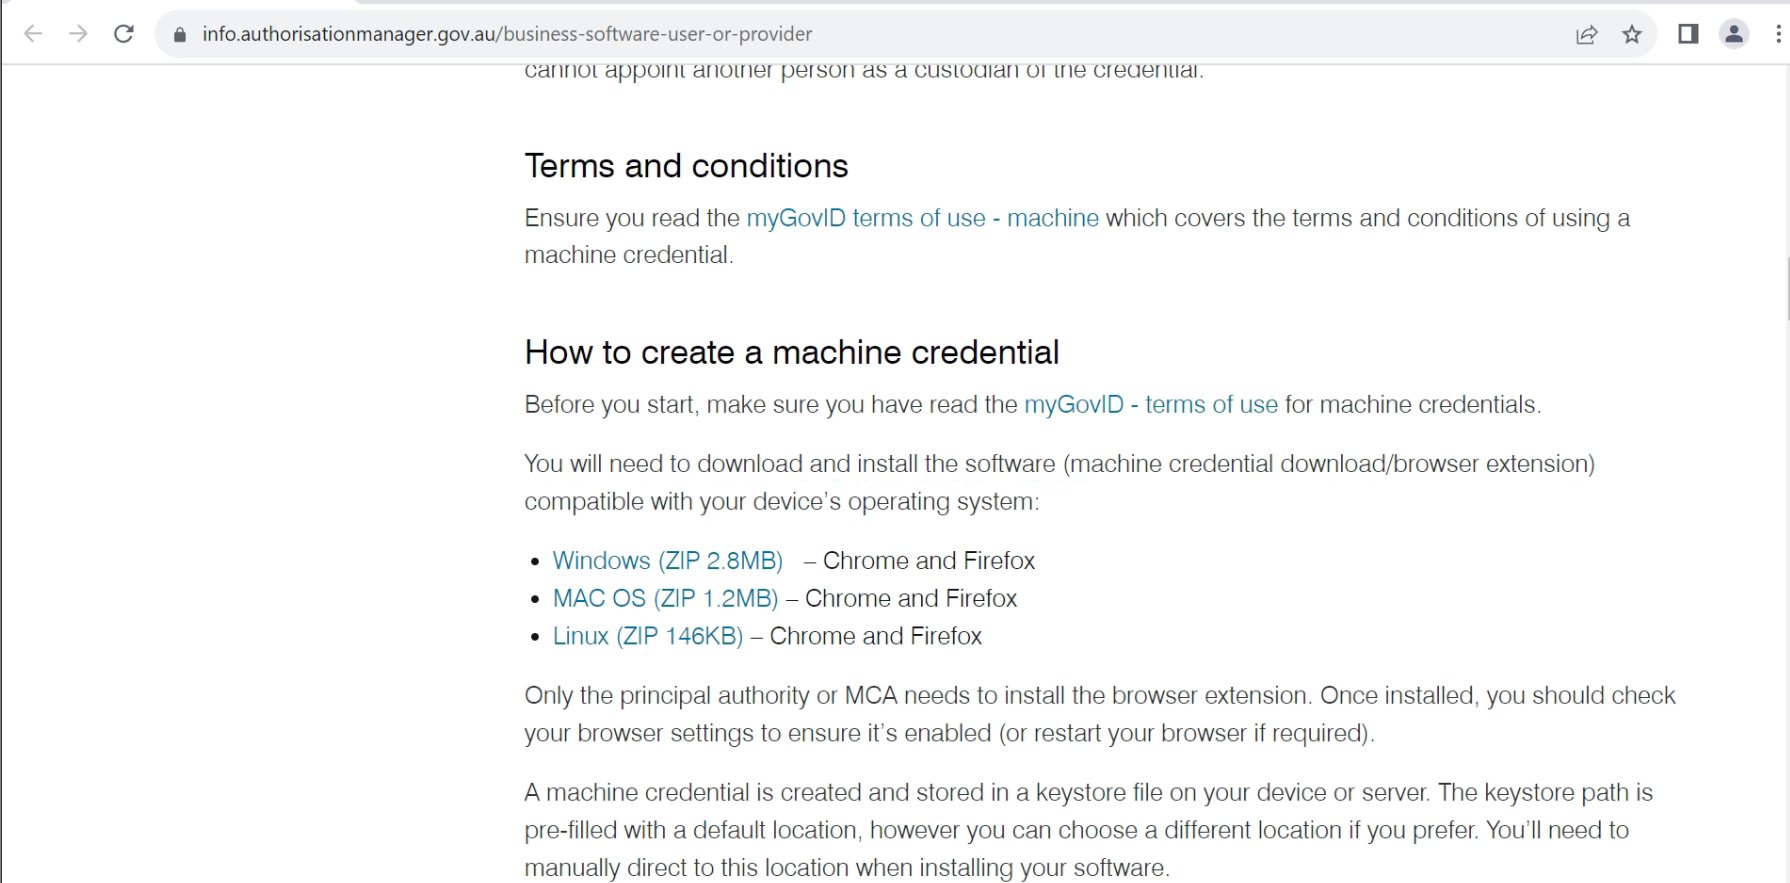
6. Click on the compatible device operating system to download the credentials.
7. Installing the Downloaded credential.
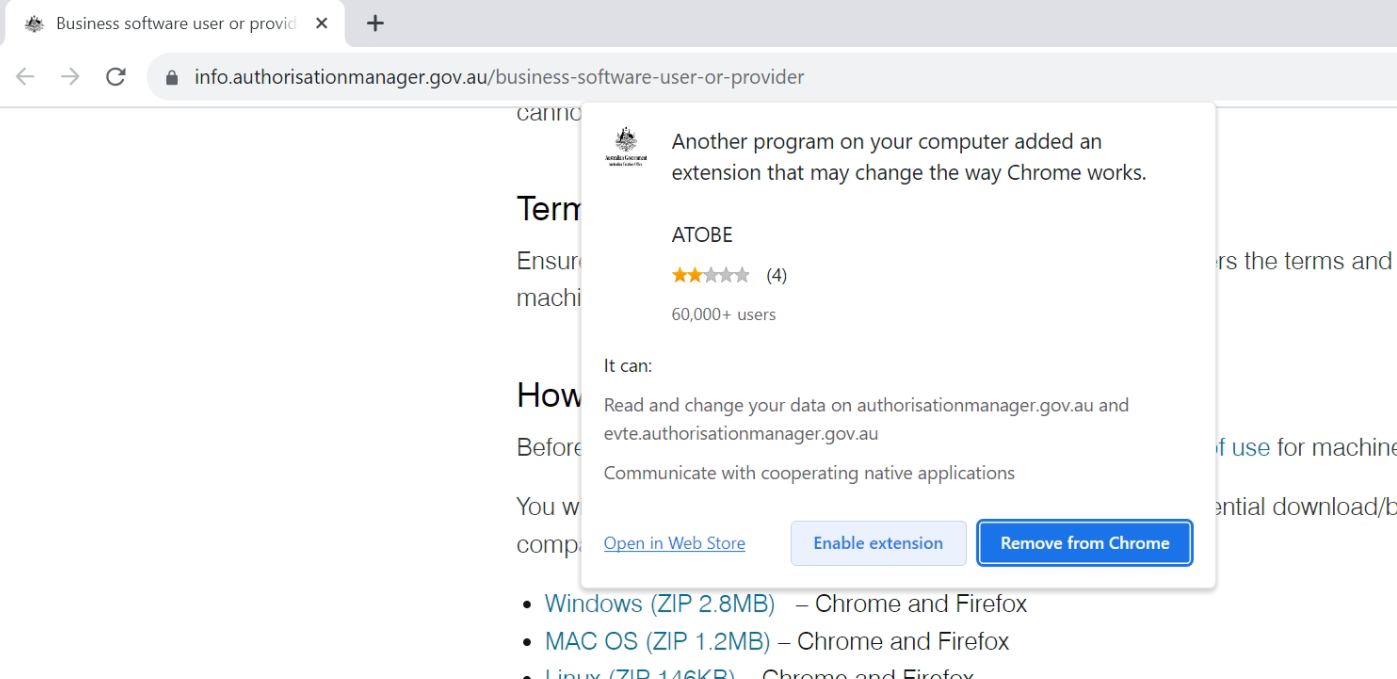
8. Once the credential is installed move back to the same browser and there will be a popup on your screen for the extension of ATOBE, click on Enable extension.
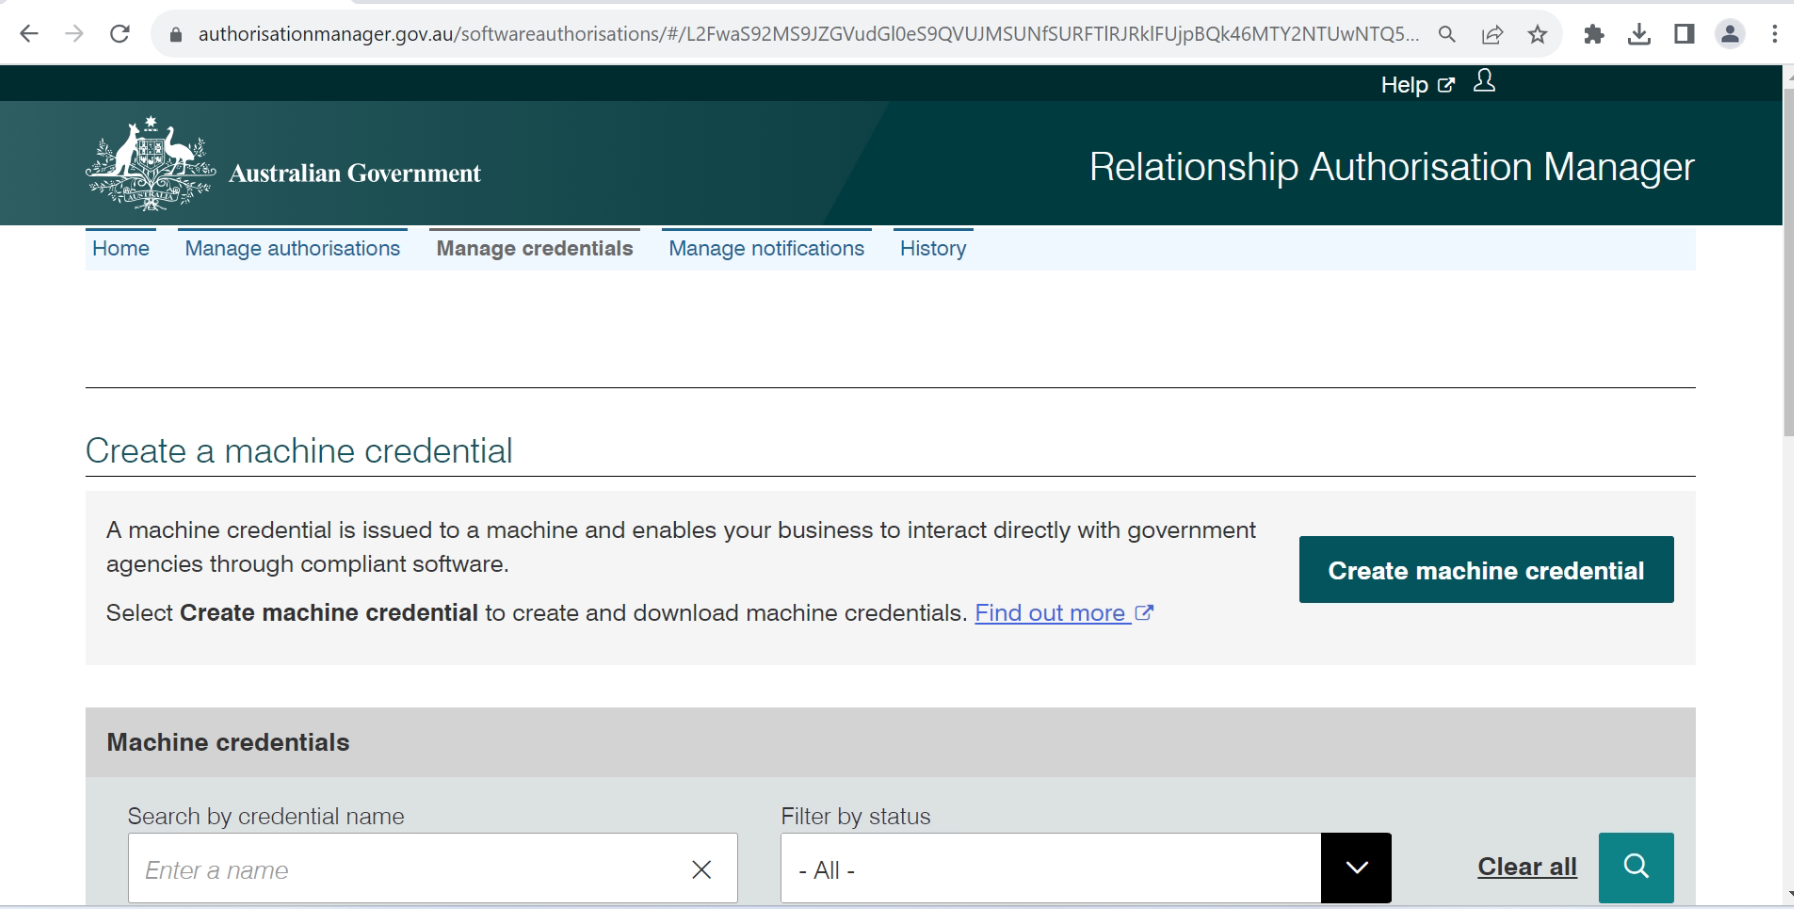
9. Once you enable the extension, please reload the screen and go to the “Manage credential” menu and there you will find that the Machine Credentials download link has been changed into a Create machine credential button.
10. Click on the Create Machine Credentials.
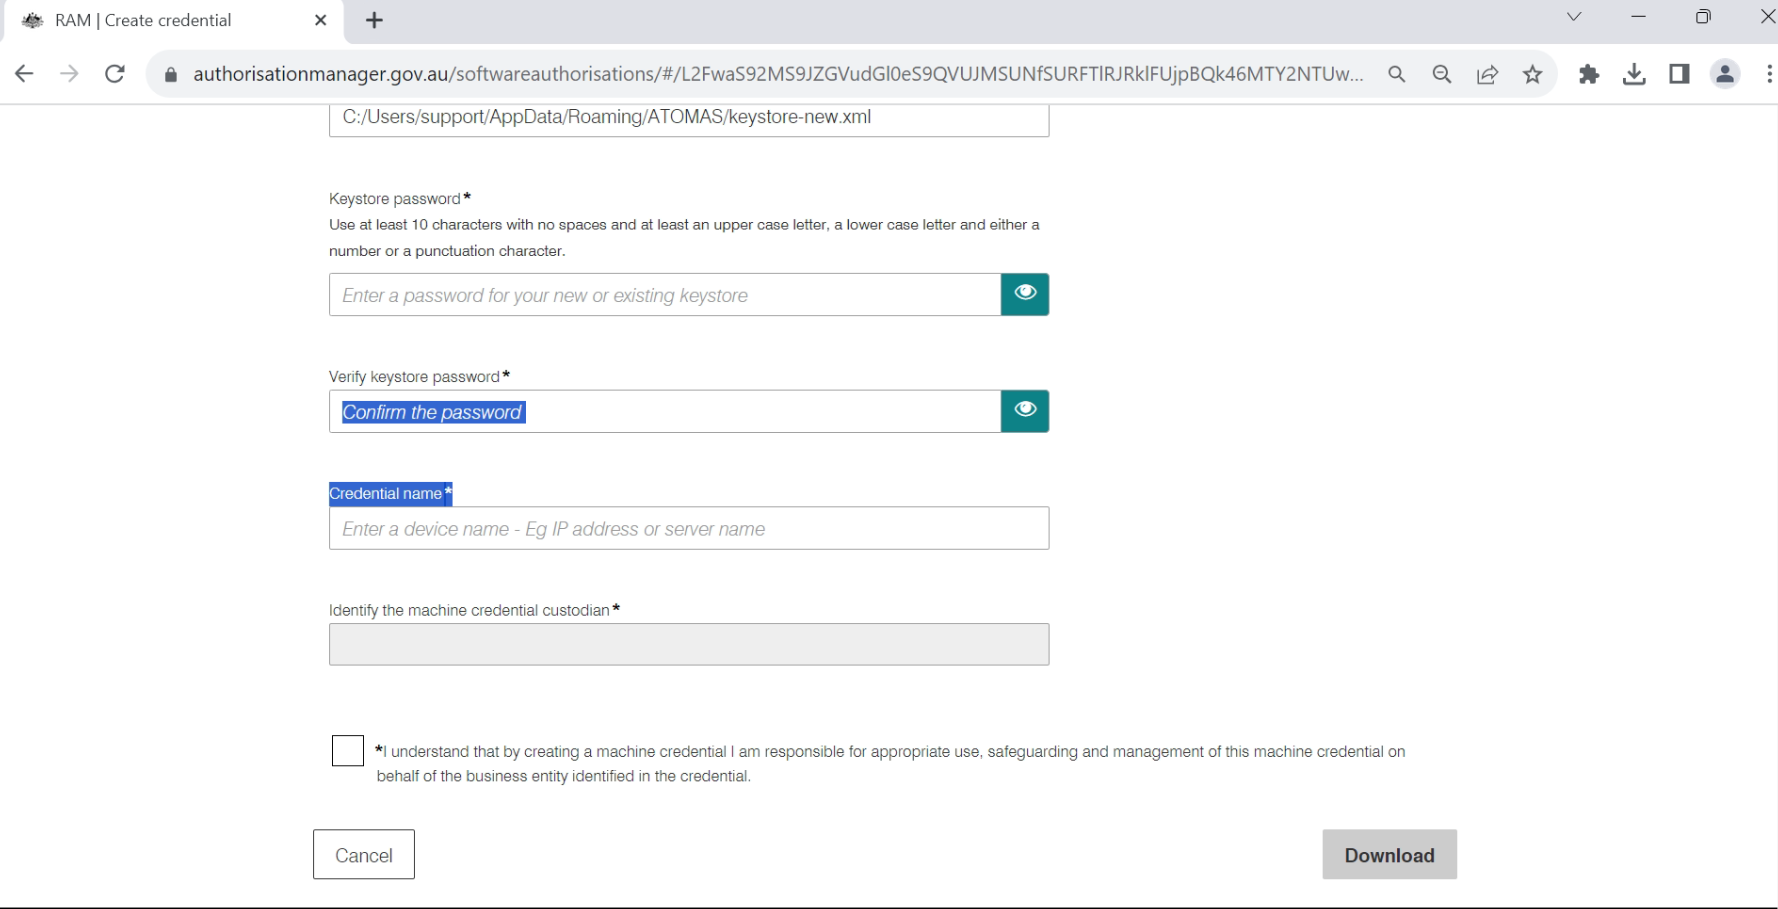
11. On the next step enter a password (which you have to share with TEAMS support), password instructions are given just before the password field.
Under the credential Name field enter the abbreviation of your college name for ex – PNP, ARB, ITI. (Contact TEAMS support if required)
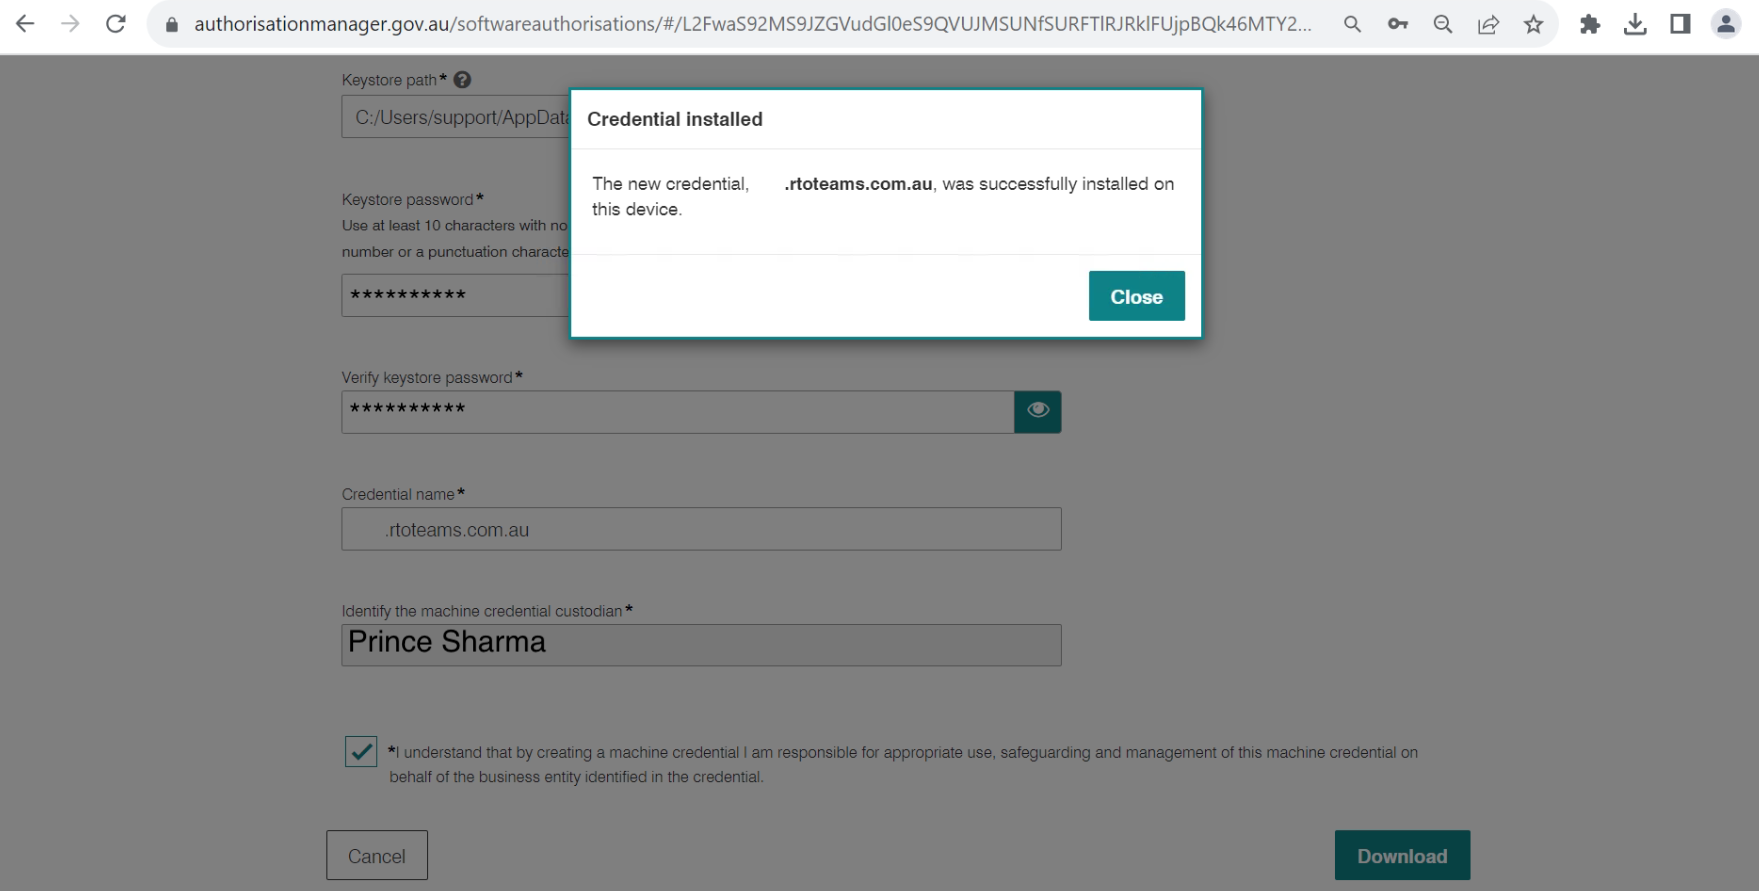
12. Select the tick box (*I understand that by creating…..) and click on the “Download” button.
13. Upon clicking on the Download button the system will download the file on your system.
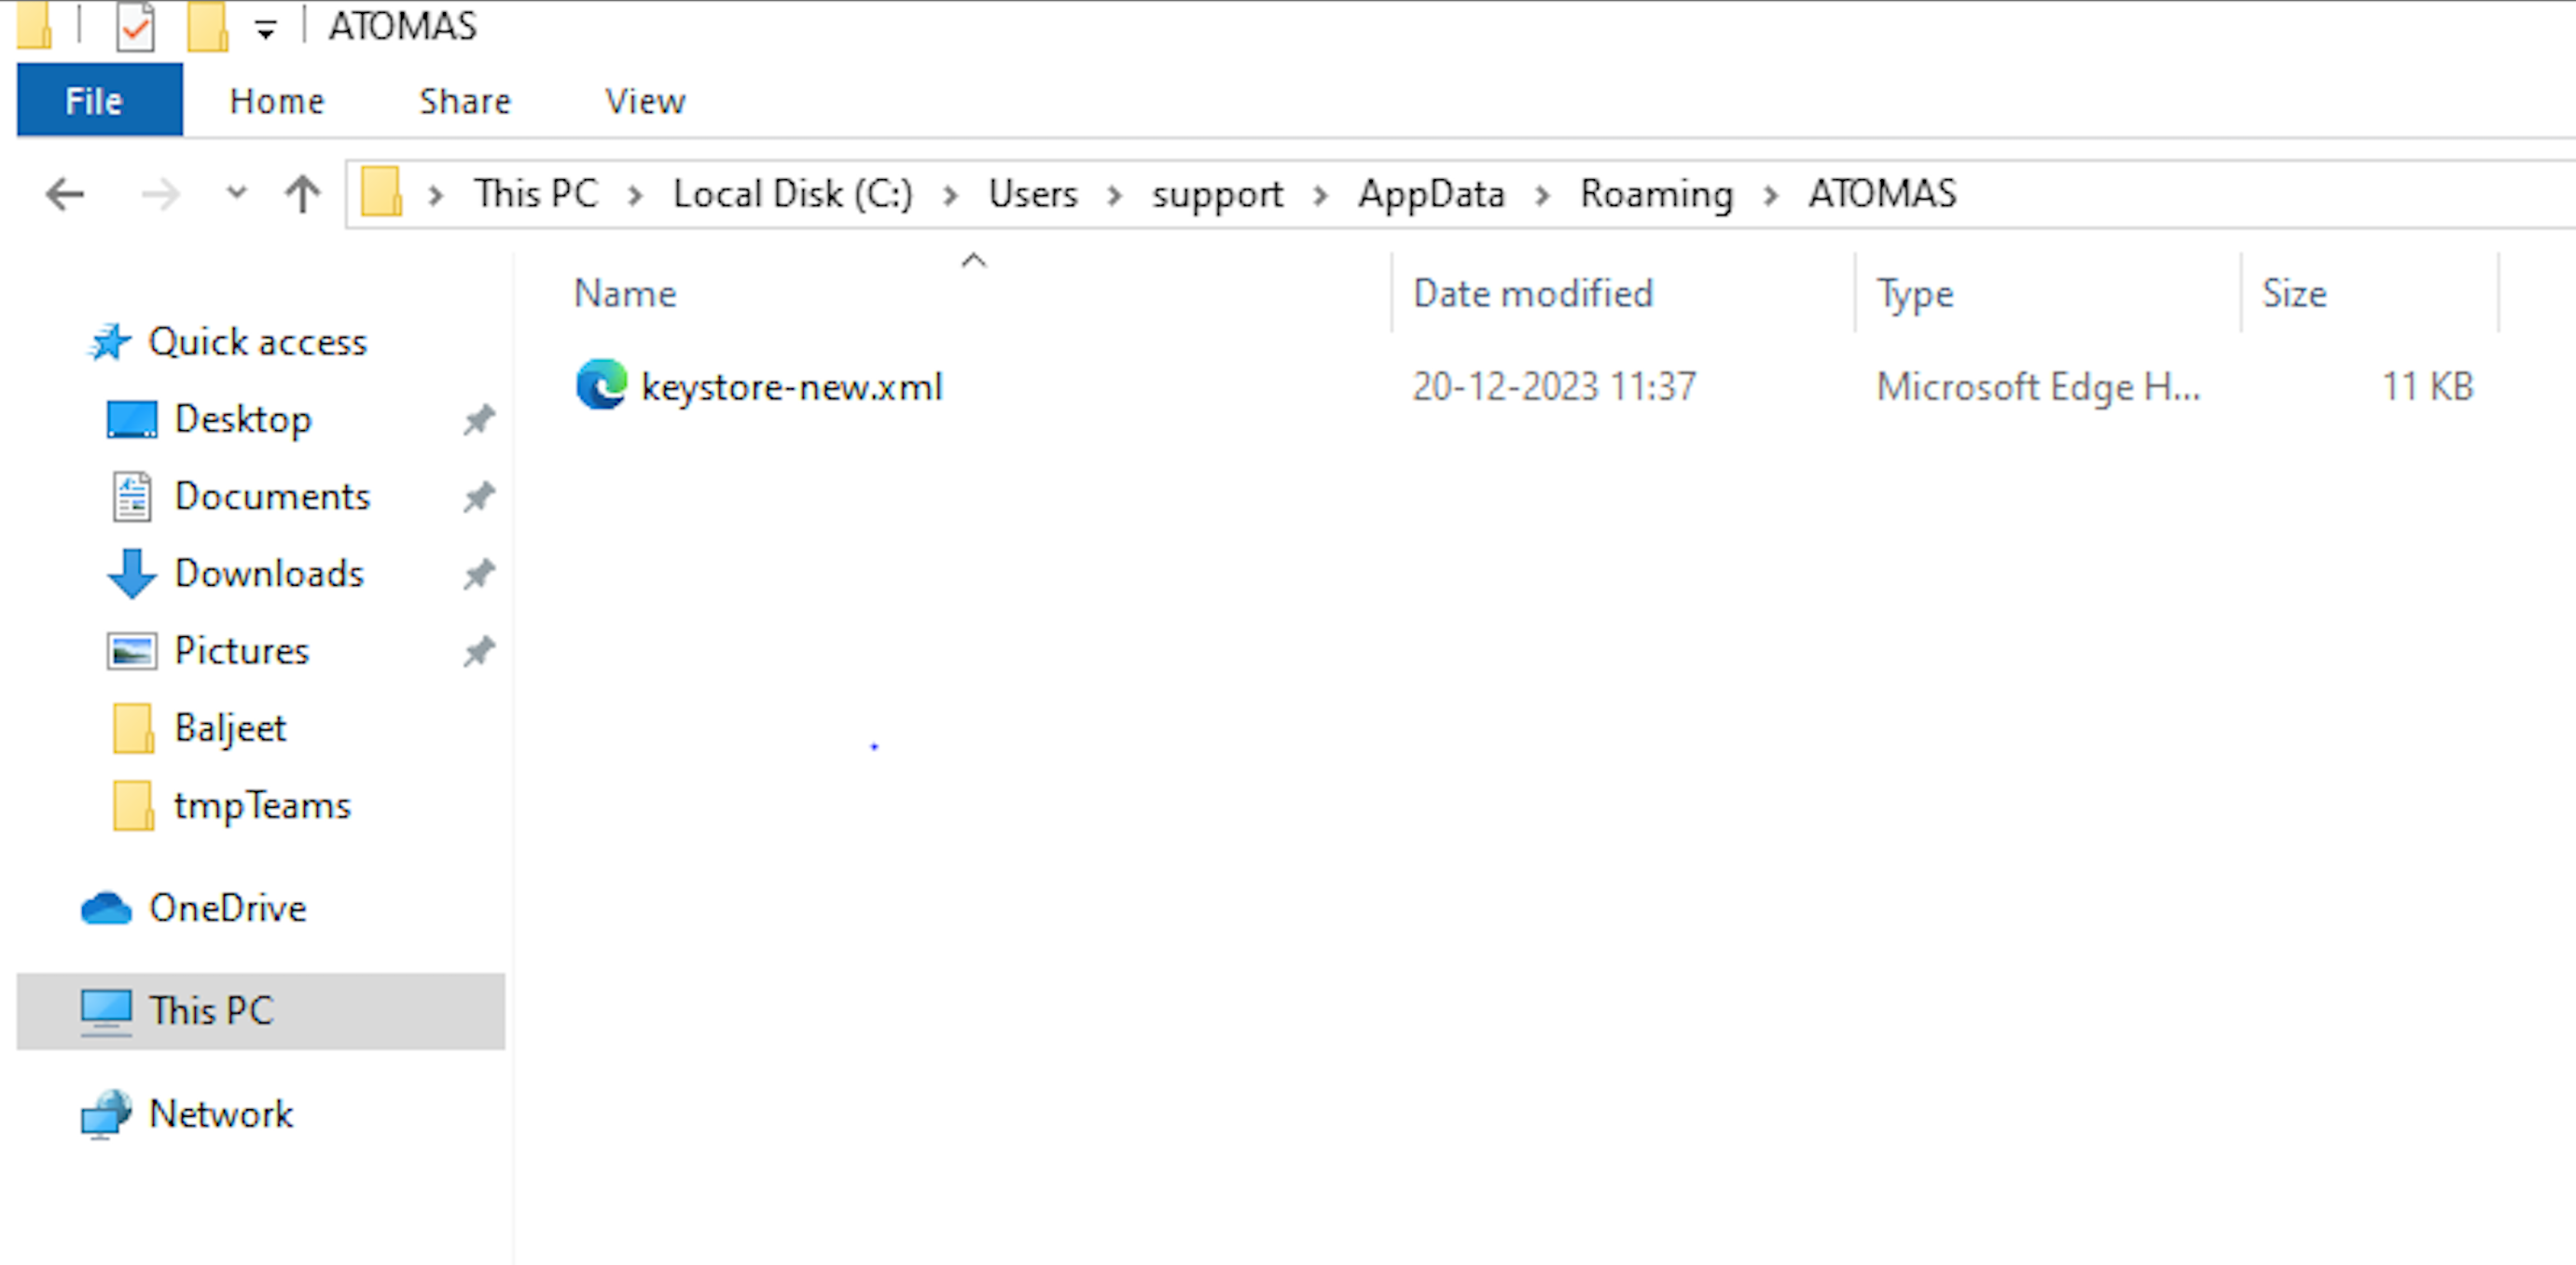
14. Open my computer and enter the below link in the link area to locate the downloaded file:
C:/Users/support/AppDate/Roaming/ATOMAS
There will be a file with the name “Keystore-New“, this is the file that you have to share with TEAMS support along with the password that you had set at step 12.
For more information please contact TEAMS support at support@rtosoftware.com.au or 1300 85 05 85.
Compliance Dashboard – Troubleshoot and fix AVETMISS errors
In TEAMS, if you are looking to fix AVETMISS errors, the Compliance Dashboard serves as the primary interface for addressing these errors during the submission process. It can be found under the Compliance menu.
Certain errors, such as those occurring at the program or subject level can lead to the error being duplicated many times. These errors can be fixed in bulk, which may be fairly quick and easy. In some other cases, when errors relate to an individual student or enrolment, they need to be fixed individually either from the Compliance Dashboard or other screens, such as the Student and Enrolment dashboards.
By following the links below, a user will be able to rectify certain errors in bulk:
This tile will show you the count of programs whose AVETMISS details are missing.
The correct national program code is mandatory in AVETMISS submission.
The correct national Program name is mandatory in the AVETMISS submission.
This tile will show you the count of subjects whose AVETMISS details are missing.
The correct national subject code is mandatory in AVETMISS submission.
The correct national subject name is mandatory in AVETMISS submission.
This tile will show you the count of students whose AVETMISS details are missing.
The AVETMISS tickbox should be ticked to report students in the submission.
Survey status is mandatory to select in submission. This can be updated in bulk from the compliance dashboard.
Complete student address is mandatory while AVETMISS submission.
You need to update the USI number of each student in the list as it is necessary to update before AVETMISS submission.
This is a list of students whose USI is not verified due to a certain reason.
This link will provide you with a list of students whose DOBs are not updated. It is mandatory to update the student’s DOB.
This tile will show you the count of programs whose AVETMISS details are missing.
It will provide you with a list of enrolments whose results are overdue and the end date of the subject has been passed.
If a student is overseas (onshore/offshore) then enrolment has to be flagged as overseas.
Enrolments with funding source National missing are listed, which needs to be updated before submission.
This list will provide you with the list of enrolments that are not flagged as included in national export.
This list will provide you with the list of students whose training location is missing.
This tile will show you the count of enrolments whose subject dates, results and delivery modes are incorrect.
If the enrolment is finished, then all the subjects should have the results against them.
The correct delivery mode should be updated for competent results as these are mandatory in AVETMISS submission.
Subject start/end date should be updated before submitting data to NCVER.
As we mentioned, you can also fix the errors for specific/individual students and enrolment by following the links below.
Student Level errors
Errors
Students are missing from NAT files
Incomplete address
Survey Contact Status missing
Overseas Enrolment
Student Level errors
Delivery Mode/Pre-Dominant Identifiers is missing
NCVER AVETMISS Student Data Submissions – Classic TEAMS Step 6
Program Data
The Program data is exported into NAT00030 NAT File. This will list all the Programs that are listed in the NAT00120 for the students studying in 2022.
IMPORTANT – This is where you can get hundreds, sometimes thousands of errors (based on the number of enrolments in a course that are listed in the NAT00120) when you do not setup your course in TEAMS with the correct AVETMISS settings. For each student listed in the NAT00120 with a specific course (where there is a setting that is wrong/missing) that is how many times you will get the same error. So once you fix/add the correct setting for the course in TEAMS those specific errors will disappear for those hundreds or thousands of rows in your next export and submission. The logic is fix in one spot and it will fix many rows of data in the NAT00120.
For example – you have Course 1 that has 3 different errors as it is missing 3 different AVETMISS settings in TEAMS. For that course in the NAT00120 you have 400 students listed, this means each setting is a different error so you will have 400 rows of errors for one setting and for all 3 settings you will have 1200 rows of errors. BUT once you go to that course in TEAMS and add those 3 settings and do your next export and submission all 1200 rows of errors will not be there. This is a general rule but is NOT always the case.
To update the descriptive code and name of the qualification, you nee to go to TEAMS > Setup > Academic > Course.
Please note – To update the Qualification Descriptive Name in TEAMS, you need to speak to our support team. You can reach via support@rtosoftware.com.au or call us on 1300 85 05 85.