This icon will display the name of the account manager. If you want to change the account manager then you can change it by clicking on the icon itself. This will open a popup window where you can enter the first two letters of the account manager and it will display all the account managers starting with those letters. Select the appropriate account manager and select the update button.
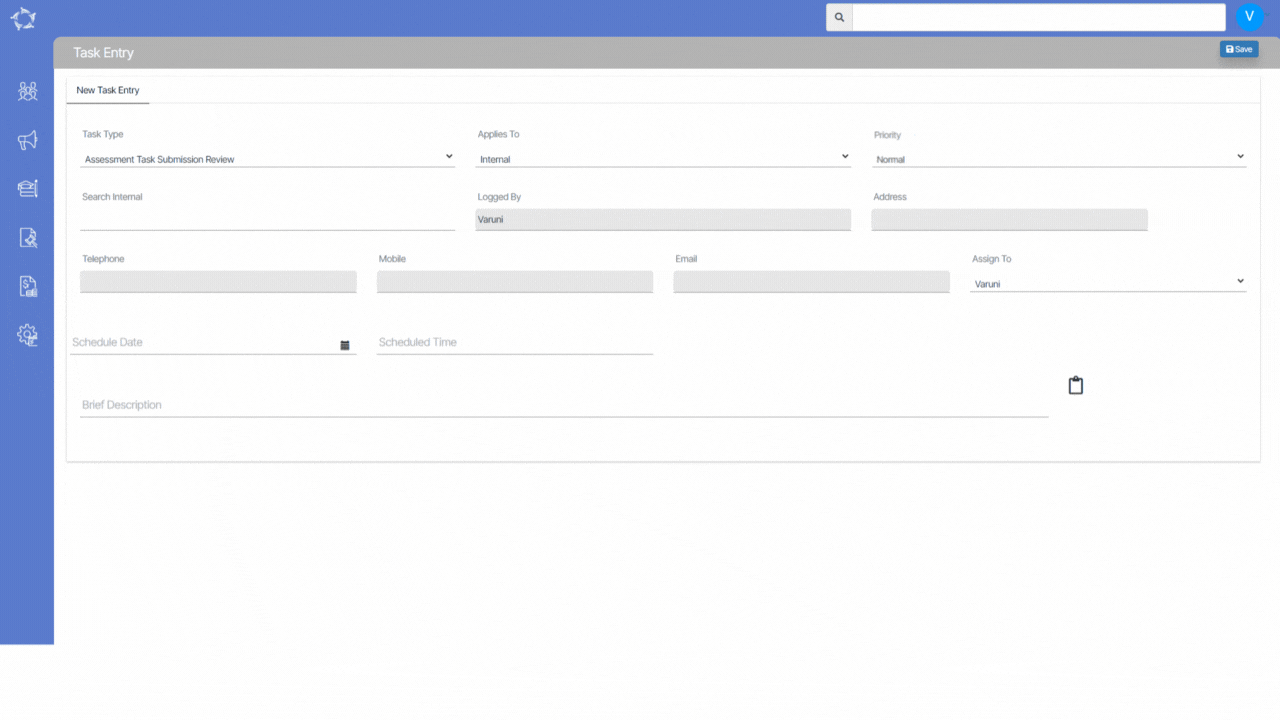
The Task Entry screen is a feature that enables you to add new tasks or edit the existing tasks for any object within the system. It serves as a convenient interface where you can input relevant information and details about the task you wish to create. Along with basic task attributes such as Task Type, Description, and Schedule date and time, the task entry screen provides additional functionalities.
One of the key features of the Task Entry screen is the ability to set task recurrence. You can specify if a task should repeat on a regular basis, such as daily, weekly, monthly, or annually. This recurring option helps in managing repetitive tasks more efficiently, reducing the need for manual task creation each time.
Note – The Recurrences button will only appear on the screen when you have selected the required new tasks details and saved the screen. When you select the Task Recurrence button, it will open a pop window on your screen. To know more about the pop window, please select Set Recurrences.
Furthermore, the screen allows you to attach documents to the newly created tasks. This feature facilitates the association of relevant files with the task. You can upload documents from your local devices or select existing files from the system’s storage. By attaching documents, you can provide additional context, references, or resources that are essential for completing the task.
Below is the table that will explain the fields and their usage.
Fields
Explanation
Task Type
Task Type is User Code in TEAMS and you can Select the required Task Type from dropdown.
Applies To
This will show you different objects such as internal, agent, Student, Enrolment etc. Depending upon your requirements you can select the object from the dropdown.
Priority
Select the priority of the task from dropdown. This will indicate whether the task’s priority is Normal, Low or High.
Search
When you select any object from the Applies To field then the search field will appear accordingly.
Logged By
This field will show you the User Name who is logging the task and will be read only field.
Address
If the User’s address is updated for their user in TEAMS on the User Entry Screen then it will populates here.
Telephone
If the User’s telephone is updated for their user in TEAMS on the User Entry Screen then it will populates here.
Mobile
If the User’s mobile is updated for their user in TEAMS on the User Entry Screen then it will populate here.
Email
If the User’s email is updated for their user in TEAMS on the User Entry Screen then it will populates here.
Assign To
This dropdown will show you the list of all the user’s in TEAMS and you can select and assign the task.
Schedule Date
Each task will have a schedule date assigned to it, indicating when it should start.
Schedule Time
Each task will have a schedule time assigned to it, indicating when it should start.
Brief Description
If you wish to add any description for the then you can update in this field.
Notes
If you wish to add any notes for this taskfor the then you can update it by selecting the Notes Icon
Attach Documents
Attach files button will allow you to attach documents to the task.
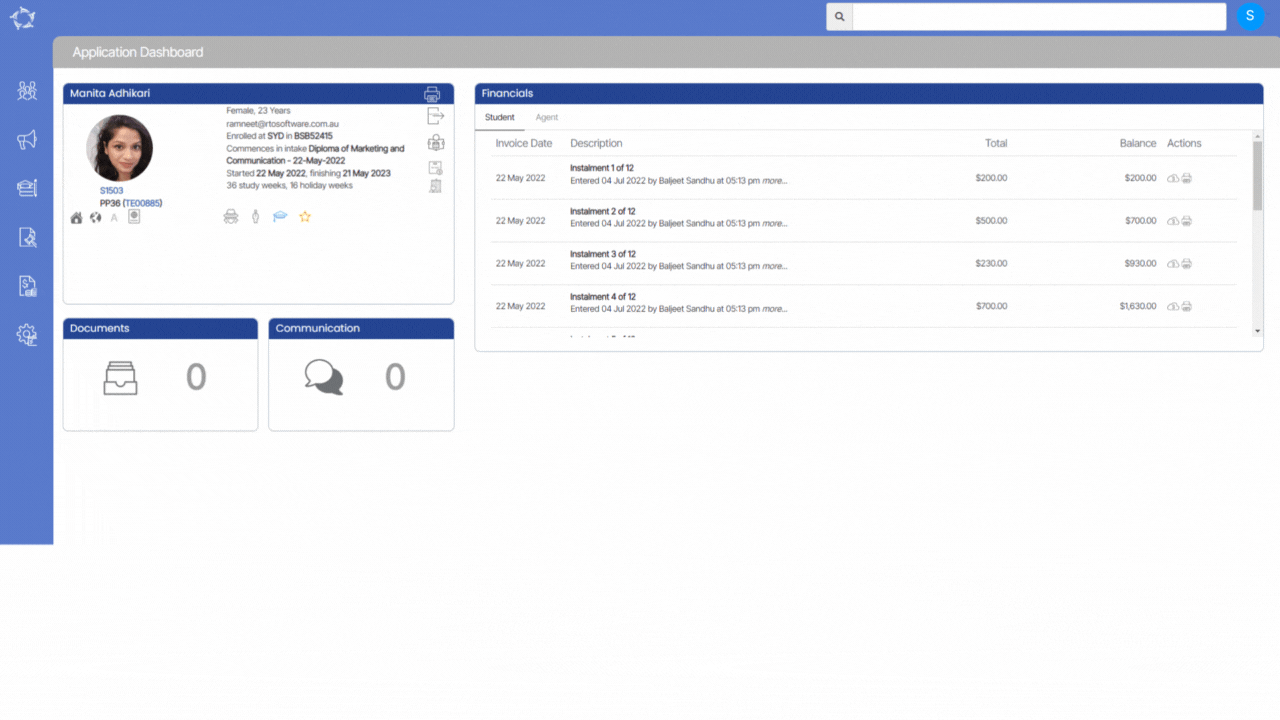
We have recently implemented user related restrictions to enhance the efficiency of our training process. As part of these changes, users who are linked to trainers will now experience restricted access to certain Dashboards and screens within the system.
With these restrictions in place, users linked to trainers will no longer have the ability to make changes to various Dashboards, including the Student Dashboard, Enrolment Dashboard, Applicant Dashboard, and Application Dashboard. Furthermore, they will be unable to edit or mark results on the Training Plan or Results screen for any enrolment. By granting trainers sole authority over these areas, we ensure the integrity and consistency of Training Plans and Results, while enabling trainers to provide personalised guidance and support to their assigned students.
This will empower trainers in overseeing the students’ progress effectively, while maintaining a structured and reliable framework for the training process. We believe that these enhancements will contribute to an improved training experience and foster an environment of personalised mentorship and support.
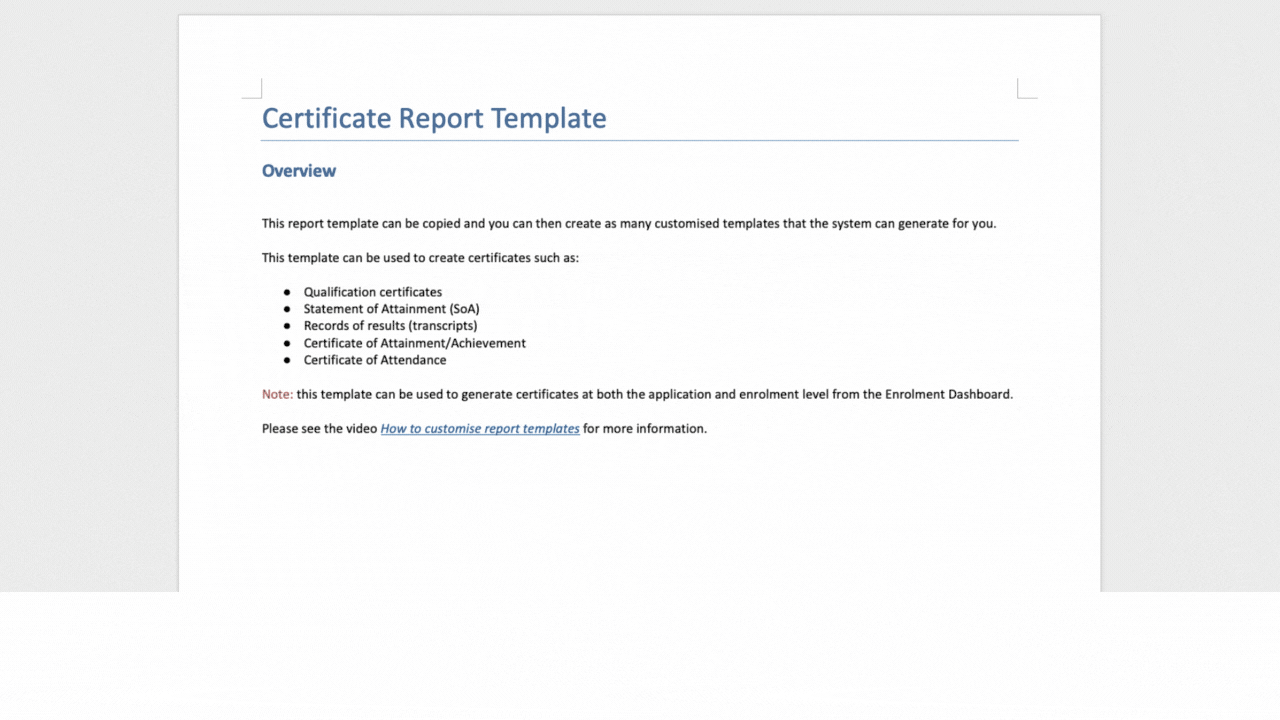
We have recently added a new merge field called Student passport number to the Certificate report word master template. This merge field is designed to incorporate and print the student’s passport number on the certificate.
To utilise this new feature, you can simply copy and paste the Student Passport Number merge field from the TEAMS Certificate Master template into your custom certificate word template. This will enable you to effortlessly include the student’s passport-related details on the certificates you generate through our system.
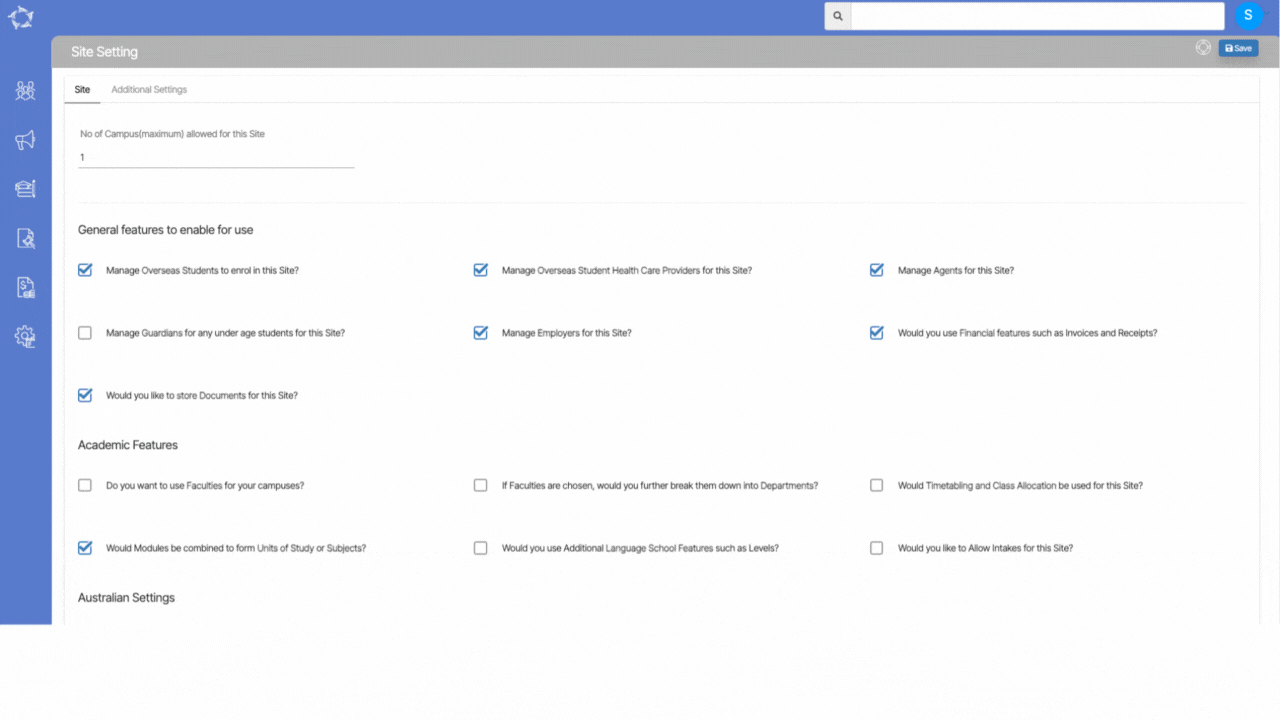
We have introduced a new system setting that aims to simplify the process of managing qualification information for your students. This system setting is added under the System Admin > Site Setting menu.
With this addition, you now have the ability to set a default Completed Qualification status for your students. Once a student’s application for enrolment is approved, the system will automatically select and assign the completed qualification status to the respective qualification information in the Training Plan and Results screen.
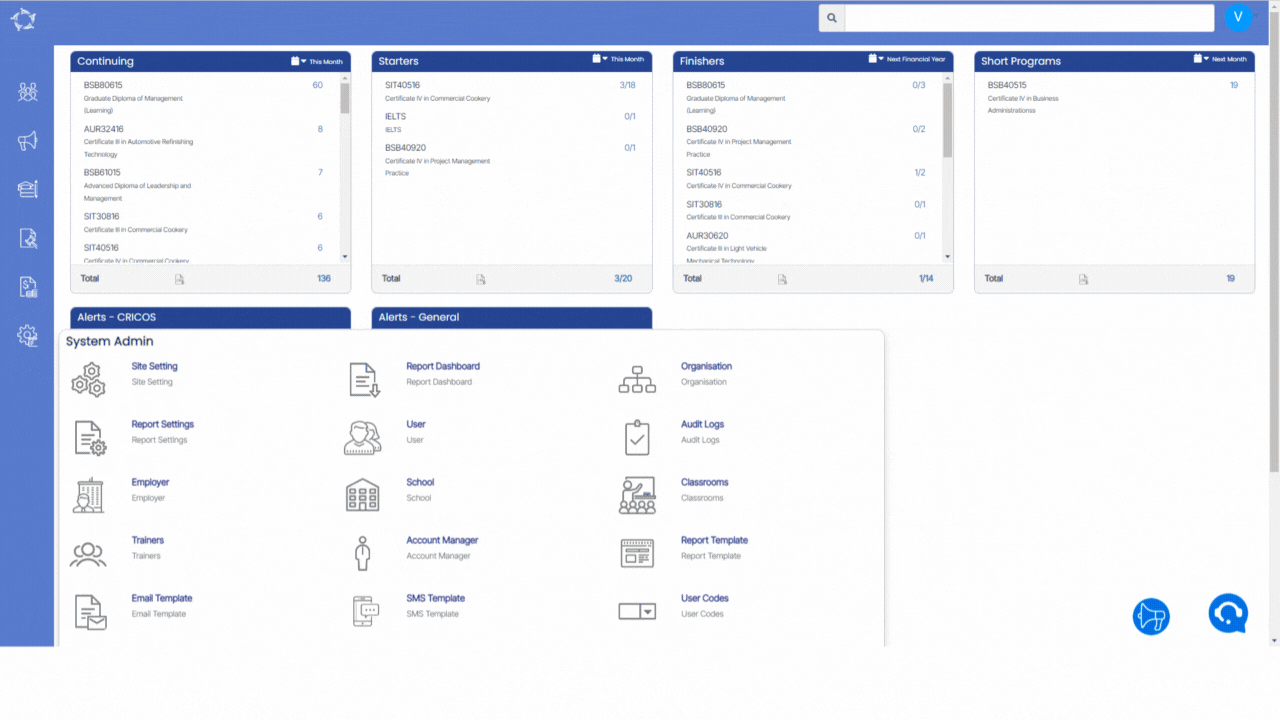
New tile Task Management to manage tasks for different objects
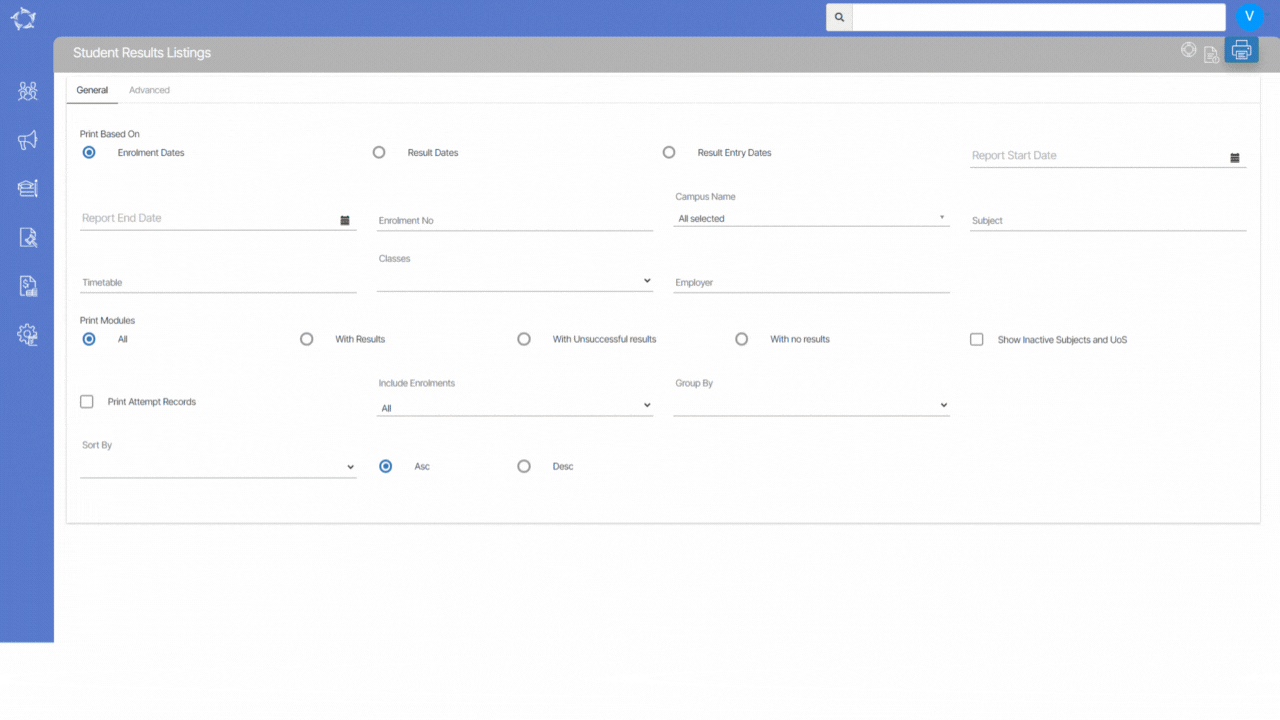
A Subject type column has been added to the Student Result listing report
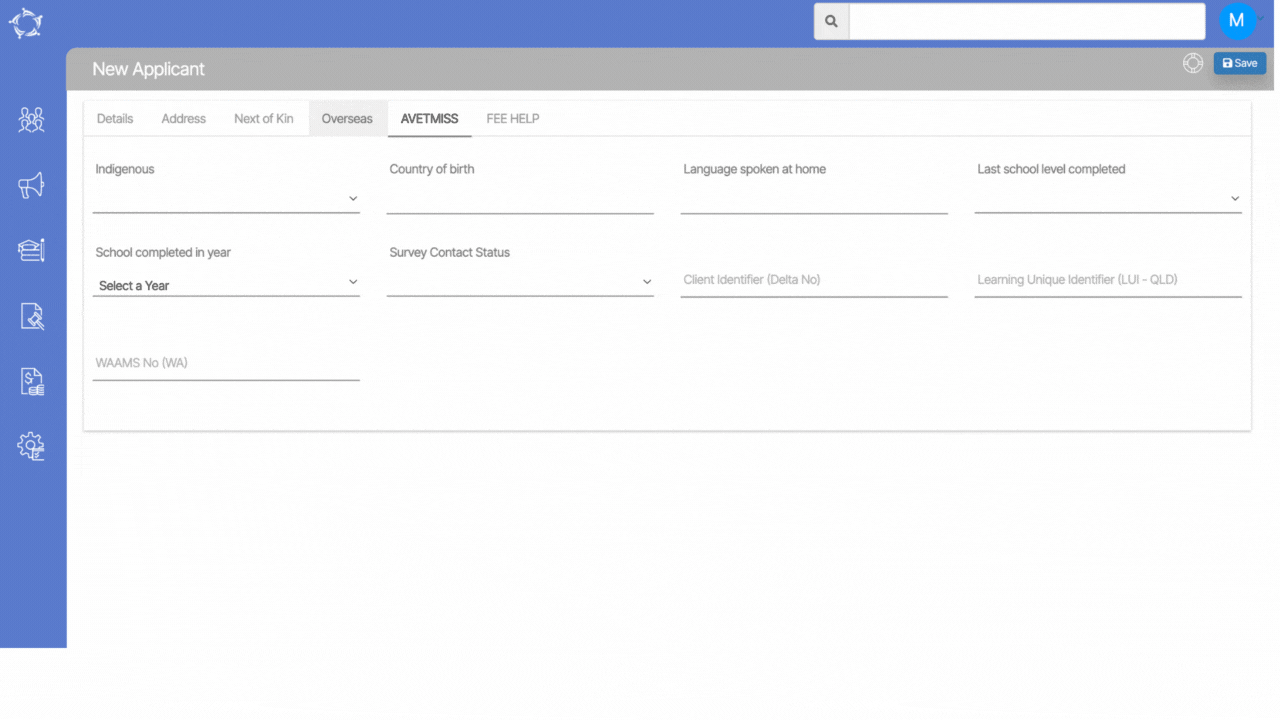
New AVETMISS field changes on the New Applicant screen
To know more, please see the below list:
Task Management
The Main Dashboard now features a task management tile that provides an overview of different task categories, including Closed tasks, Active tasks and Unassigned tasks. Each of these sections has dedicated screens to perform specific actions on tasks.
Student Result Listing Report – New Subject Type Column
A new system setting has been implemented for the Student Result Listing report that will allow you to show a separate Subject type column for each subject.
In the past, when accessing the AVETMISS tab on the New Applicant/Edit Applicant screen, you were presented with an extensive list of options for Country of Birth and Language Spoken at Home.
However, we have made significant improvements in these fields. They are now equipped with a convenient magic search feature that enhances your experience.
Our mission is to build software that helps you do things more efficiently. Your input and engagement are vital in helping us improve our service and offerings for your college. We are always open to listening to your feedback.
Any questions, please feel free to reach out to us. We look forward to serving you to the best of our ability.
Please review the changes and if you would like further clarification, please contact our Support team.
A big thank you to so many of you who have been actively participating in helping us bring these new improvements to life.
Next update is due onThursday, 29th June 2023
Note: Please alert other team members within your college if the changes outlined above affect their role or department.
The organisation screen refers to a section or interface that allows you to configure and customise various settings specific to your organisation or company.
Company Details: This section allows you to input and update information about your company. It typically includes fields such as the Company Name, Code, Website, Contact information, and other relevant details that help identify and represent the organisation.
Local Address: You can enter the local address of their company in this section. It includes details such as address lines 1,2,3, suburb/city, state, postcode, and country. This information is used to identify the physical location of the company’s primary office. All the fields are self-explanatory.
Mailing Address: If the mailing address for the company is different from the local address, this section allows you to provide the mailing address. If the local address and mailing address are the same, then you can select the checkbox labelled Copy Address. This option can be used for correspondence purposes or as an alternative address for receiving mail or packages. Each field in this section is self-explanatory.
Save: Selecting the Save button applies and saves any modifications made to the company details, local address, or mailing address. It ensures that the entered information is stored and used for future reference.
Site Setting: The Site Setting button typically leads to a separate screen. By selecting this button, you can access and modify settings related to the invoicing method to use, student number, enrolment number, academic features and other site-specific settings.
Below is the explanation of the fields
Fields
Explanation
Company Name
Type the Company Name in this field.
Company Code
Type the Company Code in this field.
Organisation Name
In this field, you can type the Organisation Name
Avetmiss Organisation Code
In this field, you can type the Avetmiss Organisation Code
VSN Provider ID
You can add the Victorian Student Number (VSN) Provider ID in this field.
Phone No
In this field, you can add the contact details of the organisation.
Fax No
Fax number can be added in this field.
Email Address
Here you can add the official email address of the organisation.
Website Address
Here you can web address of the organisation.
ABN
You can add Australian Business Number in this field.
ACN
You can add the Australian Corporation Number in this field.
RTO Operated Offshore
Select this checkbox if the Registered Training Organization (RTO) operates outside of its home country or jurisdiction.
Dashboard > Student Management > Student Result Listings
A new system setting has been implemented for the Student Result Listing report that will allow you to show a separate Subject type column for each subject.
In the Student Result Listing report, the subject type refers to the classification of each subject based on its role in the curriculum. It helps differentiate between core subjects, which are essential and mandatory for all students, and elective subjects. This classification allows you to easily identify whether a student has competent or failed in core or elective subjects, providing a comprehensive overview of their academic performance in subject type.
The Agent Transaction screen will allow you to manage and track financial activities associated with agents. Within this screen, you can access vital information such as invoices, payments, and detailed transaction records. The system provides an organised and structured view of all invoices generated for agents.
You will also have the ability to track the status of payments, ensuring transparency and efficiency in the payment process. The Agent Transaction screen provides real-time updates on payment statuses, allowing you to stay informed about outstanding payments and easily identify completed transactions.
Users can access the agent transaction screen through two methods:
This tile will show you the basic details of the Agent and most of the icons in this tile are read-only. Please note – This screen will only allow you to edit the Agent or create a bonus invoice for the Agent.
You can select the various parameters as per your need from the Agent Financial Transactions tile and select the Apply button to show details as per the parameters you have selected.
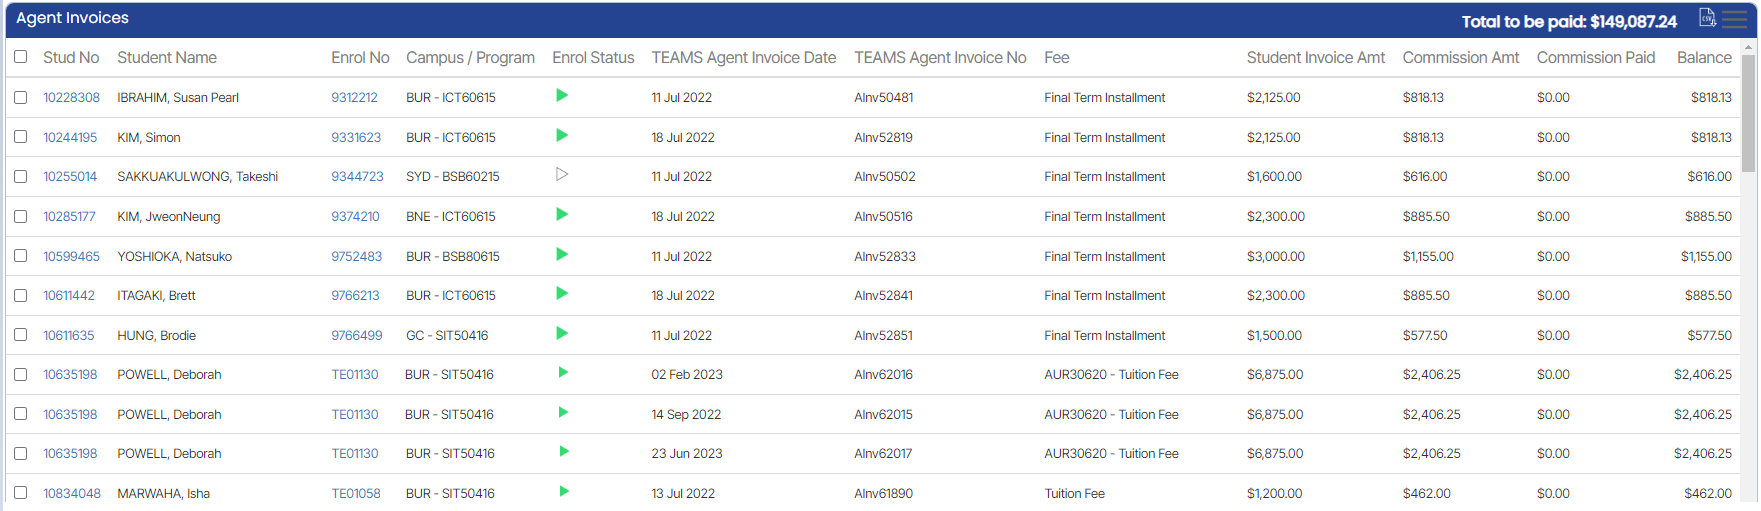
The Agent Invoice Listing Grid will show you all the Agent invoices along with the total amount that is yet to be paid to the agent on the top right corner of the tile, download the CSV report of the agent invoices and assign the agent invoices from the burger menu.
The Agent Payment Listing Grid will show you all the Agent Payments along with the total amount that is paid to the agent on the top right corner of the tile.
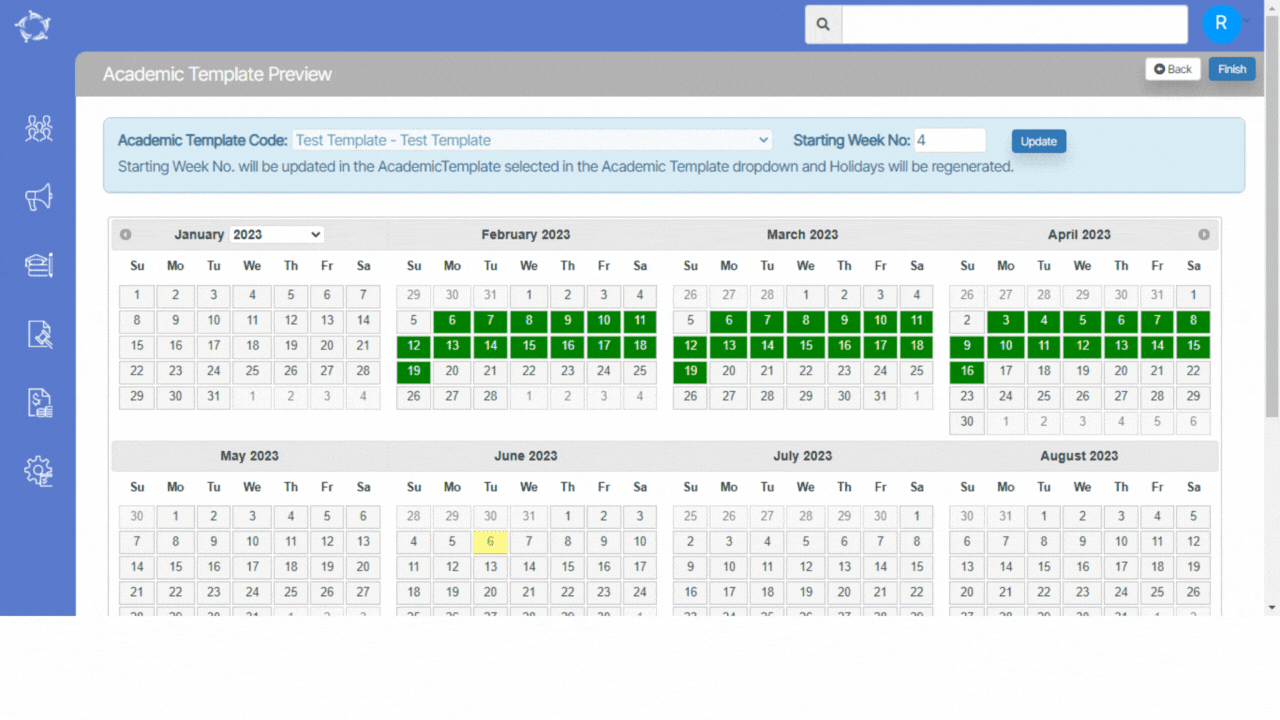
The Academic Template Date Preview Screen includes the Academic Template code for identification purposes. Additionally, it displays the Starting Week Number, which indicates the week when the academic template begins. This information is valuable for you, enabling you to align your personal academic schedule with the template for proper synchronisation.
To modify the template, you can utilise the Update button. By selecting the update button, you can make changes to the dates and other relevant information within the template.
Once the necessary adjustments have been made and the template has been reviewed, you can proceed by selecting the Finish button. This button signifies the completion of the template setup process on the Academic Template Date Preview Screen. By selecting the Finish button, you confirm that you have finalised the modifications and the template is ready to use.