Welcome to the latest update for TEAMS
Some key changes made in this update are:
- New Attendance Hours Report has been introduced under the Compliance menu
- New Agent Details report has been introduced under the Marketing menu
- Addition of a new column in the Application Processed Report
- The overseas tab is now available for Next of kin details
- You can now unallocate Timetable from enrolments
- New reference field for refunds
- New Pre-deducted feature on the Agent Financial Screen
For a full list of what has been done in the system, please see the below list:
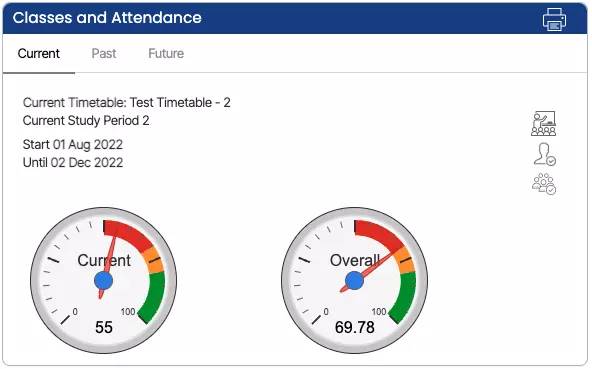
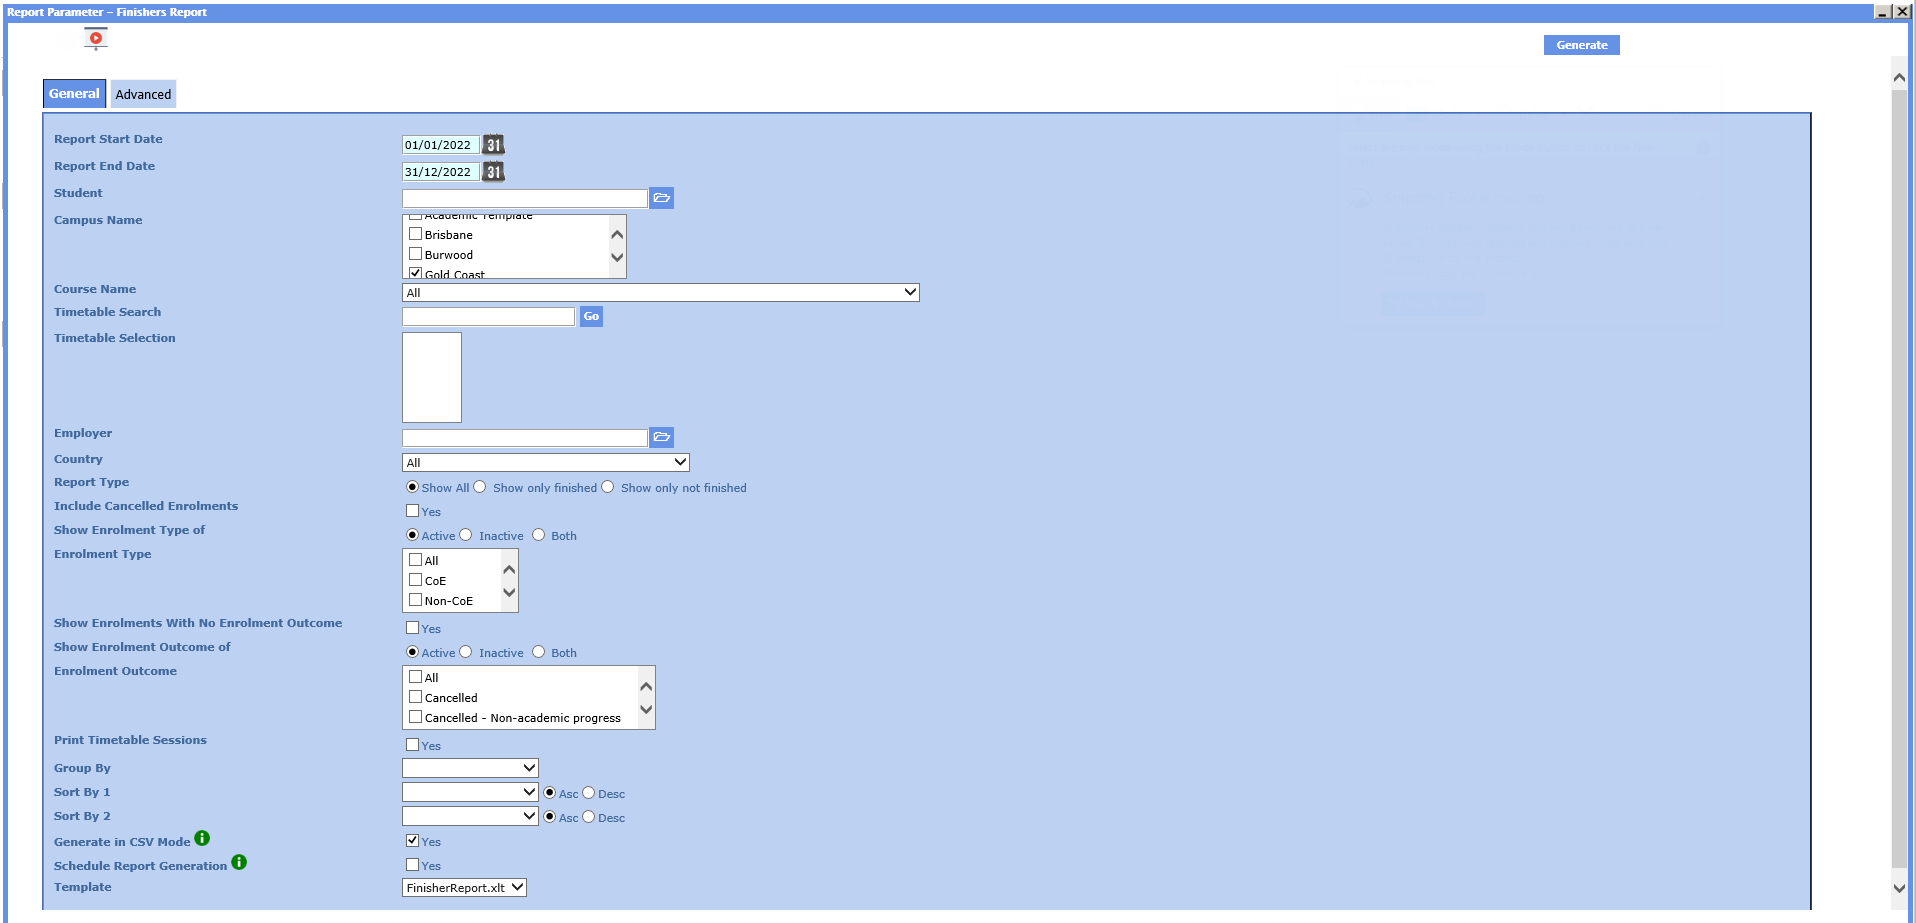
Attendance Hours Report
We have added a new report Attendance Hours in the system
This report will show you the Attended and Absent hours for each enrolment of the student for a selected period.
Agent Details Report
We have added a new report Agent details report to the system
This report will show you every detail of the Agent such as the Agent’s Name, Agent Code, address, commissions etc.
Enrolment Status Column – Application Processed Report
We have added a new column Enrolment Status in the Application Processed Report.
You will be able to see the enrolment status such as Current, Finished and Not Yet Started.
Next of Kin Address Details – Overseas tab
We have added new address fields in the system which will allow you to add the Overseas Next Of Kin address on the Overseas screen.

Cancel Enrolment – UnAllocate Timetable
We have added a new check unallocate Timetable in the system.
You will be now able to unallocate the timetable while canceling the enrolment.
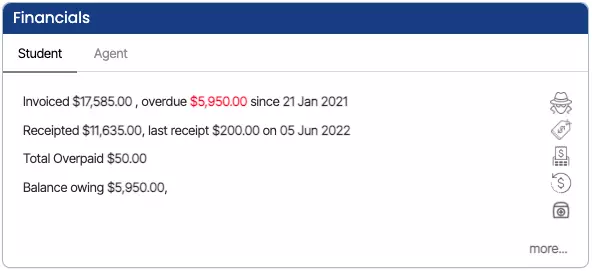
Added Reference in the refund
Now we are also displaying the reference in the refund transaction details on the student financial screen
You will be able to see the reference value entered while creating the refund and also you can print the reference value in the refund report as well.

New Feature Pre-Deducted – Agent Financial screen
We have made some changes to the Agent Financial Details Screen where you will able to identify the Agent Payment as Pre-Deducted or Post-deducted.
Our mission is to build software that helps you do things more efficiently. Your input and engagement are vital in helping us improve our service and offerings for your college. We are always open to listening to your feedback.
Any questions, please feel free to reach out to us. We look forward to serving you to the best of our ability.
Please review the changes and if you would like further clarification, please contact our Support team.
A big thank you to so many of you who have been actively participating in helping us bring these new improvements to life.
Next update is due on Thursday, 26th January 2023
Note: Please alert other team members within your college if the changes outlined above affect their role or department.
Thank you for taking the time to read this post.