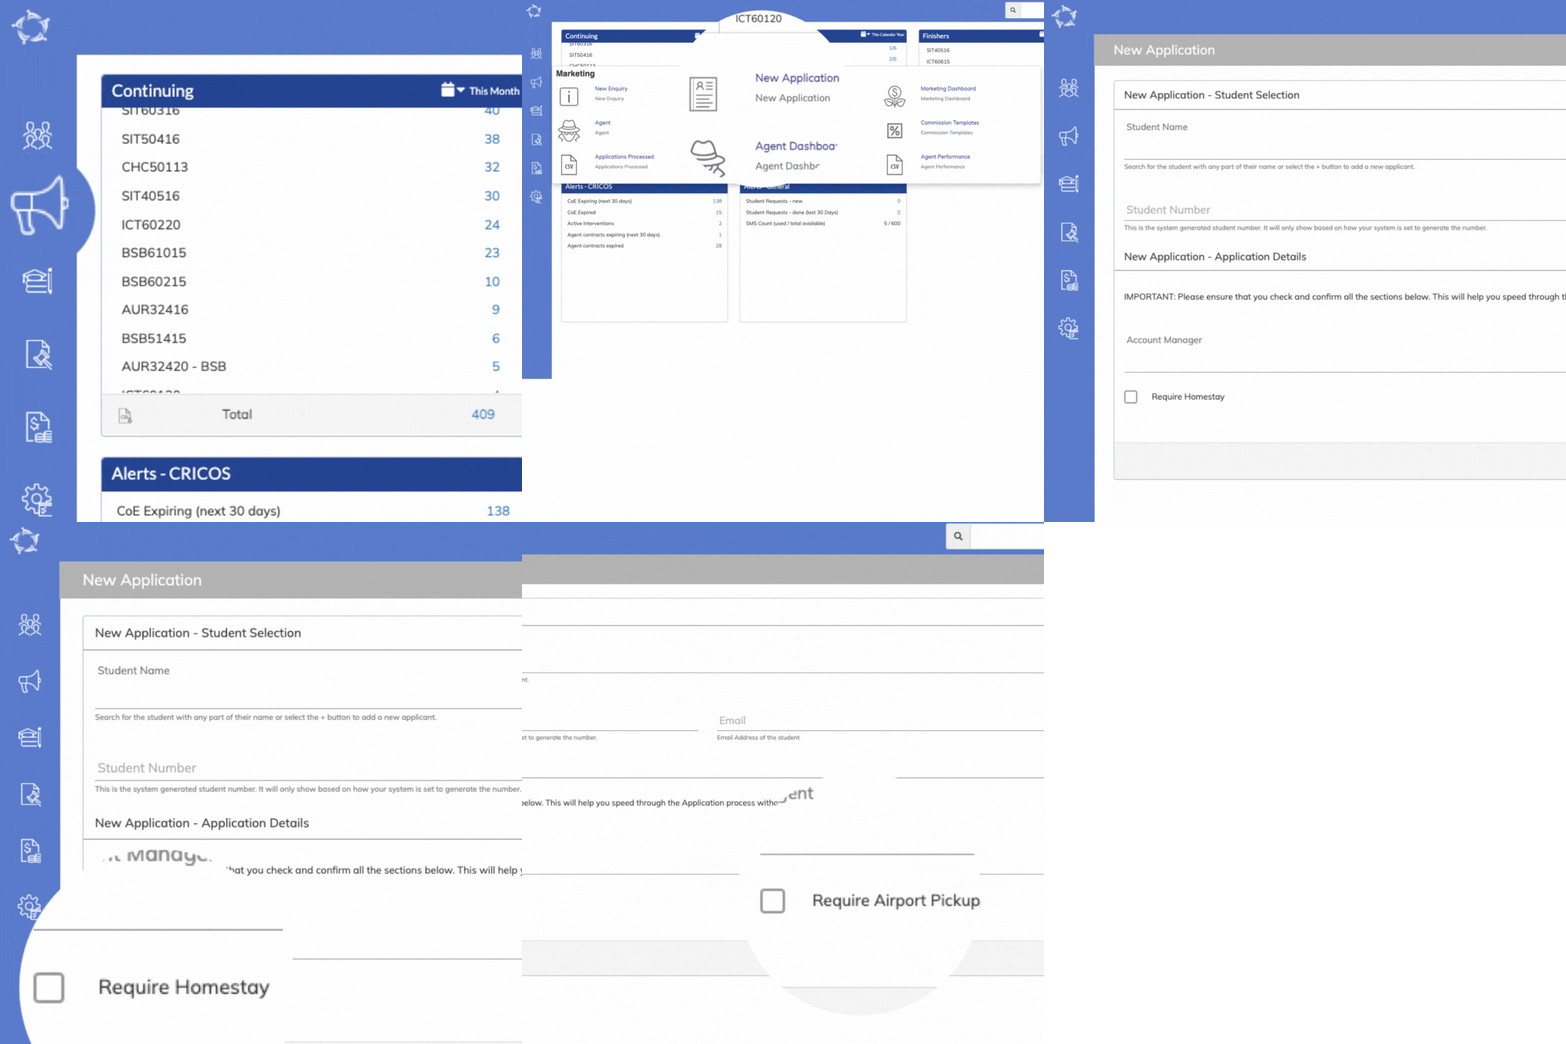
Change – New application new settings Requires Homestay & Requires Pickup

We have added two new tick boxes Requires Homestay and Requires Airport Pickup/Drop off on the New Application – Student selection screen.
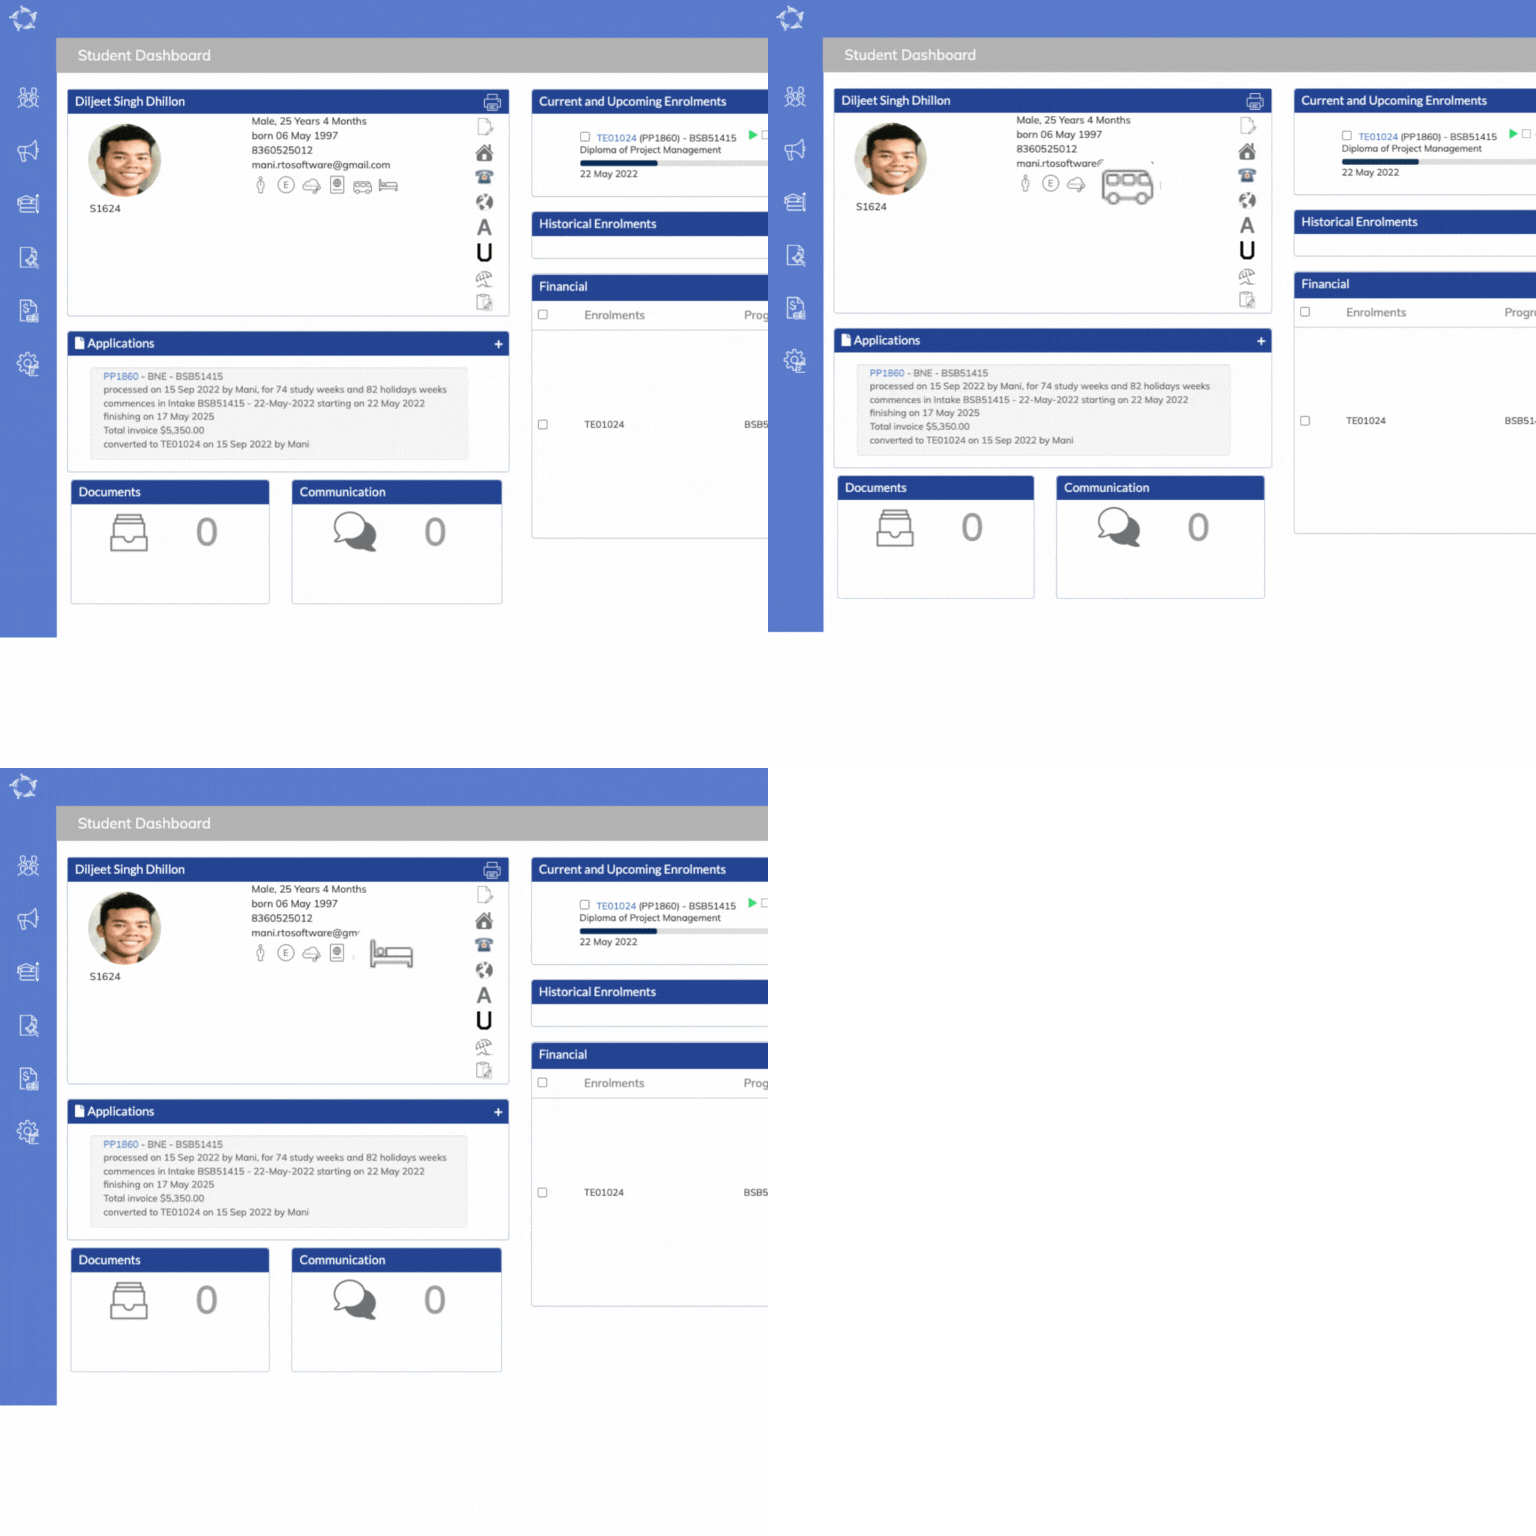
Once you have created the application using these tick boxes, the icons below will appear on the Applicant Profile and Student Profile tiles.
You can also see these tick boxes on the below screens:

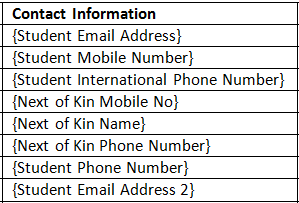
Contact Information Merge Fields

In the system, there are contact information merge fields for each object such as Applicant/Student, Agent, Employer and Schools. There is also contact information at the user and campus etc.

For each of these objects, there will be one or many types of contact information merge fields such as Phone number, Mobile number, Fax number, and Email Address for local and international contact information.

Each of the fields for contact information then becomes a merge field in our MS Word report templates. For example, the merge fields of each object’s contact information fields are as follows:

Applicant/Student Contact merge fields
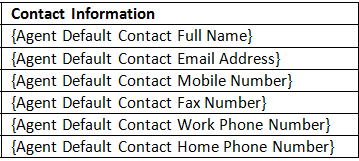
Agent Contact Merge fields
Employer contact merge fields
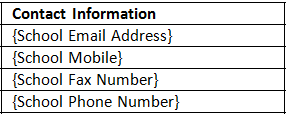
School Contact information merge fields

IMPORTANT – Always insert the merge field with the {} brackets, do NOT change them to any other style of bracket such as (), the system looks for the {} ones and will not work if you use any other style of brackets.

This is how the contact information merge fields will print the data in your customise templates

If you have any queries, please do not hesitate to contact us on 1300 85 05 85 or email us via support@rtosoftware.com.au

Applicant/Student Merge Fields

Merge FieldsObjectsExplanations
{Student First Name}Applicant/Student
Applications/Enrolments
This merge field will show you the student’s first name updated on the Applicant and Student entry screen
{Student Last Name}Applicant/Student
Applications/Enrolments
This merge field will show you the student’s last name updated on the Applicant and Student entry screen
{Student Middle Name}Applicant/Student
Applications/Enrolments
This merge field will show you the student’s middle name updated on the Applicant and Student entry screen
{Student English Name}Applicant/StudentThis merge field will show you the student’s english name updated on the Applicant and Student entry screen
{Student Country}Applicant/StudentThis merge field will print the country name which is selected at the applicant entry screen and the student entry screen
{Student Nationality}Applicant/StudentThis merge field will print the Nationality which is selected at the applicant entry screen and the student entry screen
{Student Passport Number}Applicant/StudentThis will print the student passport number updated on the student profile > overseas icon > overseas screen
{Student Passport Expiry Date}Applicant/StudentThis is the student visa expiry detail field updated on the Applicant/student > visa screen
{Student Number}Applicant/Student
Applications/Enrolments
Generated by TEAMS
{Student Title}Applicant/StudentStudent title selected that the Applicant/Student level
{Visa Number}Applicant/StudentVisa number updated at the applicant/student level
{Student DOB}Applicant/StudentUpdated at the Applicant/Student level
{Student Gender}Applicant/StudentUpdated at the Applicant/Student level
{VSN}Applicant/StudentUpdated at the Applicant/Student level
{USI}Applicant/StudentUpdated at the Student level
{CHESSN}Applicant/Student
{Age}Applicant/StudentThis field will print the age of the applicant and Student selected the at the applicant/student level
{LUI}Applicant/Student
{TRS No}Applicant/Student

Merge Fields

Report merge fields are special fields that are used in different MS Word reports, Email and SMS templates in TEAMS.

When you customise any of the templates you would add merge fields into the custom templates you create. Then when you select the custom template for the system to use to send an email or sms or generate a specific report it shows you a list of your custom templates to choose from. Once you have selected the specific custom template and selected Generate (reports) or Send (Email and SMS) the system looks for the merge fields you have added to know what information to copy into the report or message you are generating and replace the merge field with the relevant information into the report/message instead. Where there is no data in the database to replace the merge field, in the generated report or message there will be no information and the merge field would not show.

For each object in the system such as Applicant/Student, Applications/Enrolments, Agents, Employers, Schools etc there will be different merge fields available. This post will show you for each object, what merge fields are available and give you an explanation of what data/information the system will replace the merge field with. Please note, that there will be a large number of very common sense merge fields such as Student First Name, Student Middle Name etc, where the explanation will be very simple. The system will replace the merge field with the student’s first name or middle name etc, however, there will be some fields where it is not evident what the system will replace, so please make note of them.

For some merge fields, such as Addresses and Contact information we will not list them for each object as they are the same across. Below you can select the icon for Addresses or Contact Information to learn more about these merge fields and any important information for them.

Objects such as Applicant/Student, Applications/Enrolments, Agents, Employers, Schools etc have different merge fields available in the system.

Applicant/Student Merge Fields

Application/Enrolment Merge Fields

Agents Merge Fields

Employers Merge Fields

Schools Merge Fields

Applicant Dashboard – History

Below is a list of all the changes or new items we have added to this screen.

Change – Report Name – Agent Pending Invoice

Dashboard > System Admin > Report Template

Earlier the system used to show the Agent Invoice Report on the Report template screen but now we have changed the name of the report from Agent Invoice Report to Agent Pending Invoice as shown below:

If you have any queries, please do not hesitate to contact us on 1300 85 05 85 or email us via support@rtosoftware.com.au

Uploading Invoices in Document Log

We have introduced a new change for uploading Invoices in the Document tile on the Enrolment Dashboard.

When you generate any invoice from the student financial screen and once the invoice gets generated, it will auto upload the generated invoice in the document log.

Student Finacial Details screen

Enrolment Dashboard > Document Screen

If you have any queries, please do not hesitate to contact us on 1300 85 05 85 or email us via support@rtosoftware.com.au

New Column in Payment Report

We have added a new column ” Balance” in the Payment Report. If any of the invoices are partially paid then the balance column will show you the pending fee for that fee line item.

This is how the table will show you the total invoice amount, amount Paid and the outstanding balance of the invoice.

Parchment Issue date

Earlier, the system was not letting you update the Parchment Issue Date after the enrolment end date but now we have made a change.

You can update Parchment Issue Date even when the date is after the Enrolment End Date while generating the Certificates.