Edit AVETMISS – Student

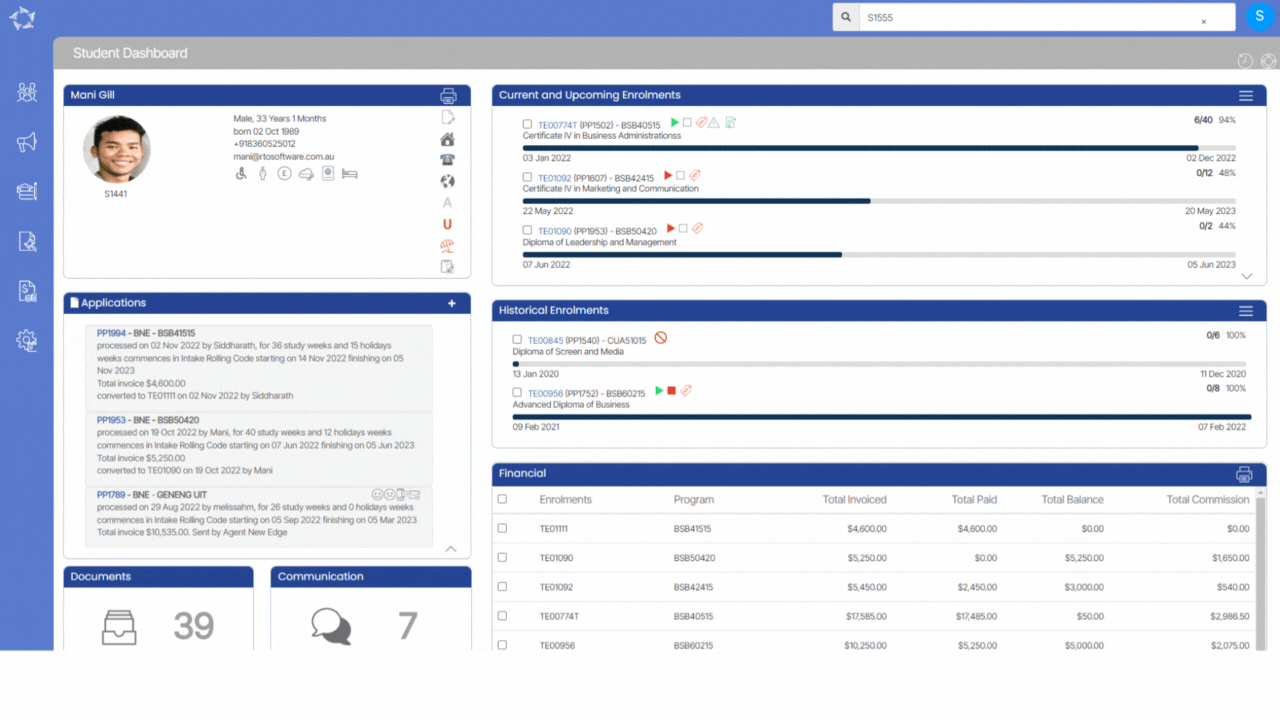
Student Dashboard > Student Profile Tile > AVETMISS Icon

The first thing to know is that AVETMISS stands for the Australian Vocational Education and Training Management Information Statistical Standard. It is the national data standard that ensures consistent and accurate capture and reporting of Vocational Education and Training (VET) information about students.

The below screen allows you to add/edit the AVETMISS information of a student. Some of the fields are very important in the AVETMISS submissions. For example, if you do not select the survey contact status, you will get errors in NCVER submissions. We will recommend you to enter all the AVETMISS fields to avoid compliance issues.

Explanation of the Fields

ColumnExplanation
IndigenousAll the values defined in the AVETMISS data element definitions: edition 2.3 by NCVER will be shown in this drop-down. Select the appropriate Indigenous status identifier.
Last school level completedAll the values defined in the AVETMISS data element definitions: edition 2.3 by NCVER will be shown in this drop-down. Select the appropriate School level identifier
School completed in yearSelect the year in which the student completed school.
Country of BirthIn this field, you will see 4-digit Standard Australian Classification of Countries code validated by NCVER. Select the appropriate country.
Language spoken at homeThis field uniquely identifies the main language other than English spoken at home by the student. All the valid 4-digit Australian Standard Classification of Languages codes will be shown in the drop-down.
Client IdentifierClient identifier is assigned by the training organisation. This will usually be the student’s ‘student number’.
Note – Unique Student Identifier (USI)
codes are not to be assigned to the client as the Client identifier and Client identifier must not contain spaces.
Learning Unique IdentifierIt is a 10 digit learner unique identifier number used to log in to the learning account of the student.
Training LocationIt is a dropdown field where you can select the training location of the student.
School YearEnter the school year of the student
WAAMS NumberThis is a Western Australian Apprenticeship Management System number used as a training contract identifier for WA state. This should be in uppercase.
Survey Contact StatusSurvey contact status identifies reasons to exclude excludes from the Student Outcomes Survey and
other communications. 
Is the student registered or intending to register in an apprenticeship or traineeship for this qualification in NSW?Tick this if applicable
List any Australian courses completedThis is a note box. You can enter the list of all the courses here. To save the entered data kindly click again on the notes box.
AVETMISS Address
Address Postal Delivery BoxPostal delivery code can be added in this field.
Building/Property NameAuto populated field
Flat/Unit DetailsAuto populated field
Street NumberAuto populated field
Street NameAuto populated field
AVETMISS SuburbAuto populated field
StateAuto populated field
Post CodeAuto populated field
CountryAuto populated field

Active Intervention

Main Dashboard > Alerts – CRICOS Tile > Active Interventions

history of changes

Overview

The active intervention alert will show you the count of students who have an Active Intervention linked to their enrolment. It will not matter what the start date of the intervention was, it will just count it because there is no intervention outcome against it that would consider it completed.

Rules: if you have an active intervention, no matter the commencement date of the intervention, it will show in the tile count and list screen. The only way to stop an intervention from being considered active is to set an intervention outcome against it.

When you are in the list screen for this count you can change the dates there to see all the interventions that have a commencement date within a specific date range.

The screen is divided into two sections

  1. Filter/Parameters
  2. Active Intervention Listing

Filters/Parameters

To open this screen, you would have selected the count hyperlink for Active Intervention. Based on what you have selected, the system will open the screen and populate the information in this section. It will show the start date and end date of the Active Intervention. You can change the dates and select the Apply button for the system to refresh the list for you.

Select the Burger icon to learn more about how it works

Notes: If the intervention has an outcome and the outcome date from which you are searching in the filters is outside of that date range, then that intervention will not be there. And if the outcome is after the date range, it is considered active.

Listing Grid

The system will show you a summary of information for each enrolment that has Active Interventions. The information that displays in the columns for this grid is generally standard information. However, please keep an eye out for any What’s New posts for this screen as this is where we would let you know of any new columns or changes to existing ones that we do.

From the Action column, you will be able to do different actions for each agent listed. Please see the TEAMS Icons post for more information on each action and what you can do.

IMPORTANT: If you open an enrolment there would be an intervention either active or completed. If there is an intervention status that means the intervention is still open and that is the date system looks for while you search in the filters.

CoE Expired Listing

Dashboard > Alerts – CRICOS > CoE Expired

This screen will show you the count of those enrolments that have CoE dates linked to them where the CoE end date is in the past. The system counts this by looking at today’s date and finding any CoE end date less than today’s date to do the count and list the enrolments.

The screen is divided into two sections

  1. Filters/Parameters
  2. CoE Expired Listing Screen

Filters/Parameters

To open this screen, you would have selected the count hyperlink for the CoE Expired alert. Based on what you have selected, the system will open the screen and populate the information in this section. It will show the start date and end date of the CoE and you will also see Total CoEs expiring/expired and Warning overall CoEs Expired.

Listing Grid

The system will show you a summary of information for each enrolment whose CoE is expired. The information that displays in the columns for this grid is generally standard information. However, please keep an eye out for any What’s New posts for this screen as this is where we would let you know of any new columns or changes to existing ones that we do.

From the Action column, you will be able to do different actions for each agent listed. Please see the TEAMS Icons post for more information on each action and what you can do.

Select the Burger icon to learn more about how it works

CoE Expiring (next 30 days) Listing

Main Dashboard > Alerts – CRICOS > CoE Expiring (next 30 days)

This screen will show you a list of enrolments that have a CoE linked to them where the CoE end date is expiring in the next 30 days. To do this the system looks at today’s date and what calendar month it is and then goes and looks for any CoE linked to an enrolment where the CoE end date is within today’s date + 30 days and then counts them in the tile. When you then select that number as the link to open this screen it gives you the list of all the enrolments that match this count.

The screen is divided into two sections

  1. Filter/Parameters
  2. CoE Expiring listing Grid

Filter/Parameters

The system will display the start date and end date of the CoE expiry period it used to show the count.

Select the Calendar icon to learn more about how it works 

Listing Grid

The system will show you a summary of information for each enrolment whose CoE expires in next 30 days. The information that displays in the columns for this grid is generally standard information. However, please keep an eye out for any What’s New posts for this screen as this is where we would let you know of any new columns or changes to existing ones that we do.

From the Action column, you will be able to do different actions for each agent listed. Please see the TEAMS Icons post for more information on each action and what you can do.

Offer Letter

history of changes

An Offer Letter is a proposed confirmation of enrolment into one or many programs and what the dates and costs for the applicant are. Generally a college emails this Offer Letter to the student or agent and they review and either confirm or decline the offer.

In this step of the New Application process, you can generate your Offer Letter. Depending on the type of RTO/college you are and the type of student you are doing an application for, will determine what you may call an Offer Letter.

For example, for ESOS/CRICOS Providers who manage and deliver training to students from overseas in Australia on Student visas the standard terminology is either an Offer Letter or a Letter of Offer (LOO). However, for a local/domestic based RTO/college, you may call an Offer Letter an Enrolment Acceptance Advice. Either way, it is the same thing and you can customise the master template and have as many as you wish in the system.

Also, on the Application Finished screen, you will see two buttons called +Add OSHC Provider Details and +Add AVETMISS Settings.

Upon selecting the OSHC Provider Details button, a pop-up window will appear on the screen, which will allow you to enter and save the OSHC (Overseas Student Health Cover) details for the application. This new functionality will provide you with a more convenient way to add and manage OSHC information within the application process. Or you can also add their OSHC details for the application from the Applicant Profile by clicking on the Overseas icon.

Upon Selecting the AVETMISS Settings Button, this will take you to the Application Dashboard > Application AVETMISS Settings screen, where you can update both the application level AVETMISS settings and the subject level AVETMISS settings. This page allows you to customise the settings that determine how your application handles AVETMISS data, which is essential for managing and reporting on vocational education and training in Australia.

Note: Offer letters can be generated from different screens in TEAMS.

Applicant Dashboard > Applications Tile
Applications Dashboard > Application profile Tile
Student Dashboard > Current and Upcoming enrolments tile > Burger Menu

Please see below the process to generate an Offer Letter.

Agent Contracts Expiring (next 30 days)

Main Dashboard > Alerts – CRICOS Tile > Agent contracts expiring (next 30 days)

Overview:

The Agent Contracts Expiring (next 30 days) Tile and the listing screen will show you a count and list of the agent’s contracts that have contracts expiring in the next 30 days. You can enter a Contract Expiry date for an agent in the Agent entry screen as below.

In the Alerts – CRICOS tile, the number listed for Agent Contracts expired, as below, is a link. When you select the number link the system will open the Agent contracts expiring (next 30 days) listing screen.

Filters/Parameters:

This is a very simple list screen that has filters only for the Contract Expiry Start Date and End Date to search on as shown below. The dates the system shows in the list screen are based on the Calendar option that was selected in the tile for this list screen. Once you open the list screen you can change the date range and select the Apply button to search for a new set of agents with a contract expiring.

Actions

From the Action column, you will be able to do different actions for each agent listed. Please see the TEAMS Icons post for more information on each action and what you can do.

CSV Download

This listing screen also gives you a csv to download with the list of agents displayed in the grid. To do this select the CSV icon in the top right-hand corner of the screen.

New Application

Dashboard > Marketing Menu > New Application

history of changes

This process (wizard) allows you to create applications for new applicants or existing students in the system.

Although this process is called a new application, it does not mean you create one application at a time for each program that an applicant or student wishes to enrol in. You can add one or multiple programs to the application and once you finish the process the system will generate individual applications for the applicant/student. You can then choose to view the information as a summary from the Applicant Dashboard or the individual applications (programs of study) from the Application Dashboard.

When you finish the process and select the FINISH button the system will take you to a step so you can generate the Offer Letter. For domestic based colleges, you may not call it an Offer Letter you may call it an Enrolment Acceptance letter etc. Please see the report explanation for this and the final step in this process for New Application – Offer Letter for more information.

Note: There are different ways to access the New Application process in the system. You can access this process from

Marketing Dashboard > Summary Tile
Applications listing Screen
Applicant Dashboard > Applications Tile
Student Dashboard > Applications Tile

The New Application process has a number of different steps in it. To view this post you can choose to either use the next arrow 
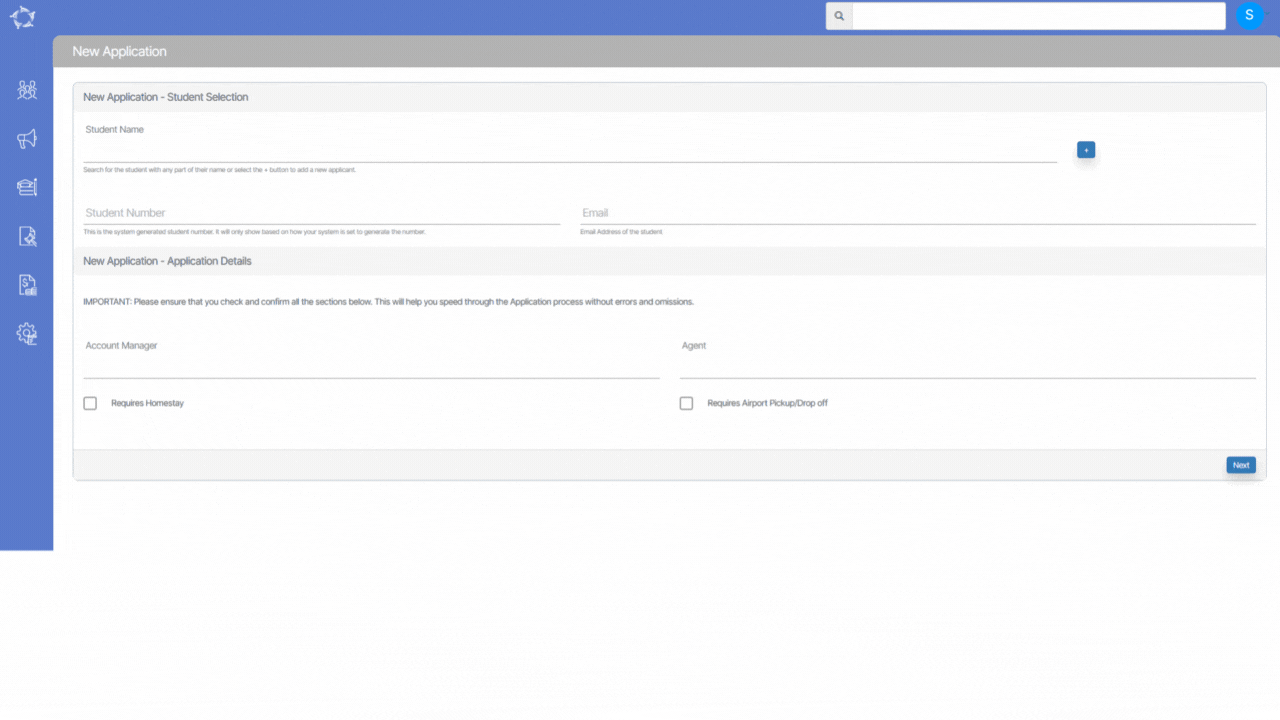
below and you will be able to walk through each step OR you can select specific links below to go directly to the relevant step.

New Application – Student Selection

New Application – Choose Programs

New Application – Subjects Delivery Dates

New Application – Fee Selection

New Application – Edit Invoices

New Application – Edit Invoices

New Application – Offer Letter

New Application – Student Selection

In this step, you either enter a new applicant or search and select an existing applicant or student from your system. Once you have entered or selected the correct applicant/student the system will load their name in the Student Name field below.

Note: DO NOT close your browser while you are walking through the steps of this process, as you will lose what you have entered. When you select the NEXT button in each step of this process the system does not save what you have done to the database. It allows you to go back in the process to change what you have selected, however, it is not until the final step where you select the FINISH button that the system will fully save everything to the database for you.

In the table below we have explained each of the fields/sections in this step.

Student Selection FieldsExplanation
Student NameThe first step is to find out if your applicant has previously studied with you and is already in the system. To do this, enter part of the applicant’s name into this field and if their name shows up select it from the list. If it doesn’t then you will need to select the icon for + to add them as a new applicant in the system.
When you search on an applicant’s name the system looks at enquiry students, applicants and students to see if the name is there and if they are will show you a relevant icon as to whether they are an enquiry, applicant or student.
You can select this button to add a new applicant in the system. You will be taken to the New Applicant entry screen and once you have entered all the required information and select the SAVE button, the system will bring you back to this step in the process again.
Student NumberYou can search based on a student number, however, if you are entering a new applicant this will not show unless your system has been setup to generate a student number at the application stage. It will only generate the number when you FINISH the application.
Typically, most colleges only issue a student number on approval/conversion of applications to enrolments so generating a student number at the application level is not set as a standard.
EmailThe system will load this information once you have selected a student or entered and saved your new applicant.
Account ManagerIf you have setup Account Managers in the system, you can link one to the application. Enter part of the account manager’s name into the field and the system will show you the results and just select one.
AgentIf you have setup Agents in the system, you can link one to the application. Enter part of the agent’s name in the field and the system will show you a list and select one from the list.

Agent contracts expired

Main Dashboard > Alerts – CRICOS Tile > Agent contracts expired

Overview:

The agent contracts expired screen will show the count of those agent contracts whose agent contract expiry date has expired. This screen will only show you the agent contracts expired if the Contract Expiry date has been set up on the agent entry screen.

To check the list of agents whose contracts have expired, you just need to select the count which is a hyperlink to the Agent Contract Expired alert.

As you can see, the screen is divided into two sections:

  1. Filter/Parameters
  2. Agent Contract Expired listing Grid

Filters/Parameters:

To open this screen, you would have selected the count hyperlink for the Agent Contract Expired alert. Based on what you have selected, the system will open the screen and populate the information in this section. It will show the contract start date and contract end date. When you are on this screen you can change the dates and select the Apply button for the system to refresh the list for you.

Listing Grid

The system will show you a summary of information for each Agent whose contracts have expired. The information that displays in the columns for this grid is generally standard information. However, please keep an eye out for any What’s New posts for this screen as this is where we would let you know of any new columns or changes to existing ones that we do.

This listing screen also allows you to download the list of agents in the grid in a CSV format. To do this select the CSV icon in the top right-hand corner of the screen.

Select here to know more about the icons under the Actions Column.