This is the Agent Welcome screen which will show you the list of Agents in the grid that are Active in your system. This screen is divided into two sections:
Filters/Parameters
Listing Grid
Filters/Parameters
The filters will show you different fields where you can select the data as per your need then select the Apply Button and based on your selection the system will load the list of agents in the grid. You can also see the Total count and the Active count of the Agents.
Listing Grid
In this grid, you can see the list of all Agents. You will see columns such as Agent Code, Agent Name, Type, Region, Account manager, and other Agent contact details in this grid. All of the columns are self-explanatory.
You can select the +Agentbutton to add a new Agent to the system.
Send SMS icon is not appearing! No need to worry if send SMS icon is not appearing under the Actions column. It means Mobile No is missing for that particular agent.
Enrolment Dashboard > Classes and Attendance Tile > Classes icon
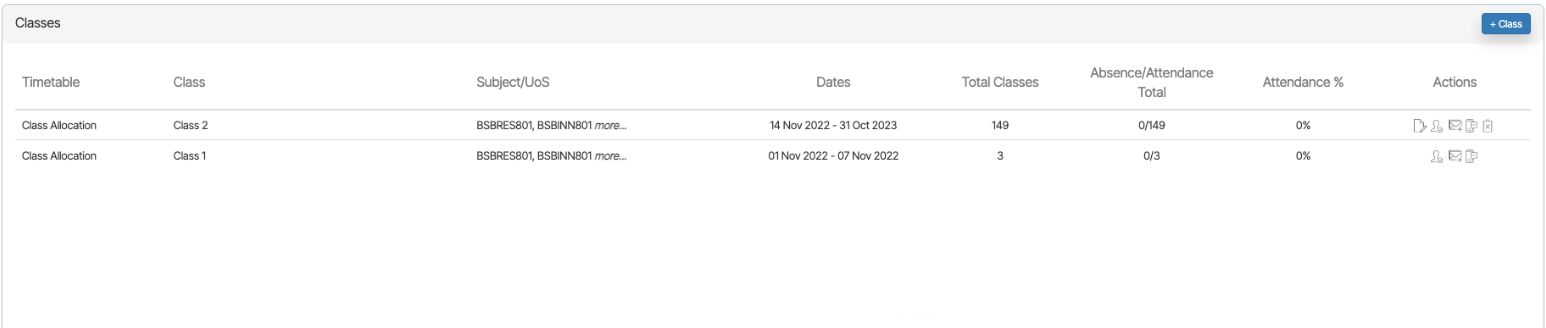
This screen will show you the list of all the classes that are linked to enrolment with their basic details.
A classes listing screen refers to a user interface or a webpage that displays a list of available classes linked to the enrolment. The screen typically provides information such as the Timetable, Class, Subjects, Attendance and any additional details. The purpose of the classes listing screen is to allow you to browse through the available classes and make informed decisions about which classes you would like to enrol in.
In addition to the features mentioned earlier, the classes listing screen may also provide an option to add new classes to the enrolment by selecting a +Class button.
Tiles
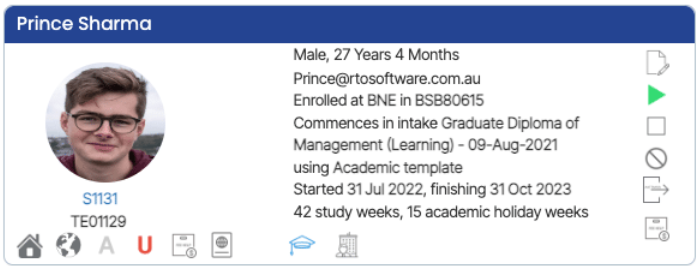
This Tile will show you the basic details of the enrolment and all the icons in this tile are read-only.
This Tile will show you all the classes that are been allocated to the enrolment. You can take other required actions for the classes from the Actions column and add more classes if needed.
Icons under the Actions column
Edit Icon – You can edit the class end date by selecting the edit icon under the actions column and it will open the pop window on the same screen as shown below.
Attendance – When you select this icon, it takes you to the attendance listing screen where you can mark attendance for the student.
Send Email – You can send an email to a student about the classes.
Send SMS – You can send an SMS to a student.
Delete Class – You can delete the class by selecting the delete icon.
Enrolment Dashboard > Classes and Attendance Tile > Class Allocation icon
This screen will show you all the Current and Past Classes of an enrolment. You can simply add the finish date of the classes in the current classes tile or you select the Next button to allocate the class to enrolment.
Tiles
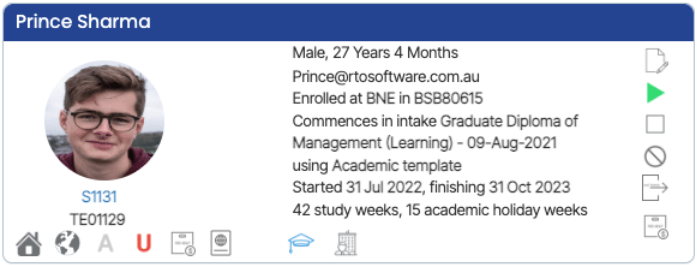
This Tille will show you the basic details of the enrolment and all the icons in this tile are read-only.
This Tile will give you an overview of the class allocation screen.
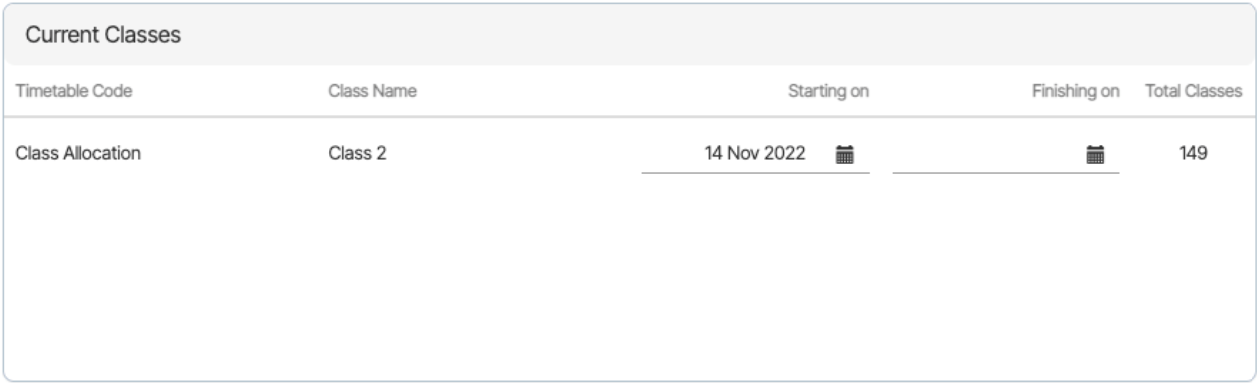
This will show you all the current classes that are linked to an enrolment. By default, the start date will be selected in the tile and you can edit the start date and end date of the class.
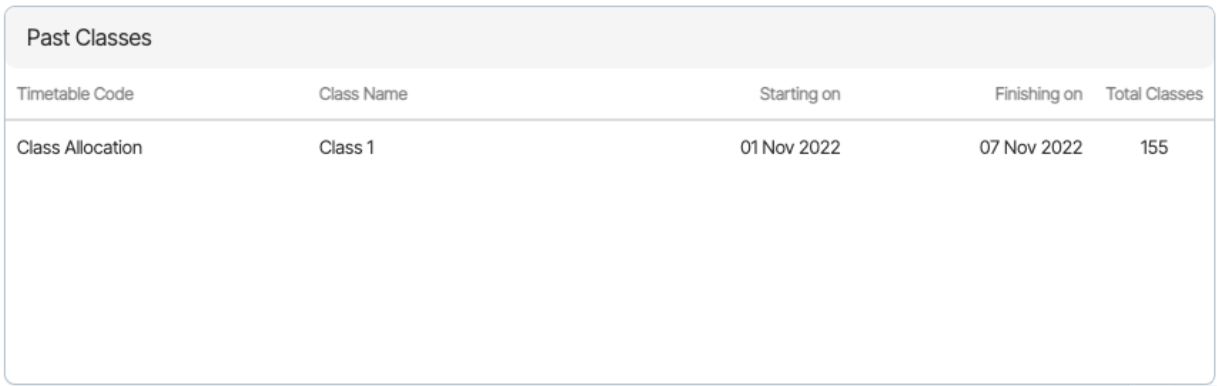
This will show you all the past classes
You need to select the Next button and once you select it, it will open the Class Allocation Step 2 screen from where you can allocate the classes to enrolment.
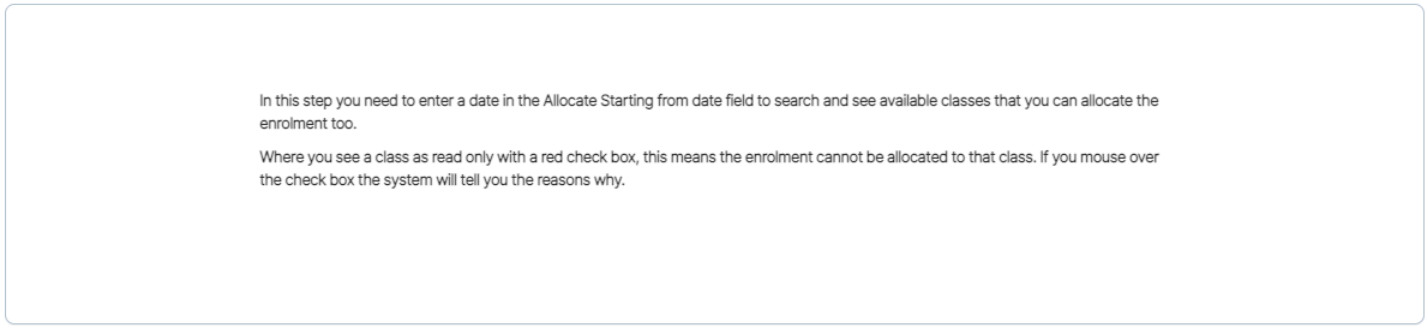
This is the second step of the Class Allocation. This screen will allow you to allocate classes to an enrolment.
Follow the below steps to Allocate Classes:
Search for the class date by selecting the start date and end date from the choose new classes for allocation tile and then select the Show Classes button.
The classes that are available, are the current classes that you can allocate to the enrolment by selecting the tick boxes and then hit the Next button.
You will be taken to the Classes selected for allocation preview screen where you can see the classes that are allocated and the maximum capacity of the classes.
When all the above steps are done, select the Finish button to complete the allocation.
IMPORTANT – There are tick boxes that are frozen and you cannot select the tick boxes for the classes due to the following reasons:
Reason 1 – Classes cannot be selected because subjects are linked to the classes but not to the enrolment. Reason 2 – Classes cannot be selected because the enrolment is already allocated to the Friday class.
This tile will show you all the Errors and Warnings with their descriptions for enrolment with the red numbers for different objects.
Different icons and their function under the compliance tile are explained below:
This icon will show you the number of errors in red and when you select this error icon, it shows the error descriptions as shown below:
This icon is called the fix icon and when you select this icon, it will take you to the particular screen where you can fix the error according to the description.
This icon will show you the number of warnings in red and when you select this error icon, it shows the warning descriptions as shown below:
This tile will show you the attendance percentage for the current study period and the average percentage of enrolment. From this tile, you can create classes, mark attendance, and can allocate classes to the students. You can also see Current, Past and Future classes from the tabs.
Tabs
Current – This tab will show you the name of the current timetable, current study period dates, and their current and overall attendance percentage.
Past – This tab will show you the past study period start and end dates and their current and overall attendance percentage.
Future – This tab will show the upcoming study period start and end dates.
Dials
Current Attendance Dial
The current attendance dial shows the percentage of the current study period
Overall Attendance Dial
The overall attendance dial shows the percentage of enrolment from its start date to the end date
The only time you can use the Cancel Enrolment process in TEAMS is when students are meant to start on a specific date, they got their visa and they are expected to show up but don’t show up. And if they don’t show up then the college has to inform the department and in that way, you can cancel the enrolment.
IMPORTANT – If you have set up an enrolment type or an enrolment outcome of cancelled enrolment, please understand that’s a just displayed option and it does nothing in the system. As that is just a text word on a screen for you and your staff to know that the enrolment is cancelled. It doesn’t tell the system to do anything special and it absolutely will not show the canceled in red. Just by selecting, an enrolment outcome, or an enrolment type of cancelled enrolment. That is just the status that you have set up. It does not do anything to the program or the system at all.
Process for withdrawing a student in TEAMS
Scenario 1
If a student commences their study, it doesn’t matter whether they’re CRICOS or domestic FFS, the moment the student commences one subject and attends the class and also commences their assessment online then you have to submit that enrolment and that subject in the NAT files based on the enrolment start date and end date and all the subjects date. Or If they never start a subject, they never show up to a class. They never start an assessment online, they do not study for it whatsoever then that subject does not have to be in the NAT files.
For example – If you have started the enrolment and the student would have started at least one subject then you need to change the subject to continuing enrolment and the rest of the subjects can be Not Yet Started. For let’s say a student wants to move to another course or to a different college then you need to change the end date of the subject to the last date of study with the result from continuing enrolment to Withdrawn has got continuing enrolment.
And for the ones that students never commenced at all that is NYS, you need to change the subject end date to the last date of study and save it. The system will update the result date for those subject end dates for NYS to the result date. Then you will edit the enrolment and set the end date of the enrolment to the last day of study date. Please note – You cannot change the enrolment end date first, you need to update all the result date first so that the results match inside the enrolment.
IMPORTANT – For all the Not Yet Started subjects, you need to go to the Enrolment AVETMISS Settings screen > Subject AVETMISS Settings tab and mark the NYS subjects as DoNot Include in AVETMISS because you don’t have to submit the NYS ones. You only need to submit the Withdrawn to NCVER
Scenario 2
Let’s say the student did the orientation in the first week and then you have flagged the enrolment as started but the student didn’t start their first class or subject until the following week. Then the student comes in the second week and says they want to move to another course as they change their mind and you still have the enrolment flagged as started.
Then, in this case, you don’t have to put Withdrawn or NYS for the subjects because the student never studied and they just did the orientation. Instead of going to Enrolment AVETMISS Settings screen > Subjects AVETMISS Settings tab and marking the subjects as DoNot Include in AVETMISS, you need to go to the Enrolment Edit Screen and change the enrolment end date to the date when they are finishing and select the DoNot Include in AVETMISS tick box and save.
Scenario 3
This is where the first week of the enrolment is an orientation week only and the student will not study and whatever their class is they don’t commence and the student are taking themselves out of that course or moving to another college then you need to change the enrolment end date to whatever their last date is. Then you go to the Training Plan and Result screen and update the result issue as NA for the qualification Information and marked the enrolment as do not include in AVETMISS because you not going to issue anything.
That way you can show that the student did not show up and didn’t commence any study and whatever the reason was there, you can have it in the enrolment outcome. You can also do a contact log to explain why the students have left, so there was no reason to have them in the NAT files.
Scenario 4
When a student initiates their enrolment and enrols in a course consisting of 10 subjects, their progress is closely monitored. In this scenario, let’s assume the student successfully completes 5 out of the 10 subjects. However, circumstances may change, and the student might decide to alter their course of study, discontinue their education at the college, or encounter other reasons for leaving the program or the college cancels the student due to non-payment, low progress etc. In such cases, it is essential that the college takes appropriate action.
To ensure accuracy and proper documentation, if the college issues any Statement of Attainment (SOA) certificate to the student, it is highly recommended to promptly update the Qualification Issue status on the Qualification Screen. By doing so, the college maintains up-to-date records of the student’s academic progress and qualifications obtained.
The Qualification Issued is exported into NAT00130 – Program Completed. This will show you all of your students who completed their enrolments and if you issued them a qualification (Certificate) or statement of attainment (SoA) – it really should match your Qualifications Issued Register.
The very first step you need to do before you do the AVETMISS Export
You need to go to the Main Dashboard > Compliance > Qualification Registered screen where you need to put the dates from 01/01/2022 to 31/12/2022 and if you have different campuses for the academics then you can leave the field as it is otherwise, you can use the parameters as you require and then select the Apply button. OR
You can run the report from Main Dashboard > Compliance > Qualification Issued report with the same parameters and then you can open each enrolment and confirm if the results are there and if not there then you have to run the finishers report for 2022 and see all the finishers and compare it, which enrolment that are in the finishers but is not in the finishers list.
When would you select SOA, FULL and NA
FULL – When the student has Successful results of competent. Credit transfer. RPL then all the subjects needed to be issued that qualification.
SOA – Where you do not have successful results for all of the subjects (if you are withdrawing) but have some subjects with competent then you issue a Statement of Attainment.
NA – This is where you do not have absolutely no results and student has never successfully achieved anything and they withdrew and you want to write the entry to the register to show then you can select NA and results issued.
IMPORTANT – This screen will not show anything if you have not updated the information properly (if you have not selected the Result Issued as Yes and whether you have selected the completed status FULL, SOA or NA) on the Enrolment Dashboard > Training Plan and Result screen > Qualification Information.
It’s our recommendation even if you’re not going to issue a Certificate or Statement of Attainment, all the qualifications to still select this Result issued as Yes have the completion Type as NA (not applicable) because it will show in the registered and to the auditor that you have processed as it was withdrawn or they have overdue fees.
For Example – If you have an enrolment where you have a competent result and a credit transfer, and the students have overdue fees and you’re not going to issue, but they’re finished, and they’ve left. If you don’t write to the register, the qualification issue register that they did, It’s not applicable you issued that you’re not going to do one and the auditor may question you on why aren’t there. Because they have a competent result or a credit transfer? That way. At least there’s an entry in the register that it’s not applicable. You didn’t issue it because they have overdue fees. Or they withdrew.
NOTE – On the Qualification Registered screen, you will only see one entry for one enrolment and if the student has more than one enrolment then you need to select yes more in the reissued column which will show you different entries on the screen, but you will not see multiple entries for the one enrolment in different rows. It will be always kept historically under the yes more section.
Important actions to complete on the Qualification Issued Registered
You will see different kinds of support documents that require for the USI verification and when you select any document from the dropdown, it shows you different fields related to the selected document.
To create a Unique Student Identifier (USI) you will need to use a valid form of Australian ID from the list below:
Birth Certificate (Australian) – A birth certificate can refer to either an original document or a certified copy issued by an Australian State or Territory. When using a birth certificate as a form of ID in the USI registry system, please be aware that: state refers to the state or territory in which the birth was registered.
Certificate of Registration by Descent – A certificate of registration by descent (RD) is issued by the Australian Government to a person who:was born outside Australia. has at least one parent who was an Australian citizen at the time of their birth.
Citizenship Certificate – A citizenship certificate is issued by the Australian Government and is proof that someone born outside Australia is an Australian citizen. The Acquisition Date is the date Australian Citizenship was acquired. The stock Number appears on the citizenship certificate.
Driver’s Licence – Your driver’s licence must be current, valid and issued by an Australian State or Territory to be used as a form of ID.
Medicare Card – Your Medicare Card must be valid and issued by Medicare Australia. Medicare Card Number appears above the name(s) on the Medicare card.
Visa (With Non-Australian Passport) – Non-Australian citizens intending to study in Australia require a visa issued by the Australian Government. The visa must be current and valid. If you select Non-Australian Passport (with Australian Visa) as your form of ID, please enter your Non-Australian passport number when creating your Unique Student Identifier.
Immicard – An ImmiCard is issued to certain visa holders who don’t have and can’t obtain a passport recognised by the Australian Government. An ImmiCard assists visa holders to provide evidence of their Commencement of Identity (COI) in Australia.
 – You can edit the class end date by selecting the edit icon under the actions column and it will open the pop window on the same screen as shown below.
 – When you select this icon, it takes you to the attendance listing screen where you can mark attendance for the student.
 – You can send an email to a student about the classes.
 – You can send an SMS to a student.
 – You can delete the class by selecting the delete icon.