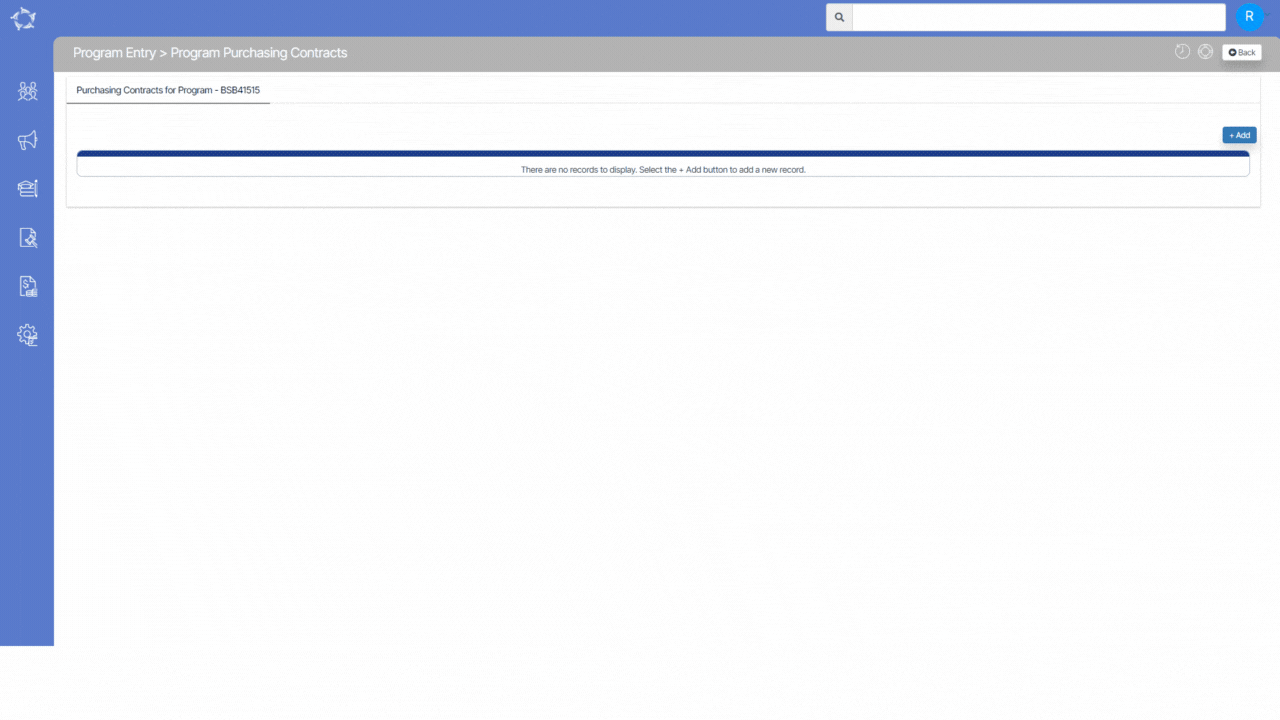
On the purchasing contract screen, you have the option to add the details of the purchasing contract for the program.
When you select the +Add button, a popup window will appear where you can enter the necessary information
Explanation of the fields below:
- Contract Type – From the dropdown, you can select the contract type.
- Effective From – From the calendar, you can select the contract starting date.
- Effective to – From the calendar, you can select the expiry date of the contract.
- Purchasing Contract – Here you can add the contract number.
- Purchasing Contract Schedule – Here you can add the contract schedule number.
- State – From the dropdown, you can select the state.
- Special Contract – From the dropdown, you can select the special contract type.
- Excl. Client Identifier – Tick this box if you want to exclude the client identifier from the purchasing contract.
- Excl. Training Contract Identifier – Tick this box if you want to exclude the training contract identifier from the purchasing contract.
- Active – Tick this box to make the contract active.
After filling in the required details, click the save button. You will then be able to see the added purchasing contract in the grid below.


If you have any queries, please do not hesitate to contact us on 1300 85 05 85 or email us on support@rtosoftware.com.au